

While I originally created this Printable 3D Box Diorama Animal Habitat Craft as non-candy Halloween treats for trick-or-treaters, it is a fun craft that can be used year-round for interactive classroom activities for animal habitat topical studies, homeschool zoo activities, book report projects, and themed playdate crafts or zoo party favors!

This post contains affiliate links; by purchasing through these links, you help support the family behind Arts & Crackers at no added cost to you! Thank you!
Each year for Halloween, I try to come up with something unique to hand out to trick-or-treaters. We do not really celebrate the holiday, so I try to keep it non-scary, though it is usually fall-related in some way. I also try to choose non-candy Halloween treats so kids can enjoy it for longer, and I try to come up with something that is free of all major allergens for the Teal Pumpkin Project so all kids can enjoy it.
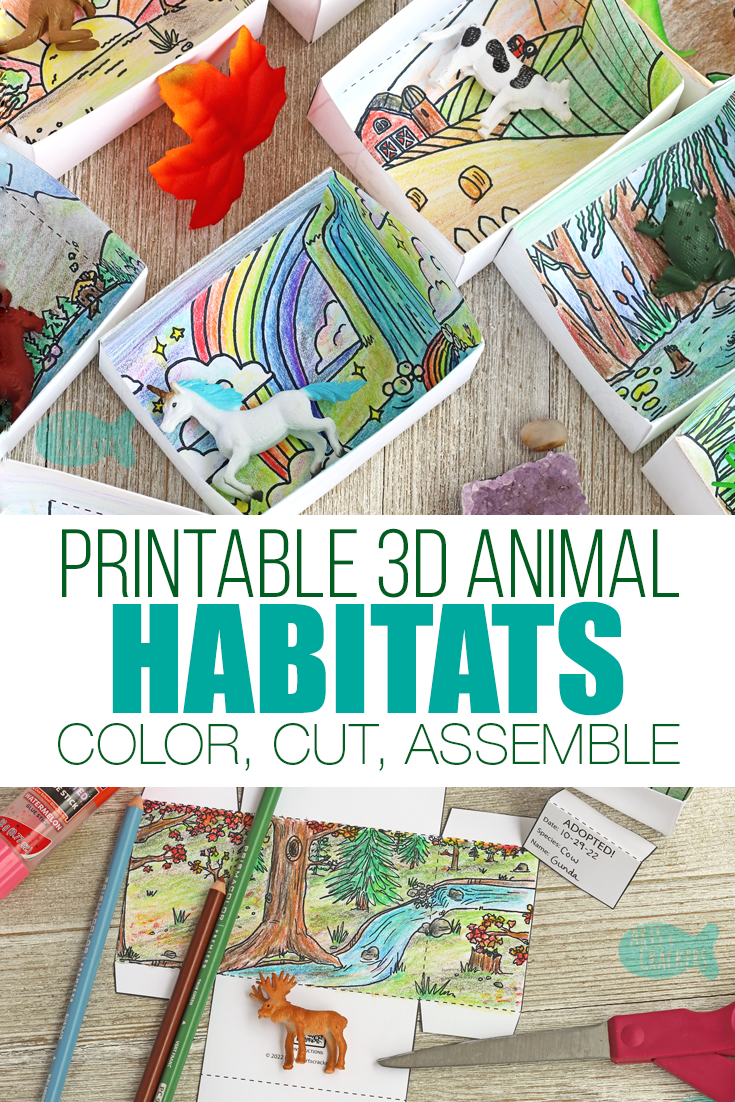
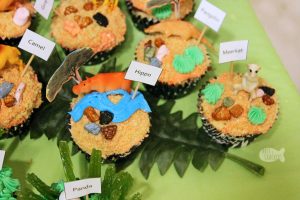
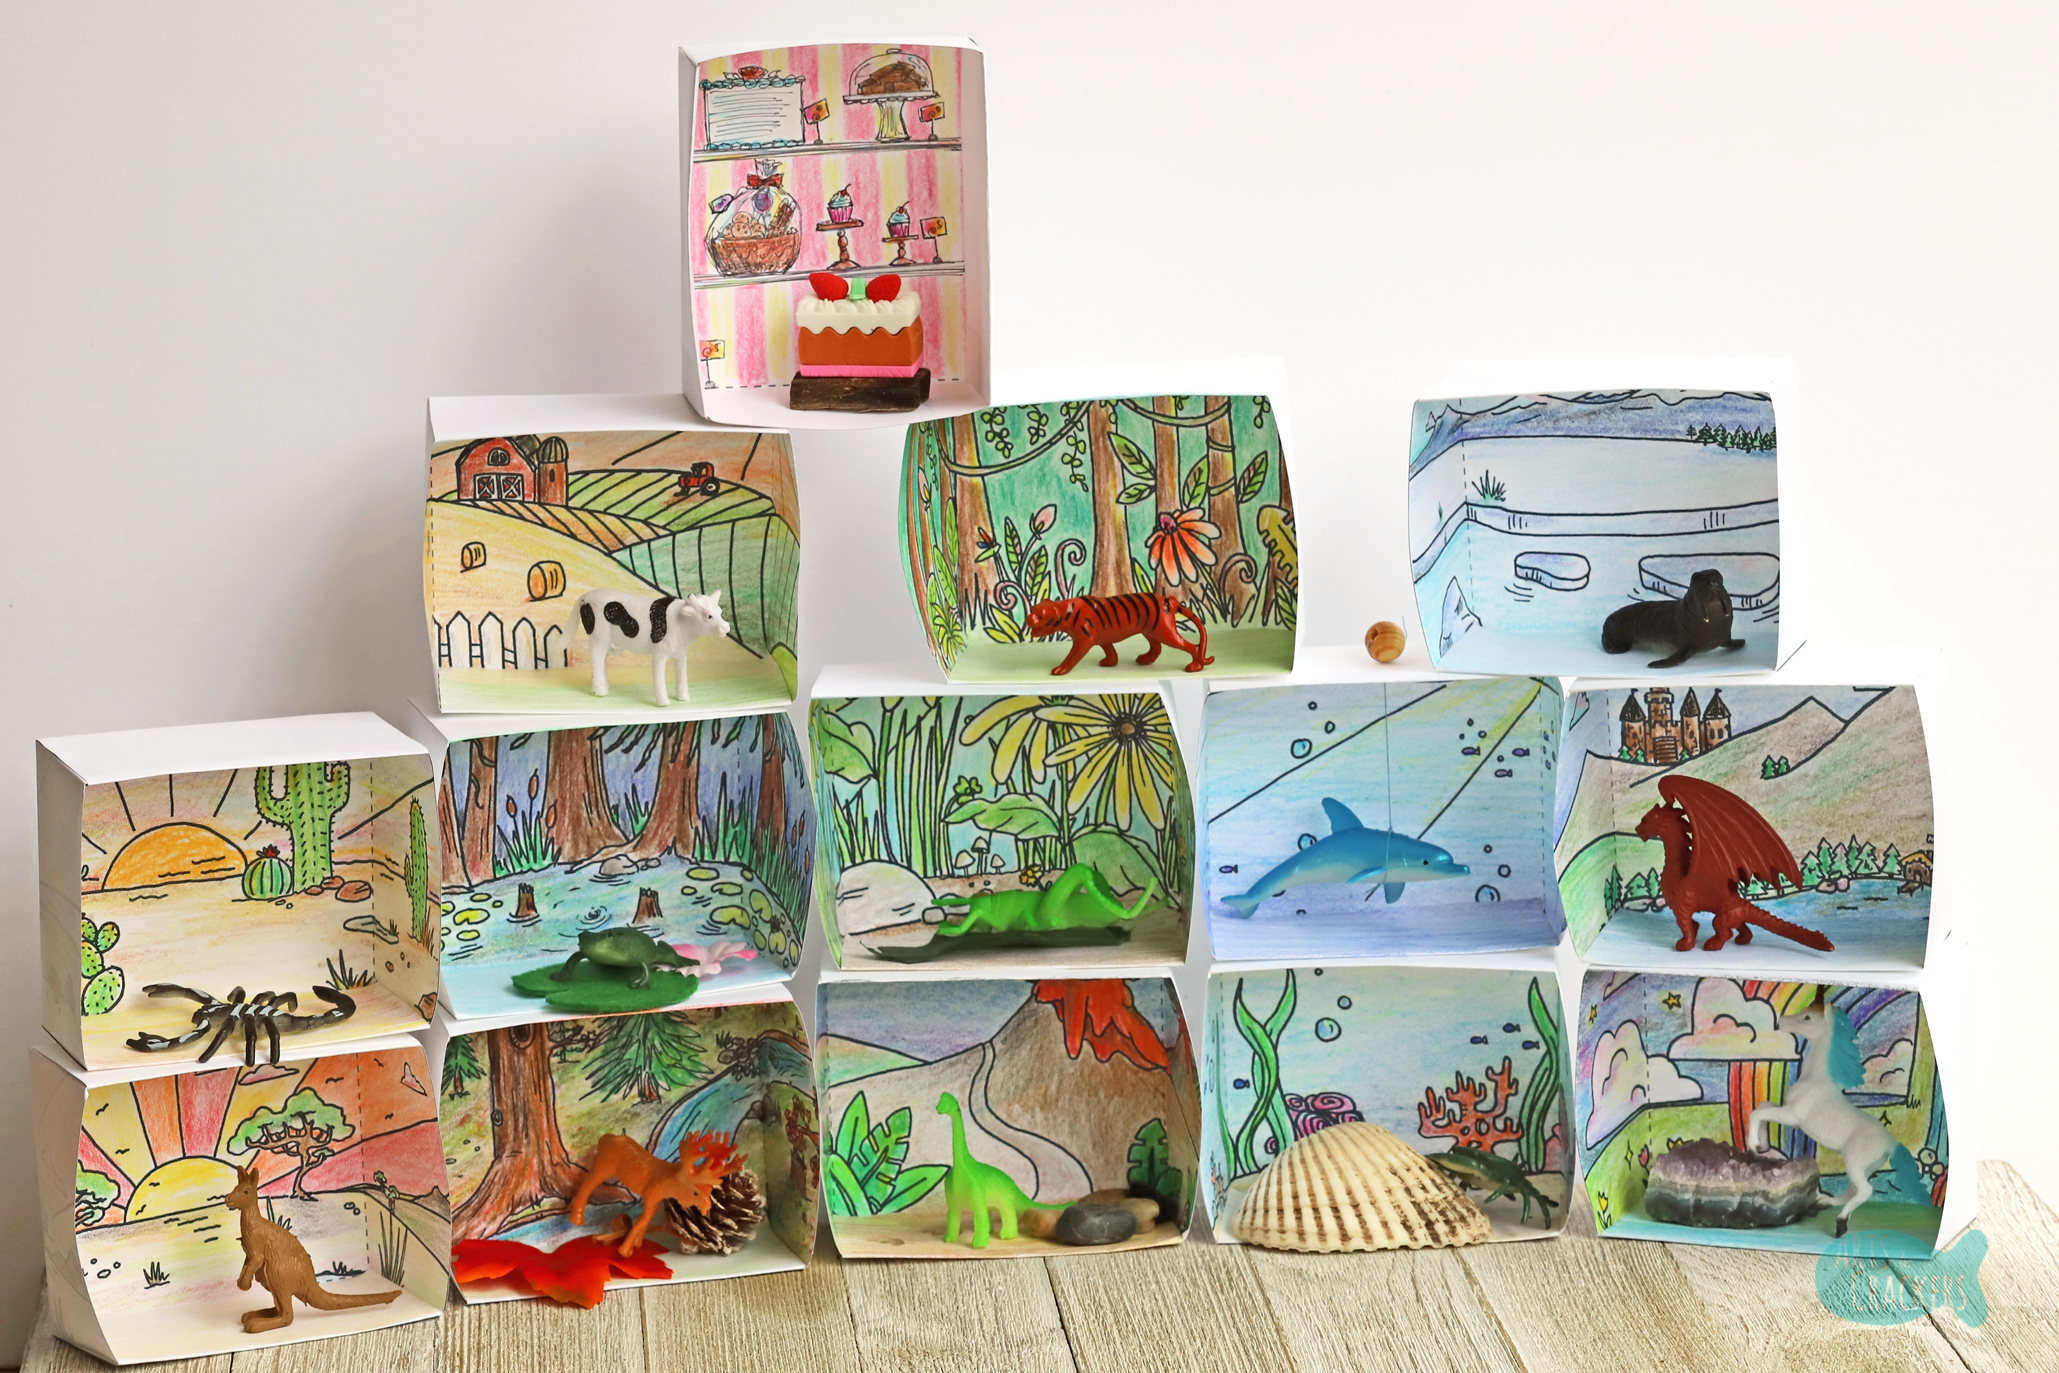
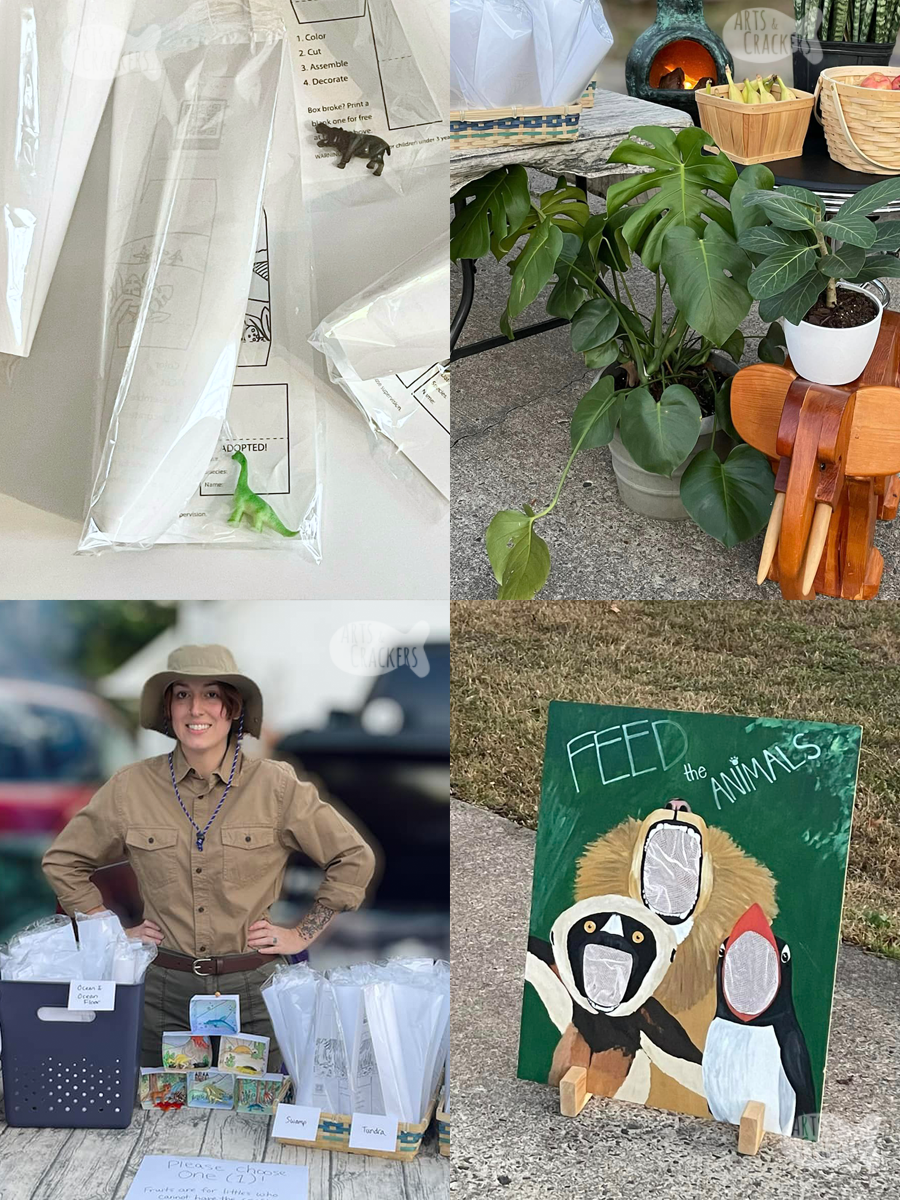
This year I came up with this animal habitat craft, which consists of a 3D printable box with a hand-illustrated coloring page in the middle. Kids (and grown-ups) may color the habitat scene, cut on the solid line, then fold and assemble the paper into an animal habitat diorama. With this paper craft, I included little toy animal figurines that matched the habitat!
The best part of our Halloween handouts this year is that it is not fall or Halloween-related at all…and it is educational (leave it to a homeschool teacher to hand out educational crafts instead of candy)…so it can be used throughout the year for multiple activities in the classroom, at the zoo, as a party favor, for book reports, or just because! Don’t you just love when things can serve multiple purposes?
Animal Habitat Printable 3D Paper Box Diorama
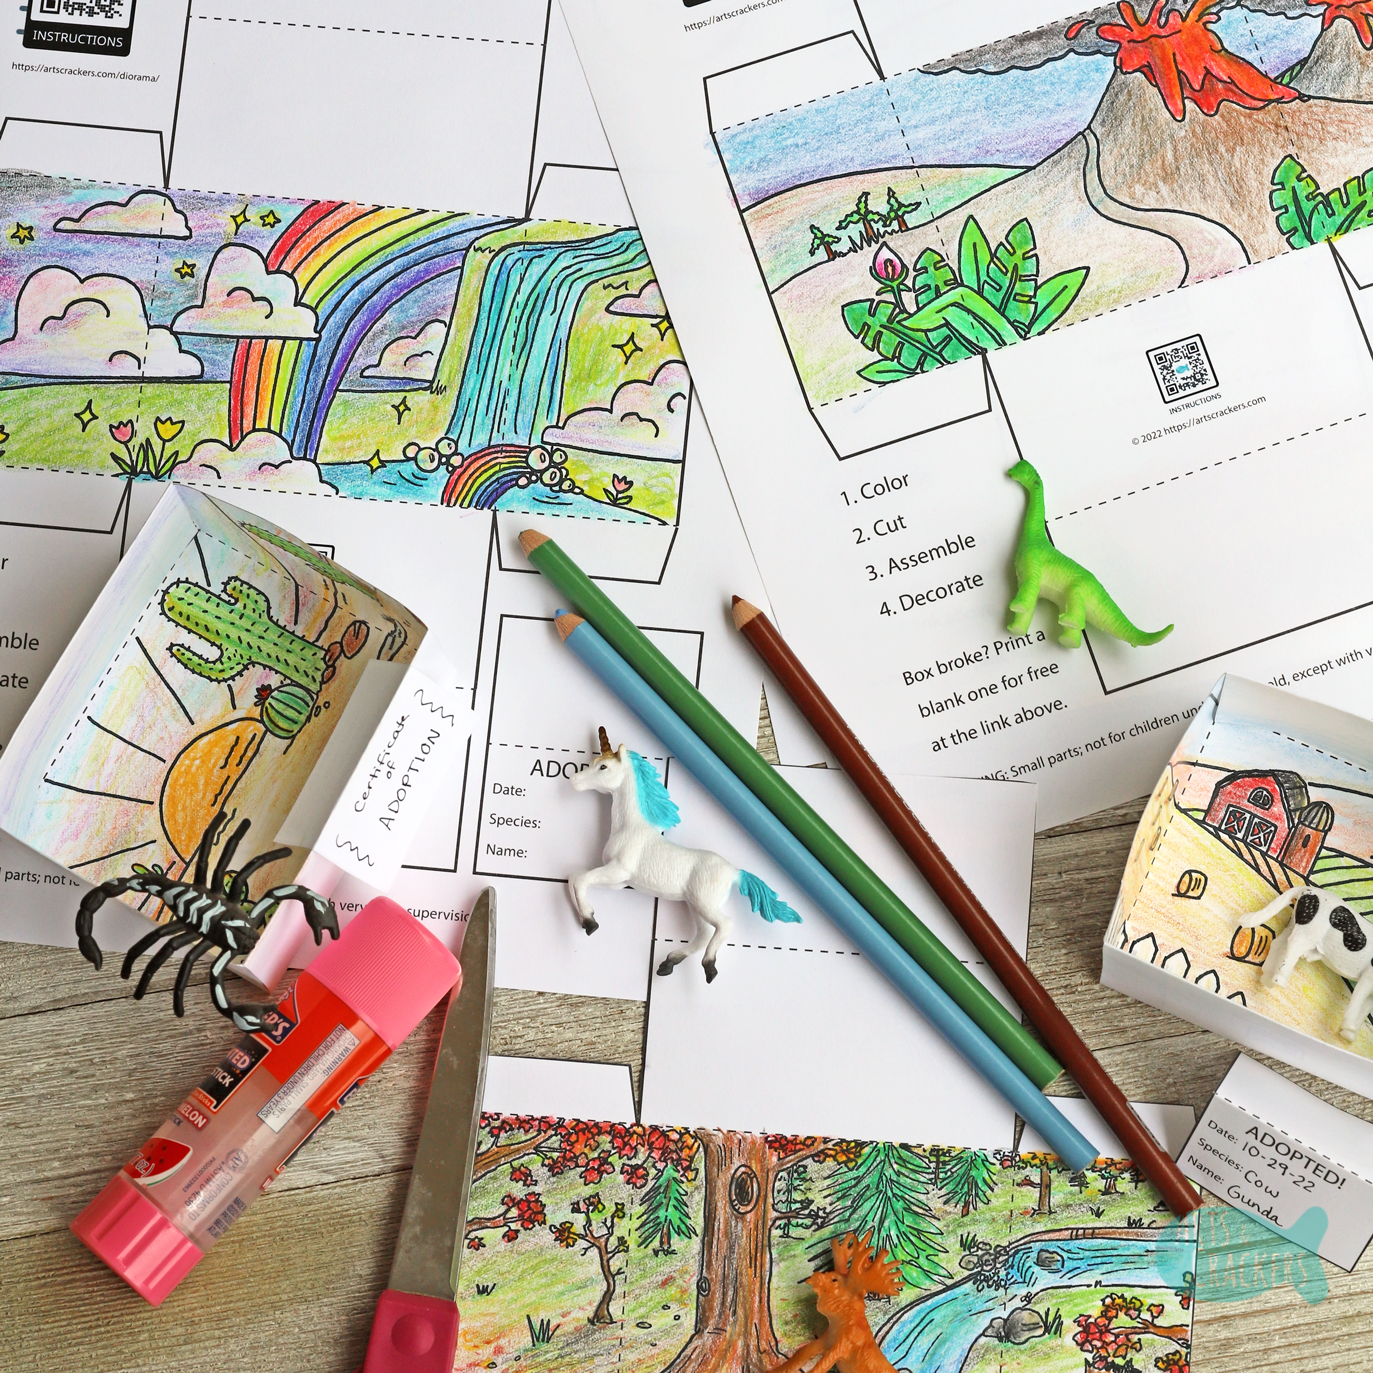
Supplies Needed:
- Heavy paper that fits in the printer (65-lb. cardstock will be sturdy but may need to be pre-creased, 24-lb. to 52-lb. premium printer paper should work well, and regular copy paper works just fine but will not be as sturdy. Personally, I ended up using 28-lb. premium paper for these, which worked great and it still worked in the regular paper tray!)
- Scissors
- Glue sticks, double-sided tape, or another clear-dry glue like rubber cement or school glue
- Printable dioramas (linked here or look for a linked button or Gumroad widget below)
- Mini toy animals (plastic figurines, cake toppers, and 3D erasers all work well; squishy animals may work too—I recommend putting a layer of packaging tape on the habitat “floor” so the paper does not stain—some building block animals would work too and mini plush animals would work lying down)
- Other random little craft supplies to decorate (optional)
- Clear gift bags or merchandise bags (optional—useful if these are for trick-or-treaters or party favors)
*Note: I found categorized value packs at our local Hobby Lobby, but I have linked to bulk sets on Amazon that have a variety of animals.
As you will see below, I am providing one blank 3D paper box template page for free (this is especially helpful if you gift the craft to someone and they make a wrong cut or the paper box breaks, because they will be able to replace it for free and it is linked to on the printable pages) and the full set comes as a package at a low cost.
We love paper crafts!
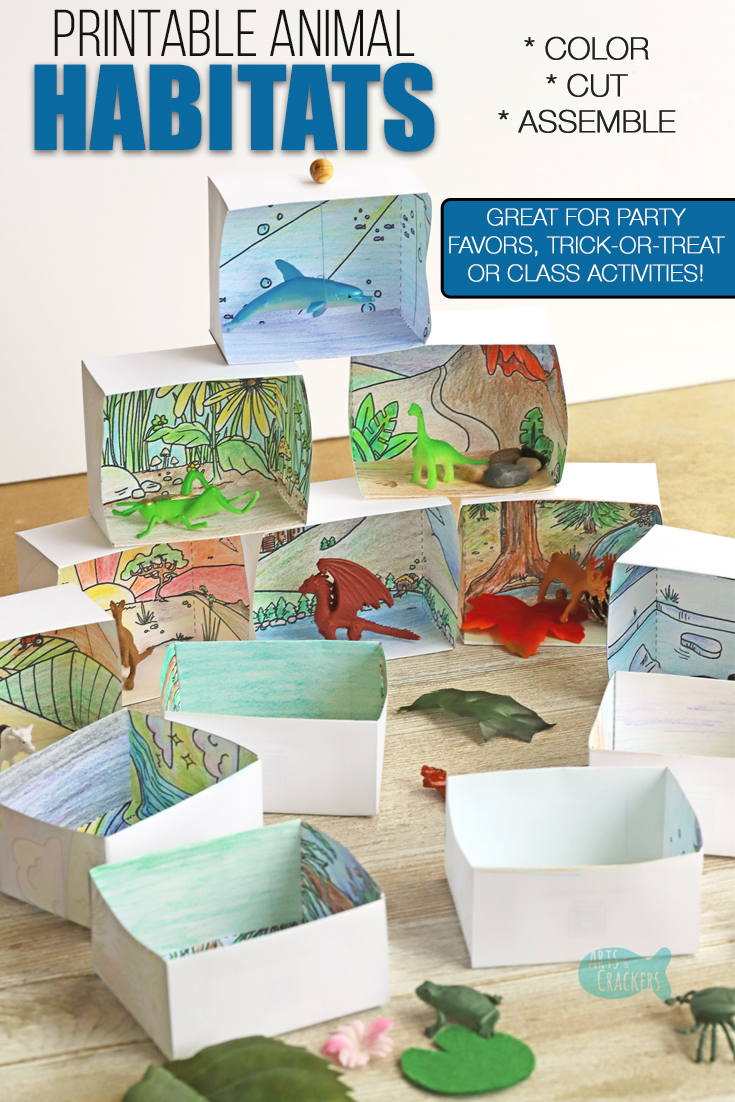
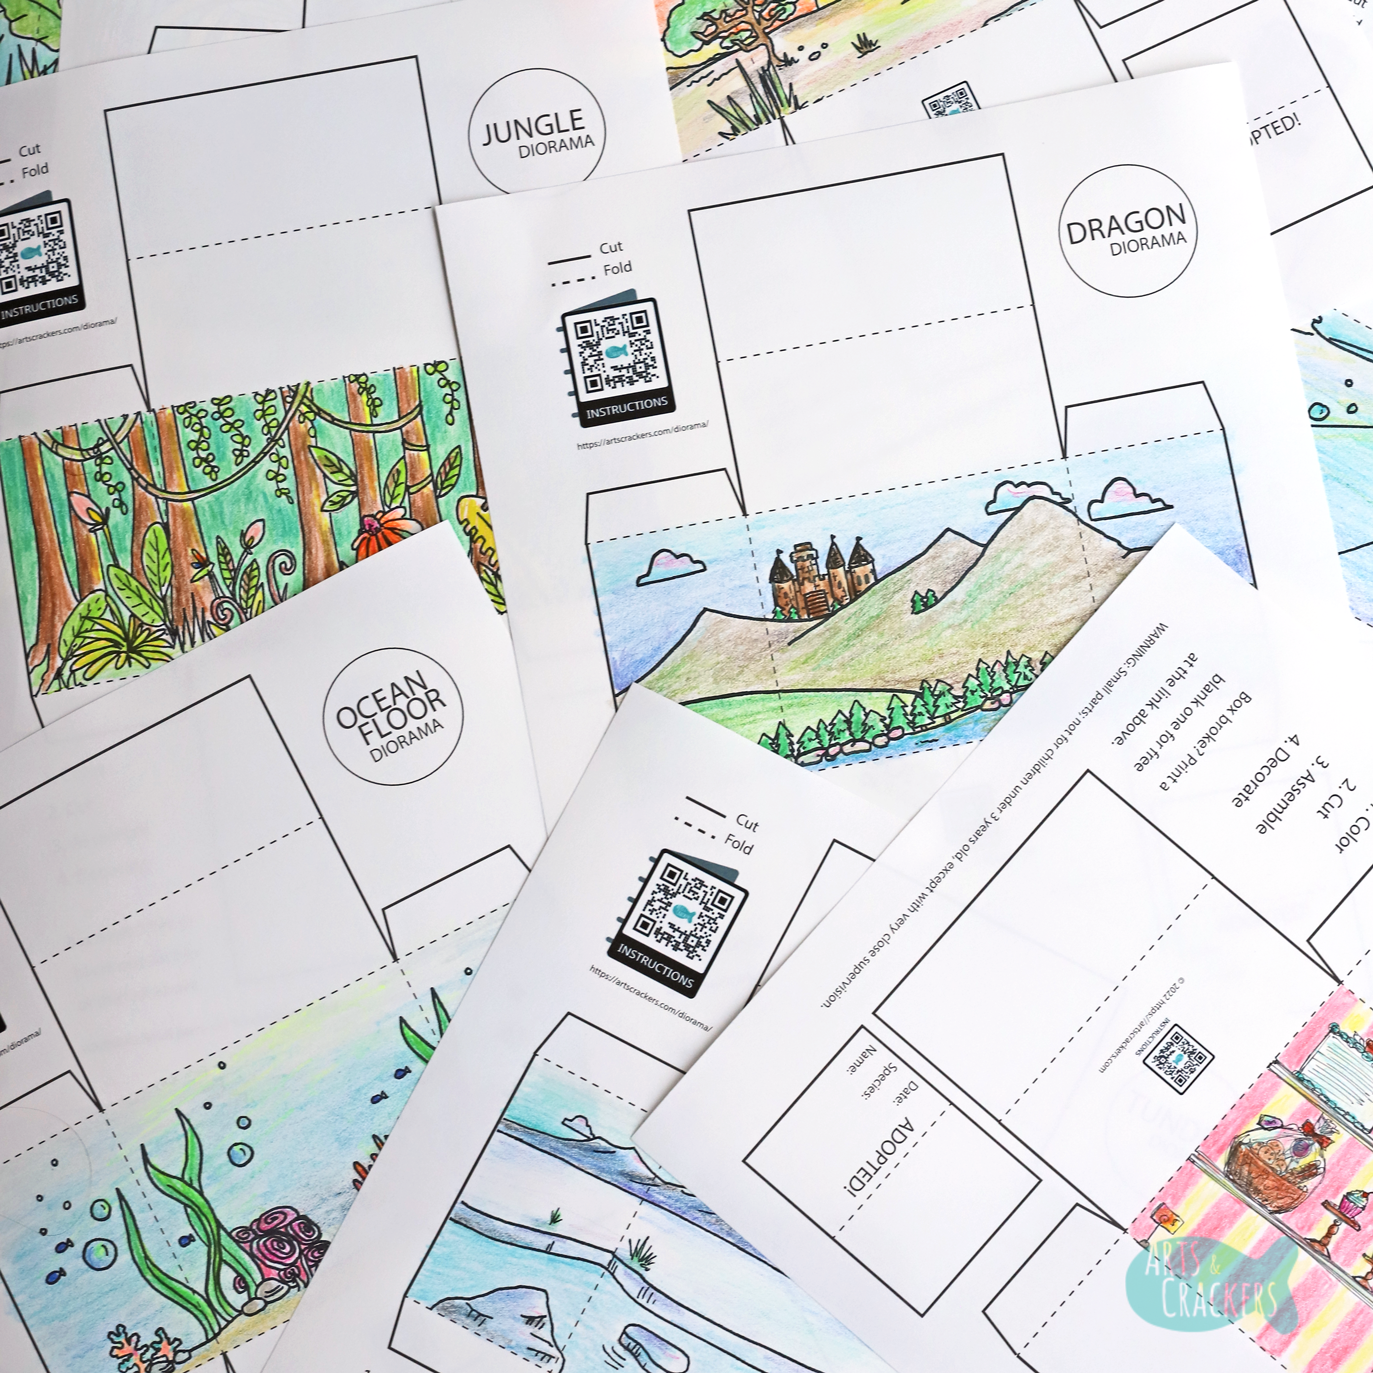
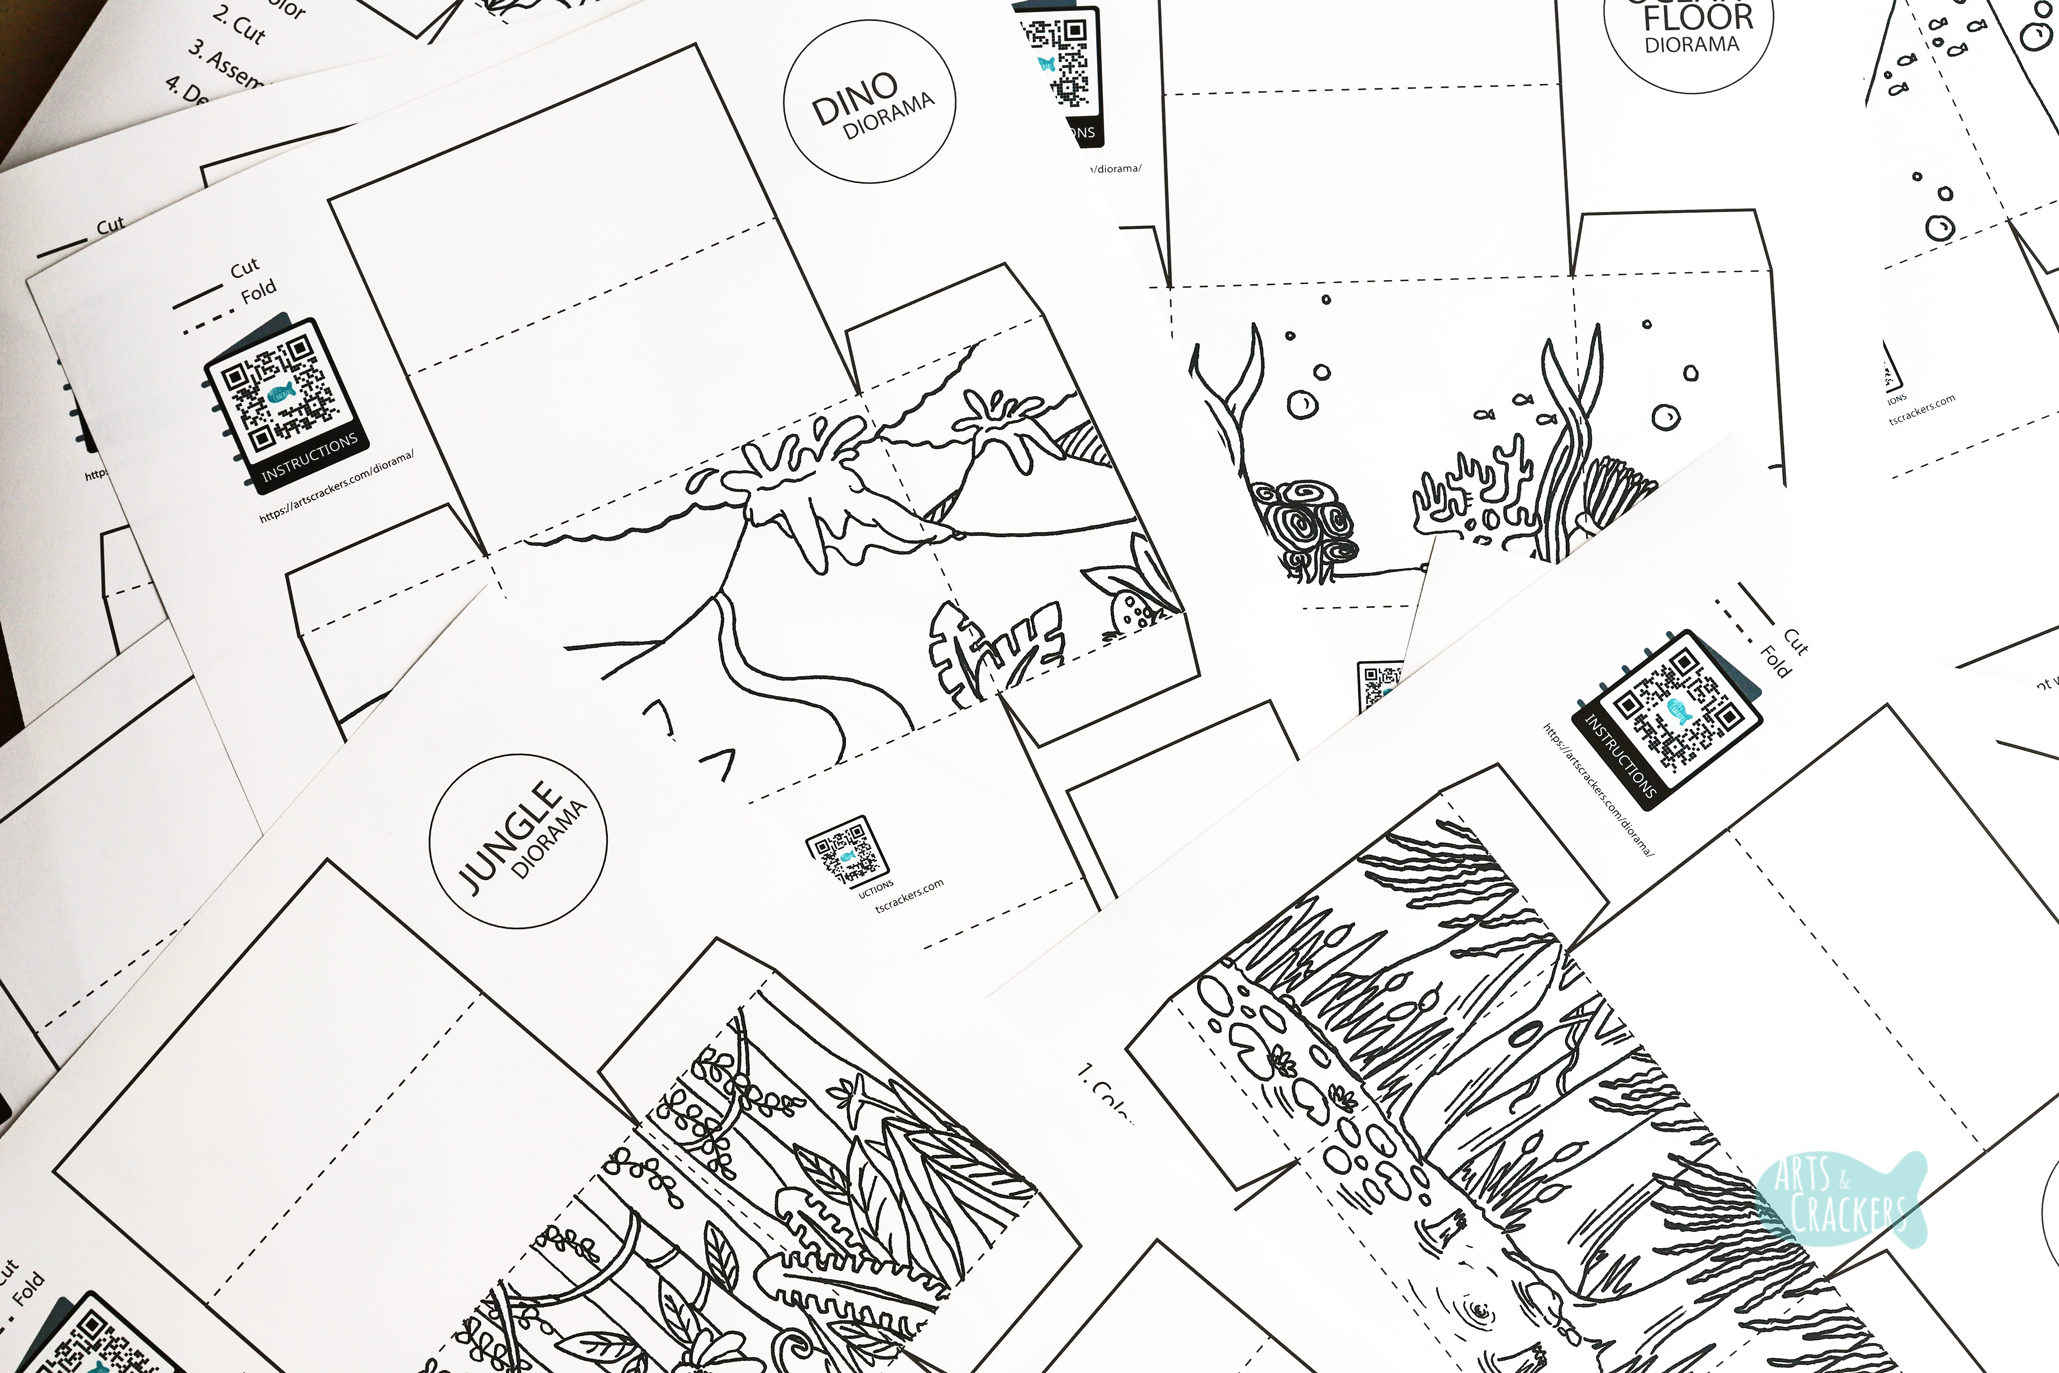
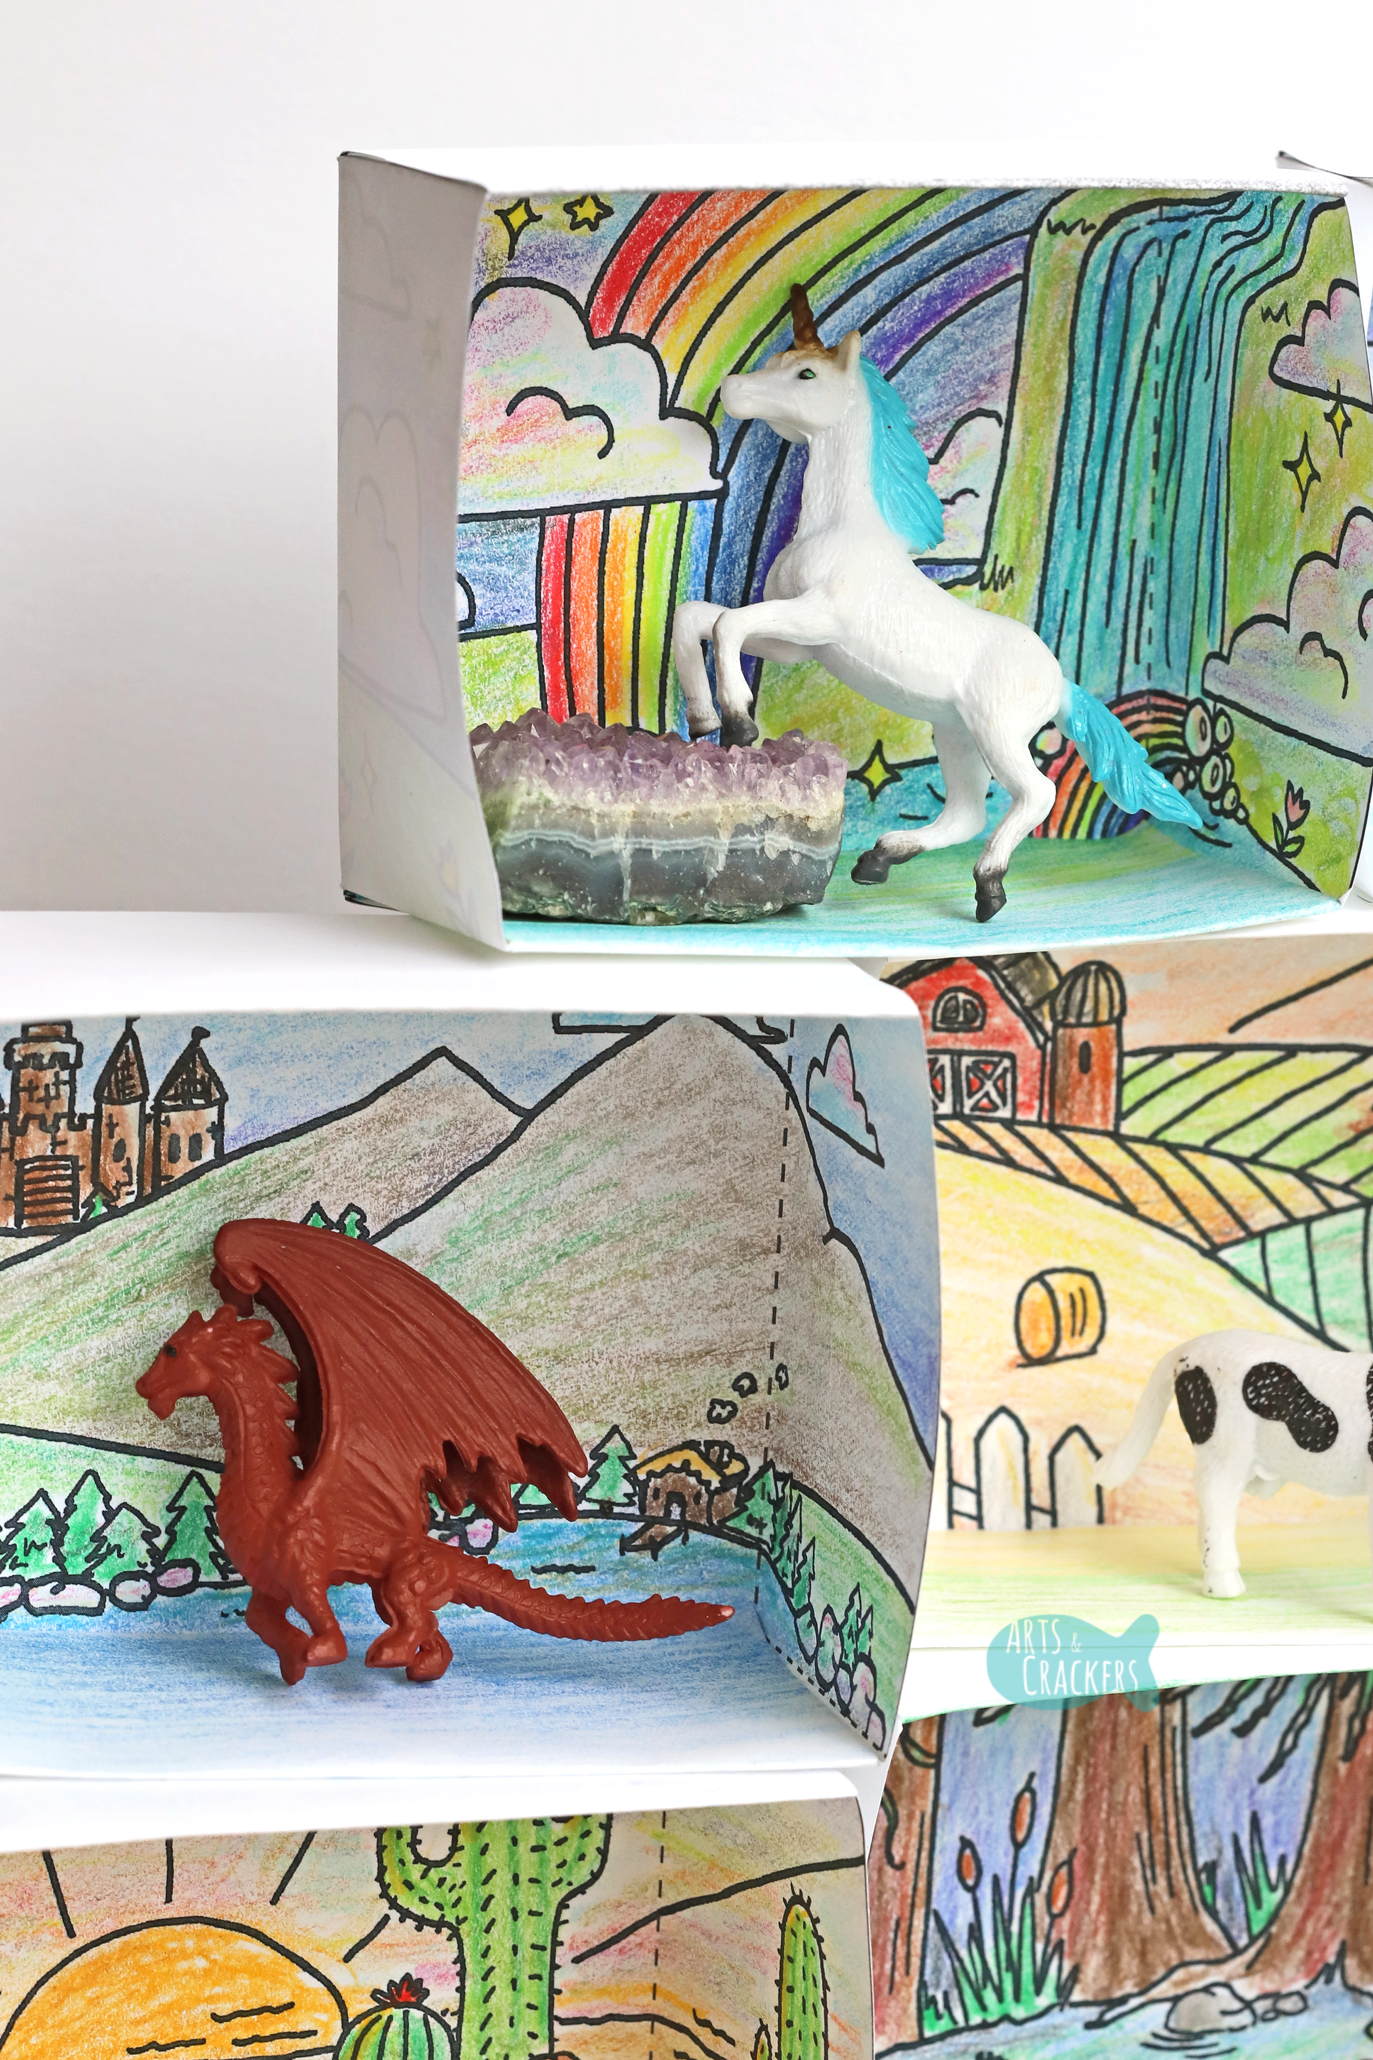
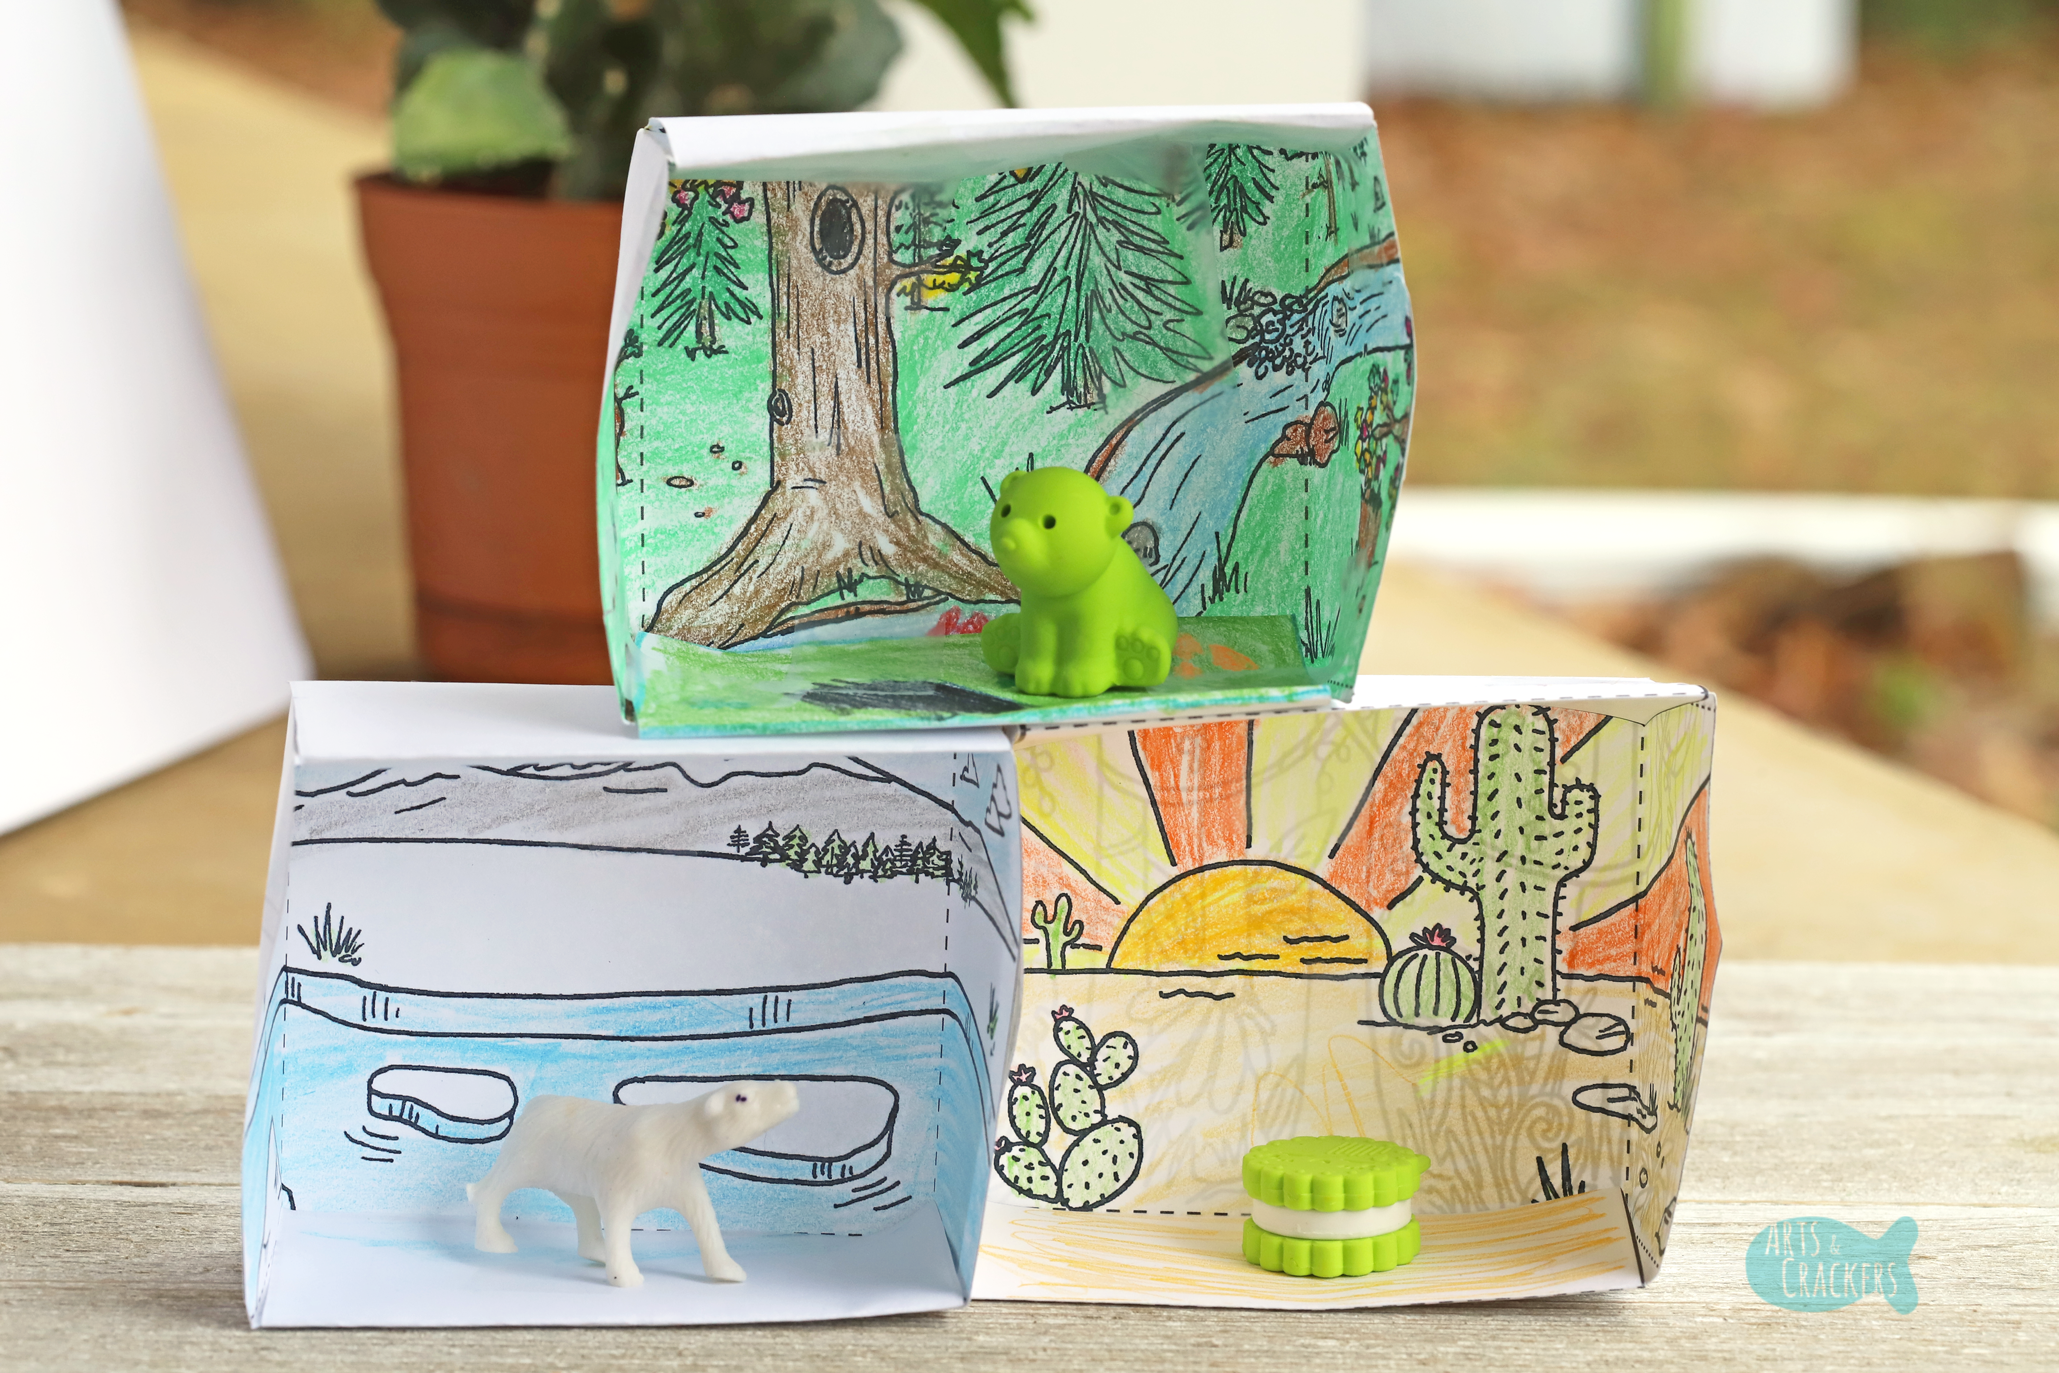
The full coloring page package includes these habitats: Dino Land, Dragon Land, Unicorn Land, Farm, Garden, Desert, Jungle, Savanna, Ocean, Ocean Floor, Swamp, Woodland, Tundra, and a blank design to make your own (perhaps a refrigerator like my E did or a more specific habitat than these generic ones…I see you, fellow poppies)!
BONUS! If you choose to purchase the full-color set, you will get a copy of my “bake shop” that I made using an extra blank template. This is so much fun for dessert-shaped erasers!

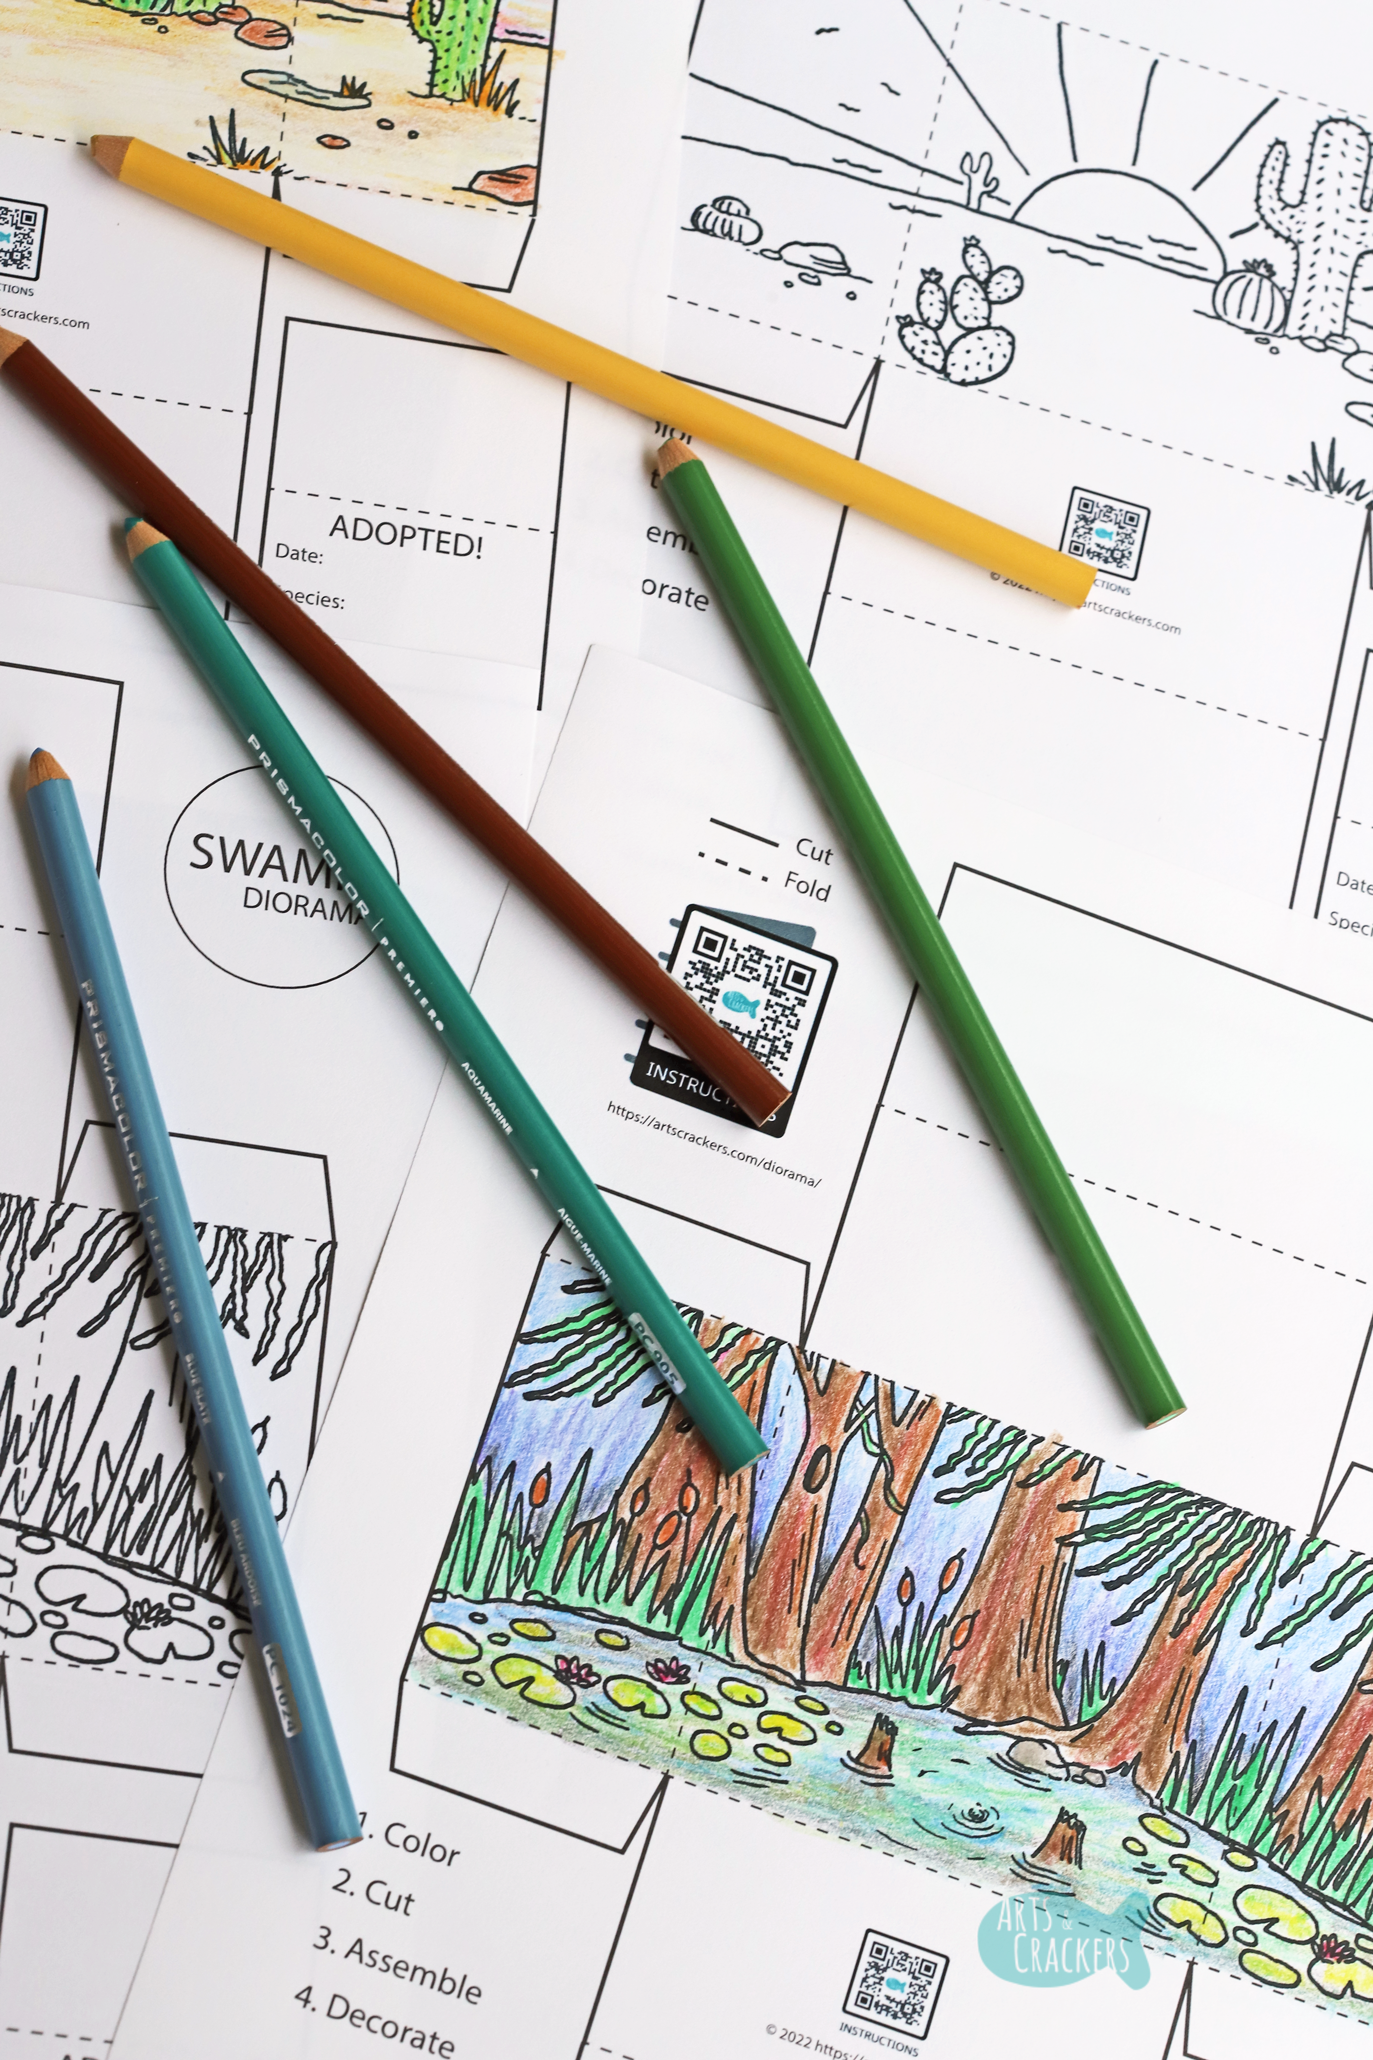
Each design is hand-illustrated (and incredibly fun to color in)! Each also comes with a small “Adopted” sign or document so kids can write the date they received it, the species of animal, and the name they gave to the animal that is now in their care. Links and QR codes that lead to this post are also included should instructions or replacement boxes need to be accessed.
To make sure you purchase toys that fit inside, the finished dimensions of the box are as follows: Approx. 8.5cm length, 4cm width, 7cm height (Approx. 3.25in l x 1.75in w x 2.75in h).
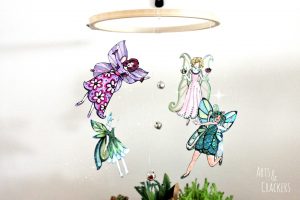
Enjoy cutting, coloring, and assembling? You may also like our Cut, Color, and Assemble Fairies; they make great mobiles and puppets!
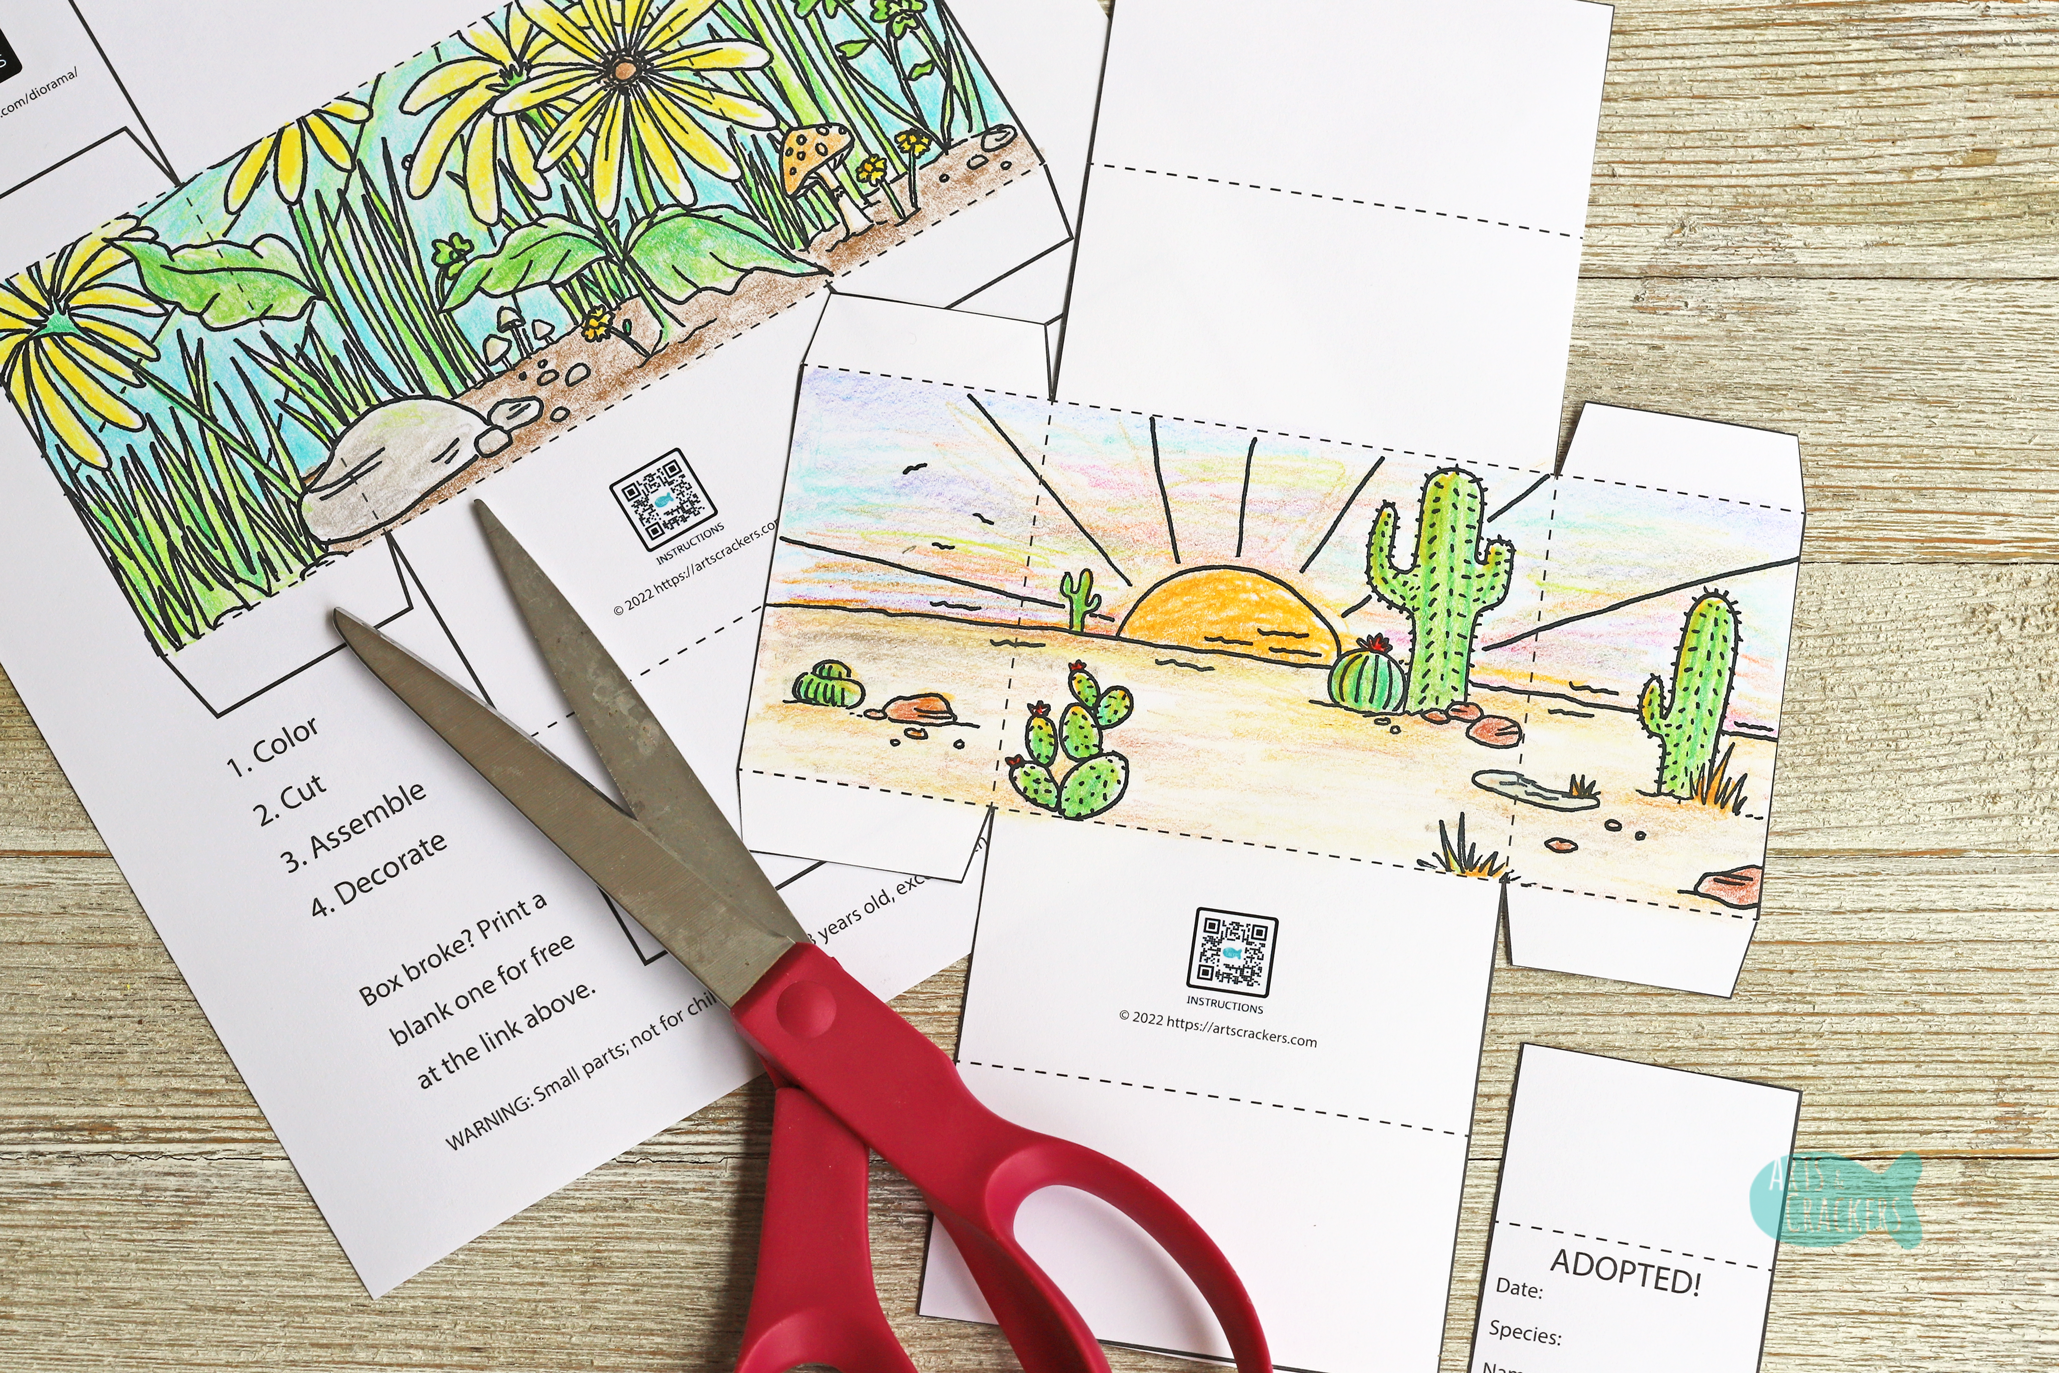
How to Make This 3D Paper Animal Habitat Diorama
1. Print out the pages below. If you are gifting these items, simply put the sheets and a coordinating toy animal and any optional extra supplies into a bag to hand out. Depending on your bag size, you may need to trim off excess paper.
If you are assembling these on your own, keep reading.
2. When you are ready, color in the picture and write your animal’s information on the “Adopted!” sign. Each side with the picture will show when assembled correctly. If you choose to decorate the outside or the “ceiling” or “floor” of your diorama, you will need to color on the back of the page as well. I kept these parts blank rather than offering a double-sided printable to avoid potential printer errors.
*Note: If you have an animal that swims but fits in another scene, color what will become the floor of your diorama to look like water! If your animal stays on land, color it to look like land! You can even coat the “floor” with something to make it more realistic, like sand or paint or rocks, in step 6.
Make an edible habitat too with our Zoo Cupcake Activity!
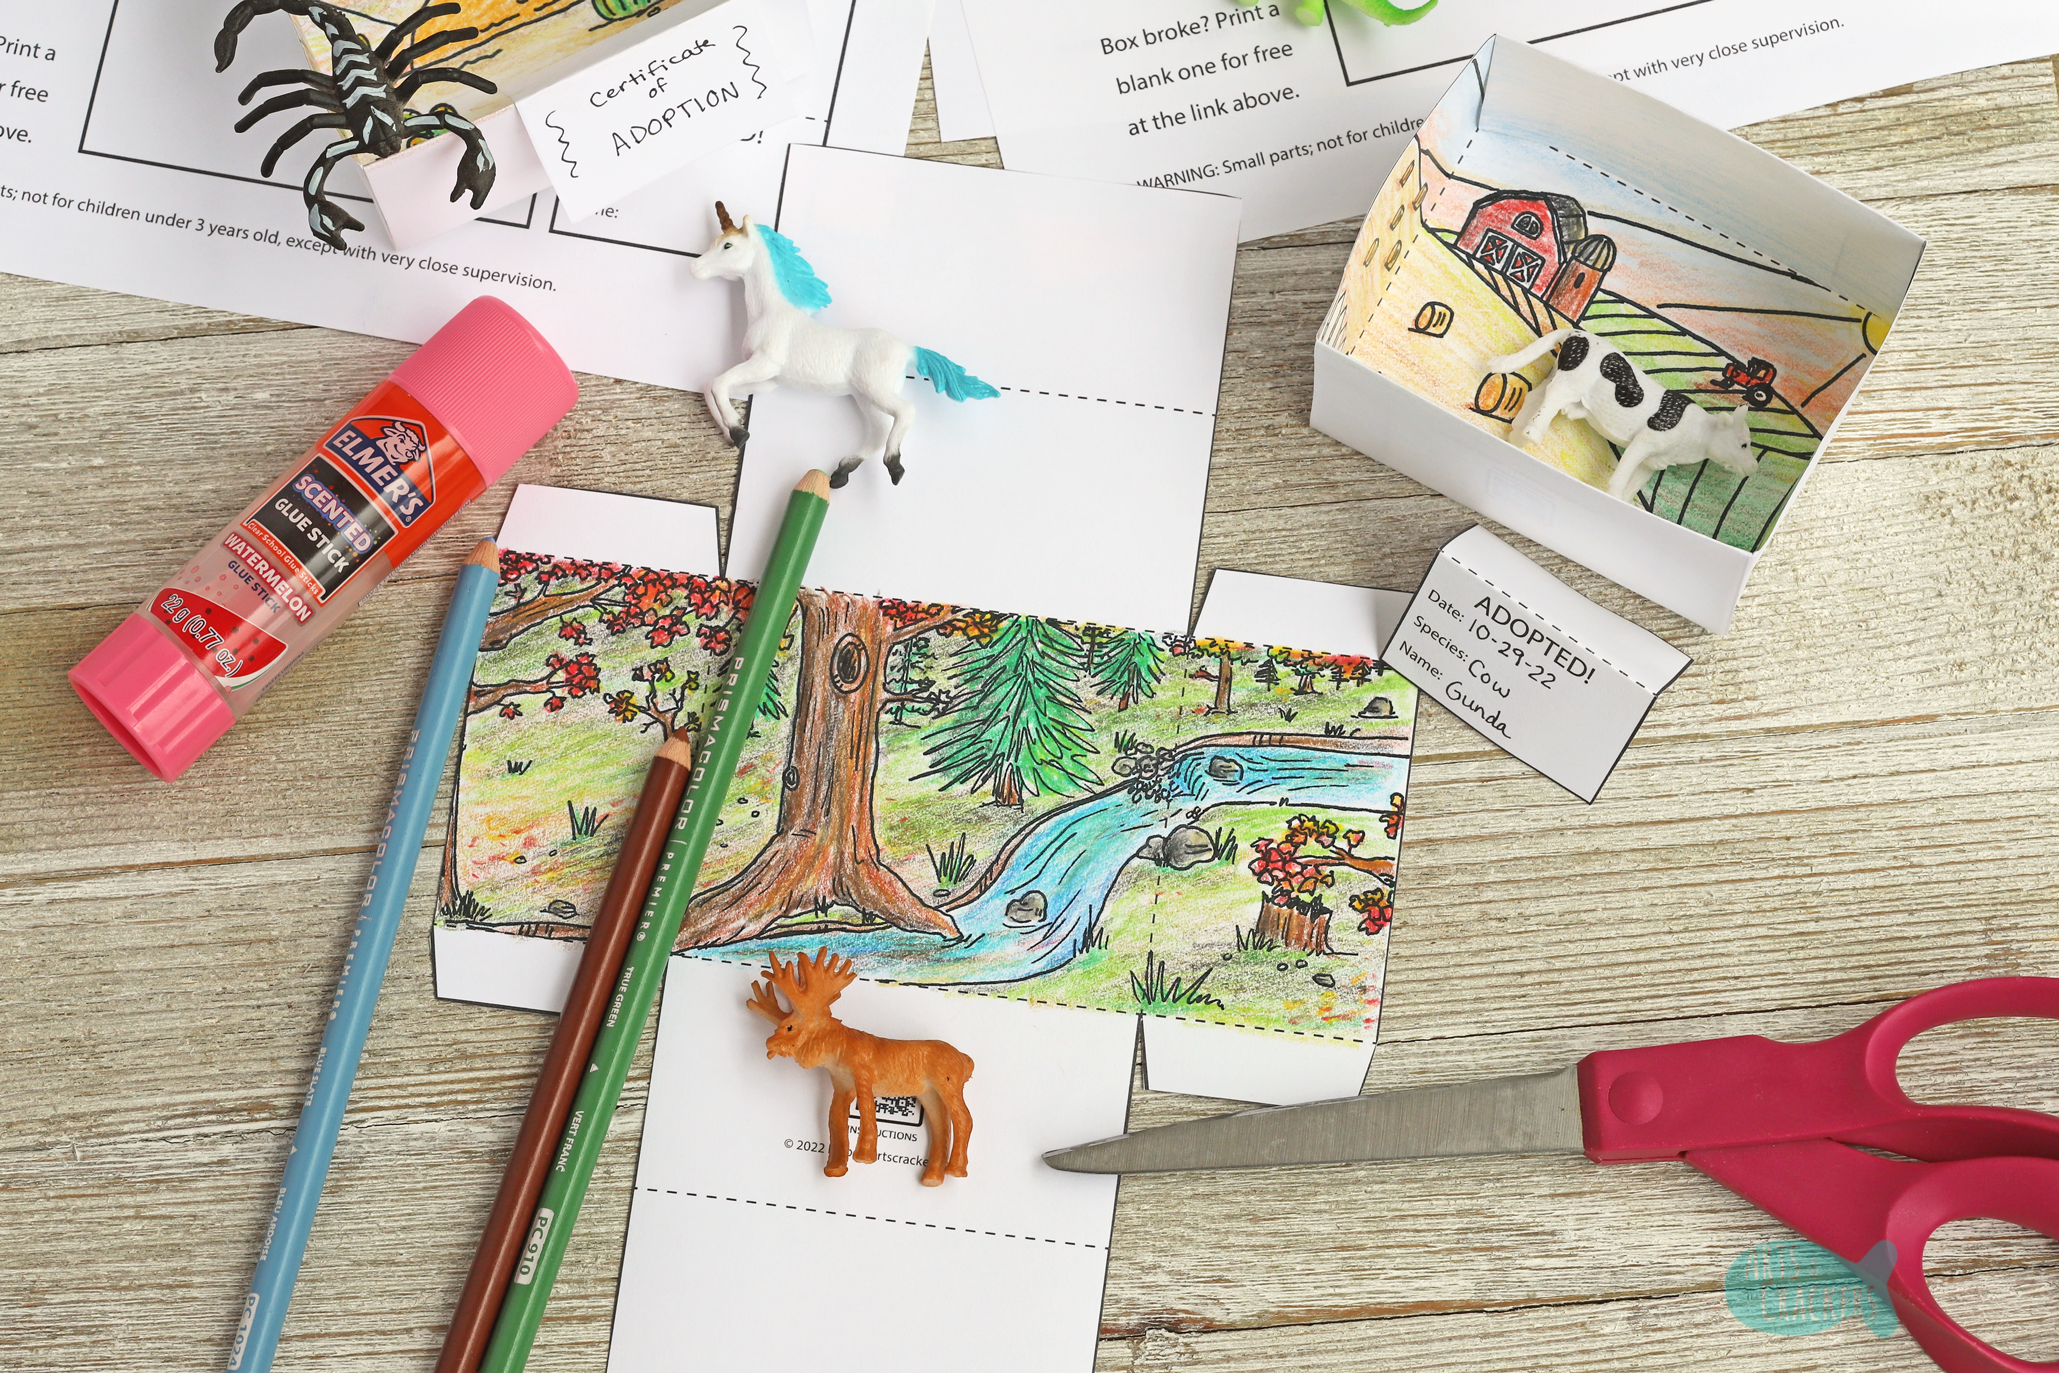
3. Once your page is colored to your liking and any words are written, cut out the box and sign. Make sure you cut only on the solid lines, as shown in the key at the top of each page. Again, if you mess up and you were not the one who purchased these pages, I have provided the box template for free download. If you still wish to use my design, you are welcome to trace it onto the new box template.
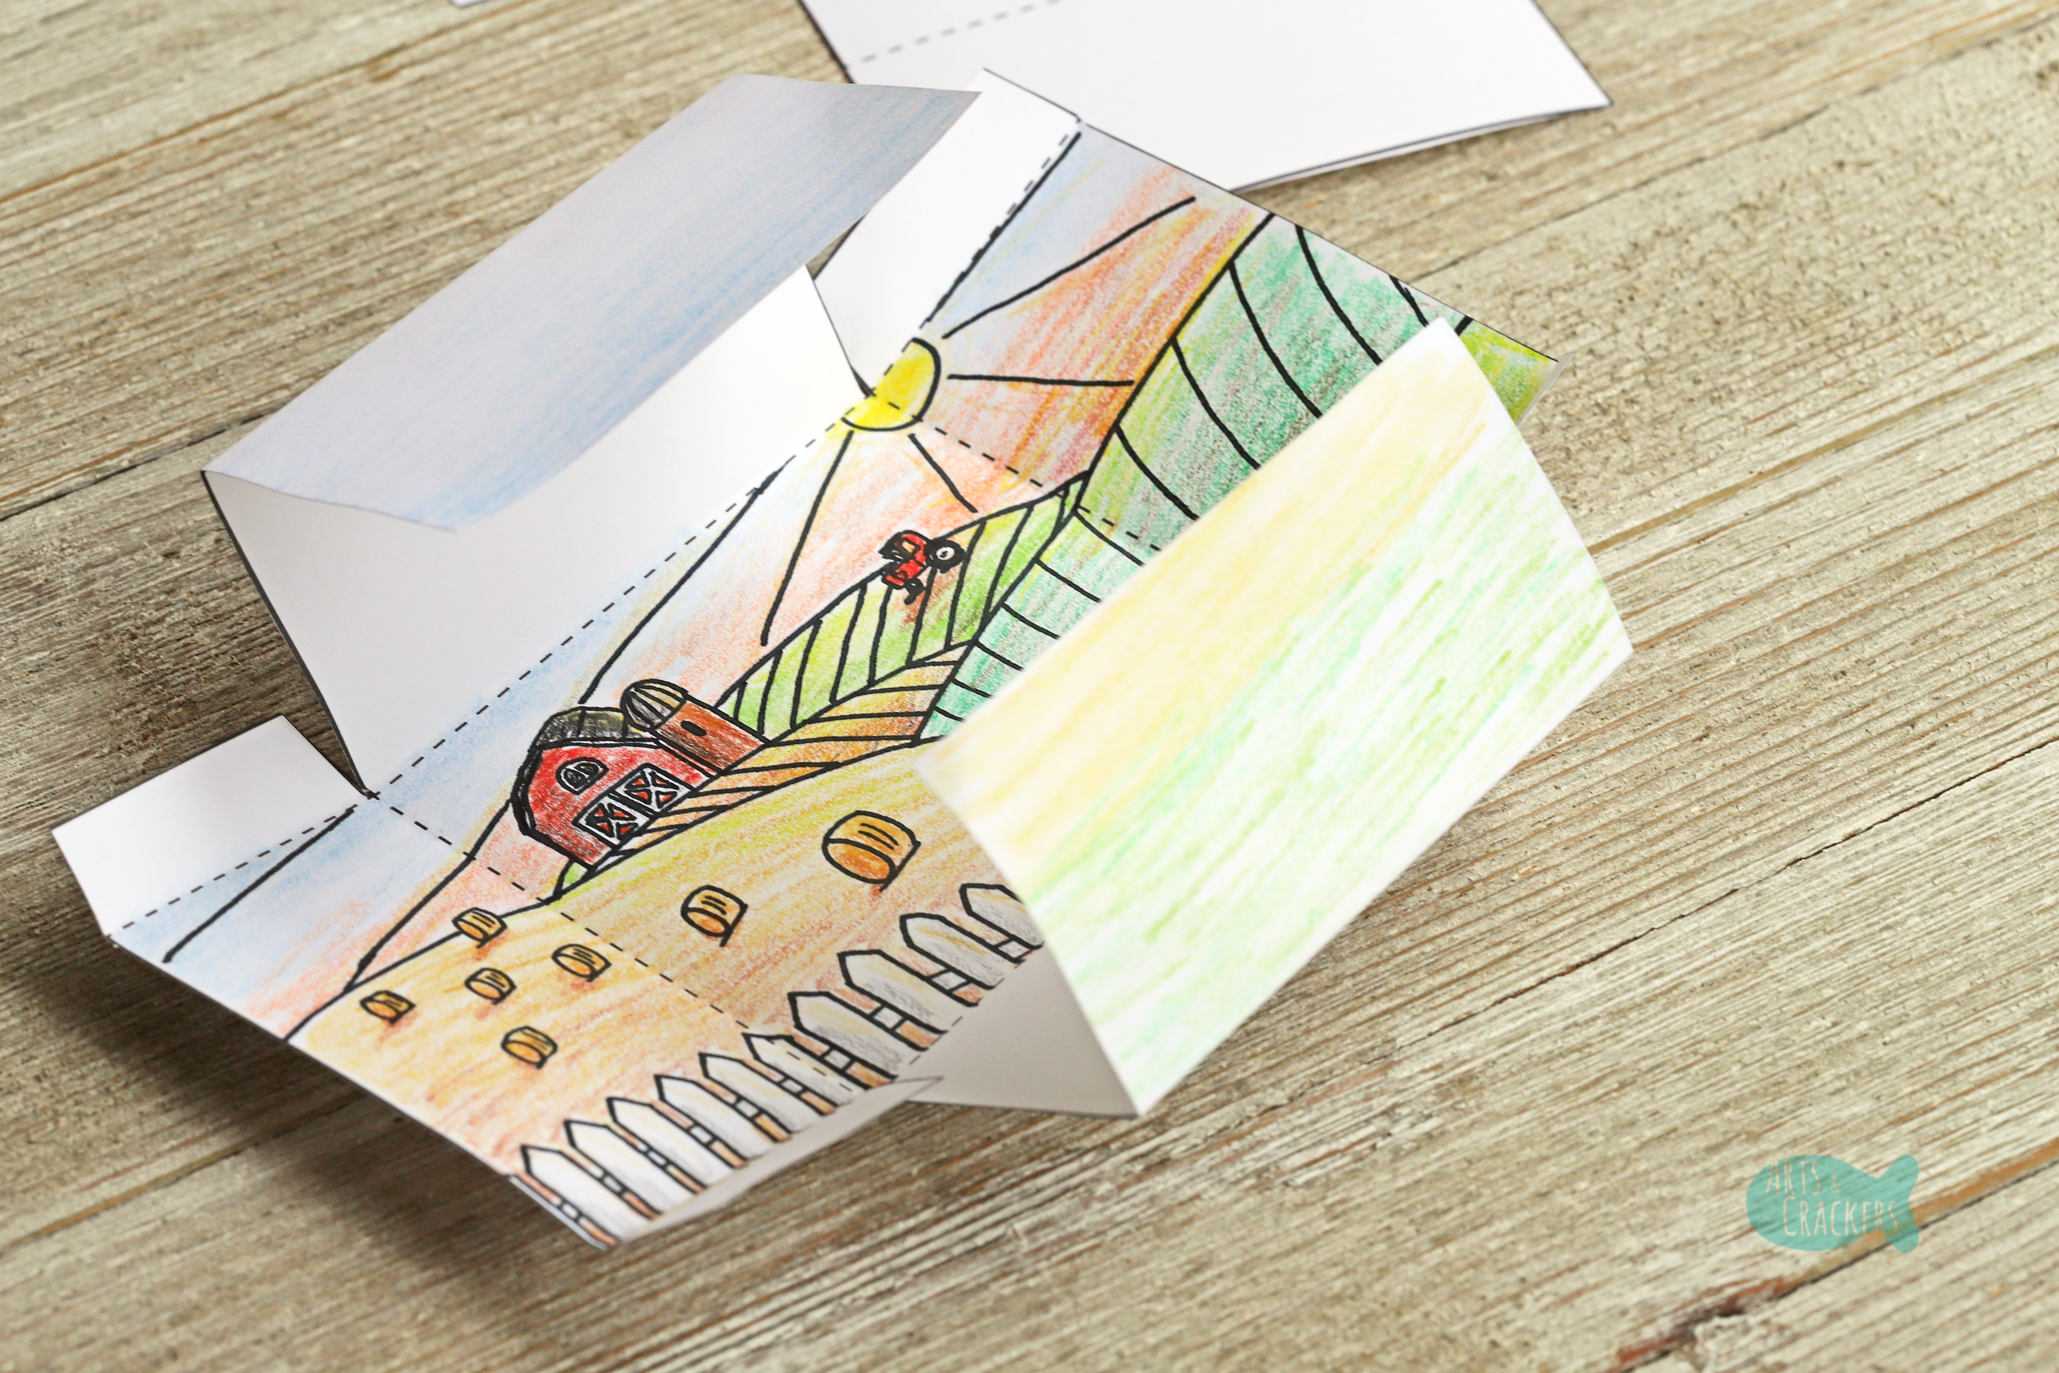
4. Now it is time to assemble the box! Make a fold on each dashed line. Each piece will fold inward towards the illustration. I like to fold everything in before placing everything into assembly position (sort of how you prepare for certain folds in origami). The “Adopted” sign can be folded either way; if folded backwards, you can stand the sign next to your animal habitat diorama, while if folded inwards you can add a picture on the top and it will look like a pamphlet or document.
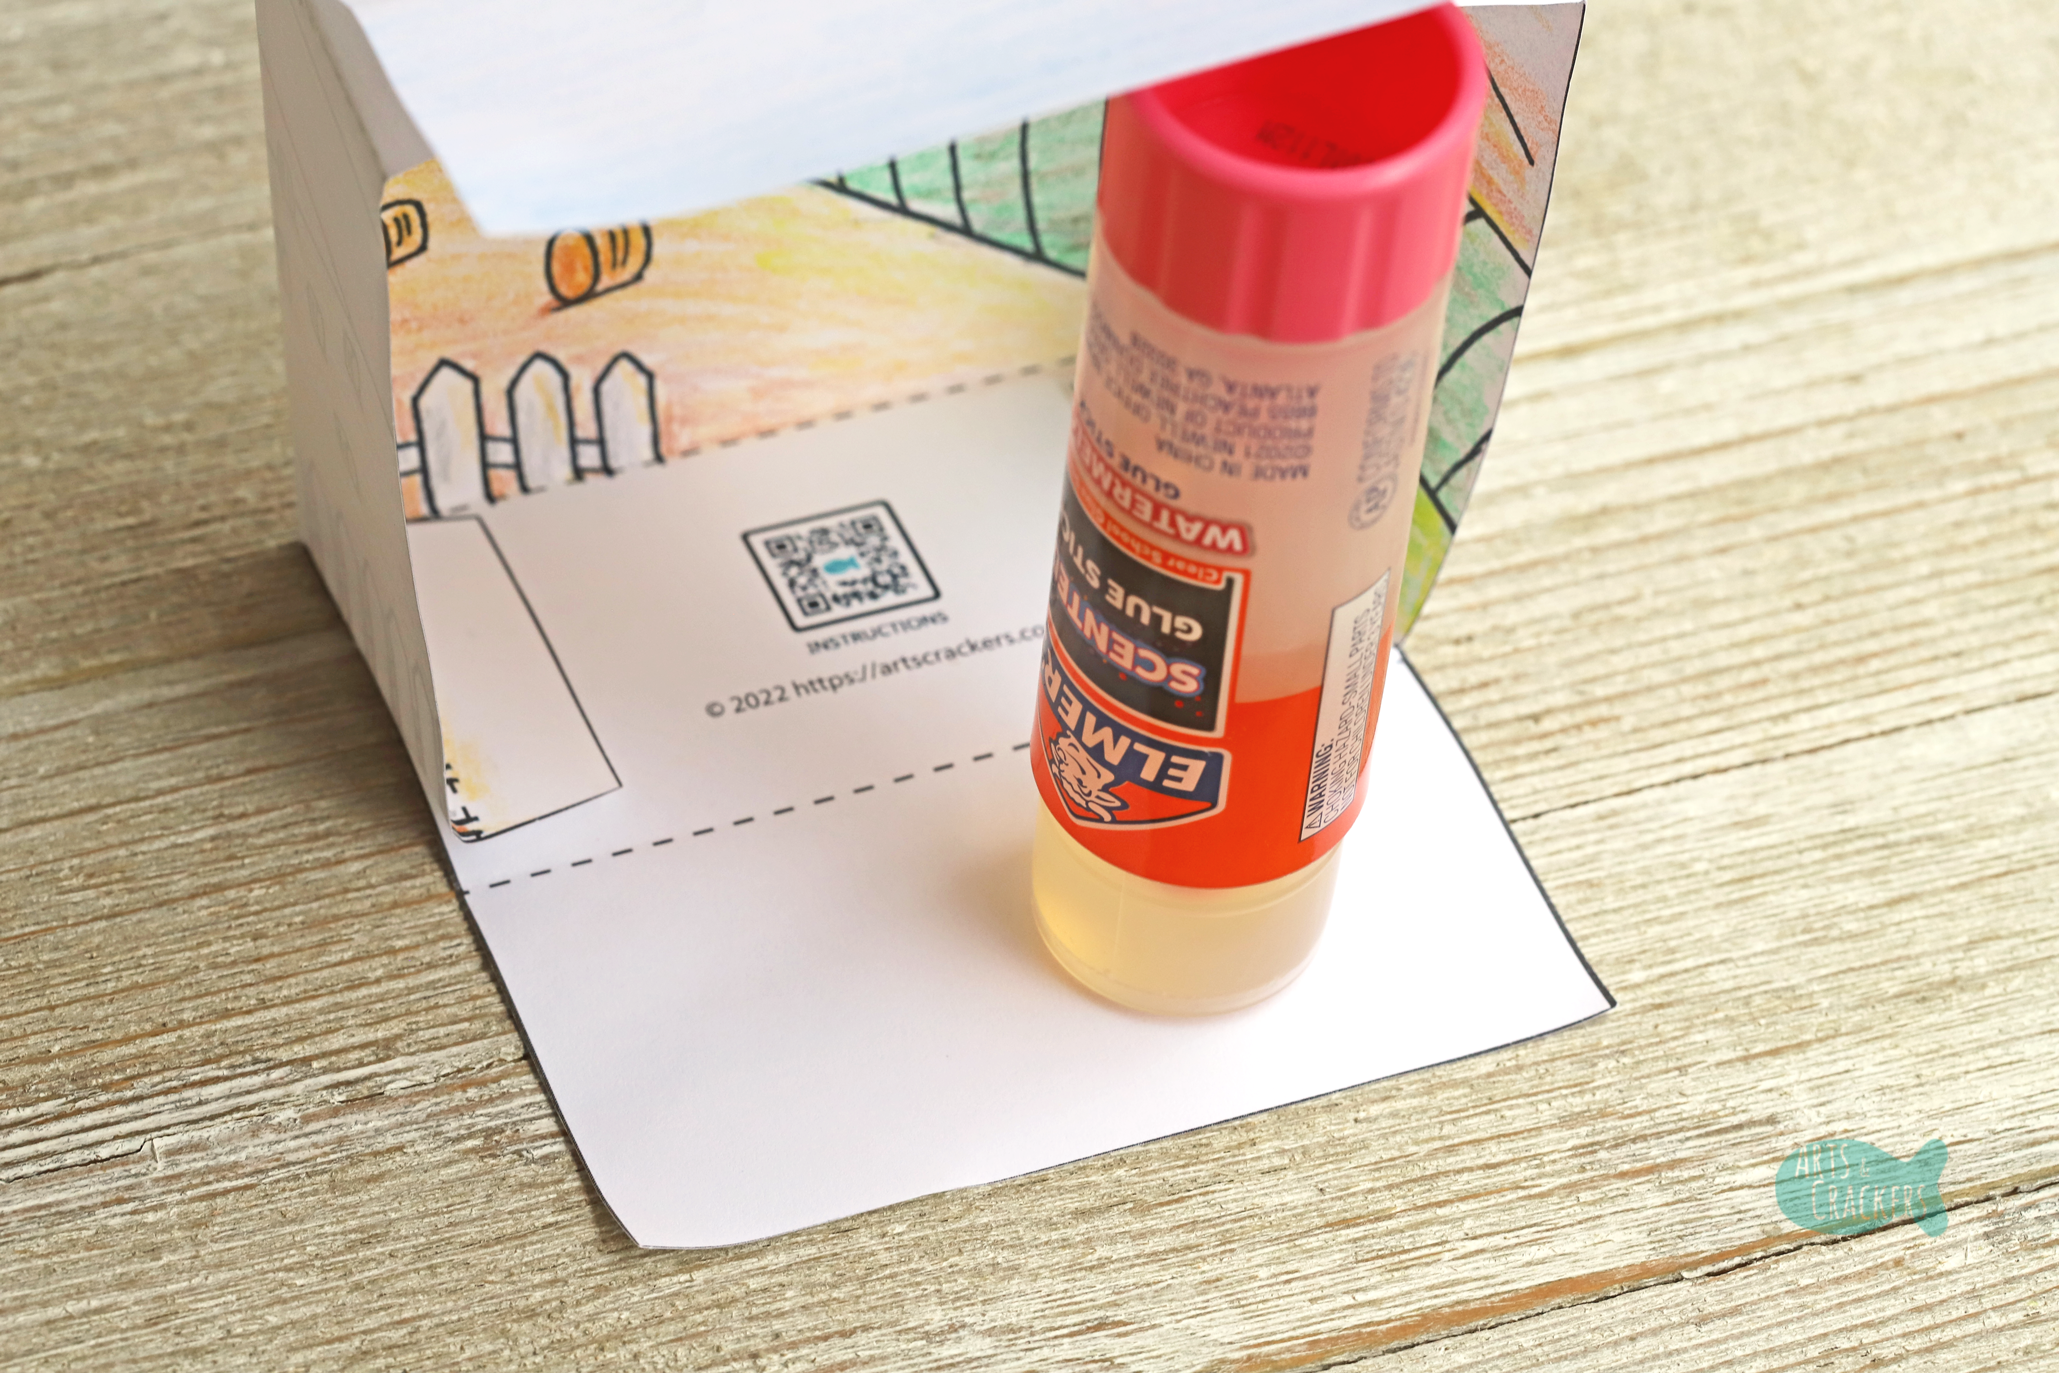
5. Using glue or double-sided tape, assemble the box. the small trapezoid-shaped tabs will attach to the long, thin rectangles (like the one with the QR code), then the outermost long, thin rectangle sides will fold inwards towards the art to cover the tabs and reinforce the top and bottom of your paper box.
*Note: Make sure the glue you are using is not too wet, or you may risk smudging your beautiful coloring. This is why I recommend using a glue stick or double-sided tape before other types of glue. I never planned to purchase scented glue…that sounded like a questionable idea…but I cannot pass up clearance pricing, and, I’ve gotta say, it does smell pretty good!


6. If you choose to, decorate your scene a bit more! Add pompoms, ribbon, mini silk flowers and leaves, sequins, or other items to make your animal habitat feel like home. If you wish, you may even glue on some sand, rocks, puffy paint, glitter glue, or anything else that may make your diorama floor look more realistic too.
7. Place your animal into its new home! If you have an animal that flies or swims, you may want to try adding a small hole at the top of the diorama, then tying clear fishing line around your toy animal and poking it through the hole and knotting it so your animal “floats.” You could also place your animal on a rock or just set it inside and use your imagination!
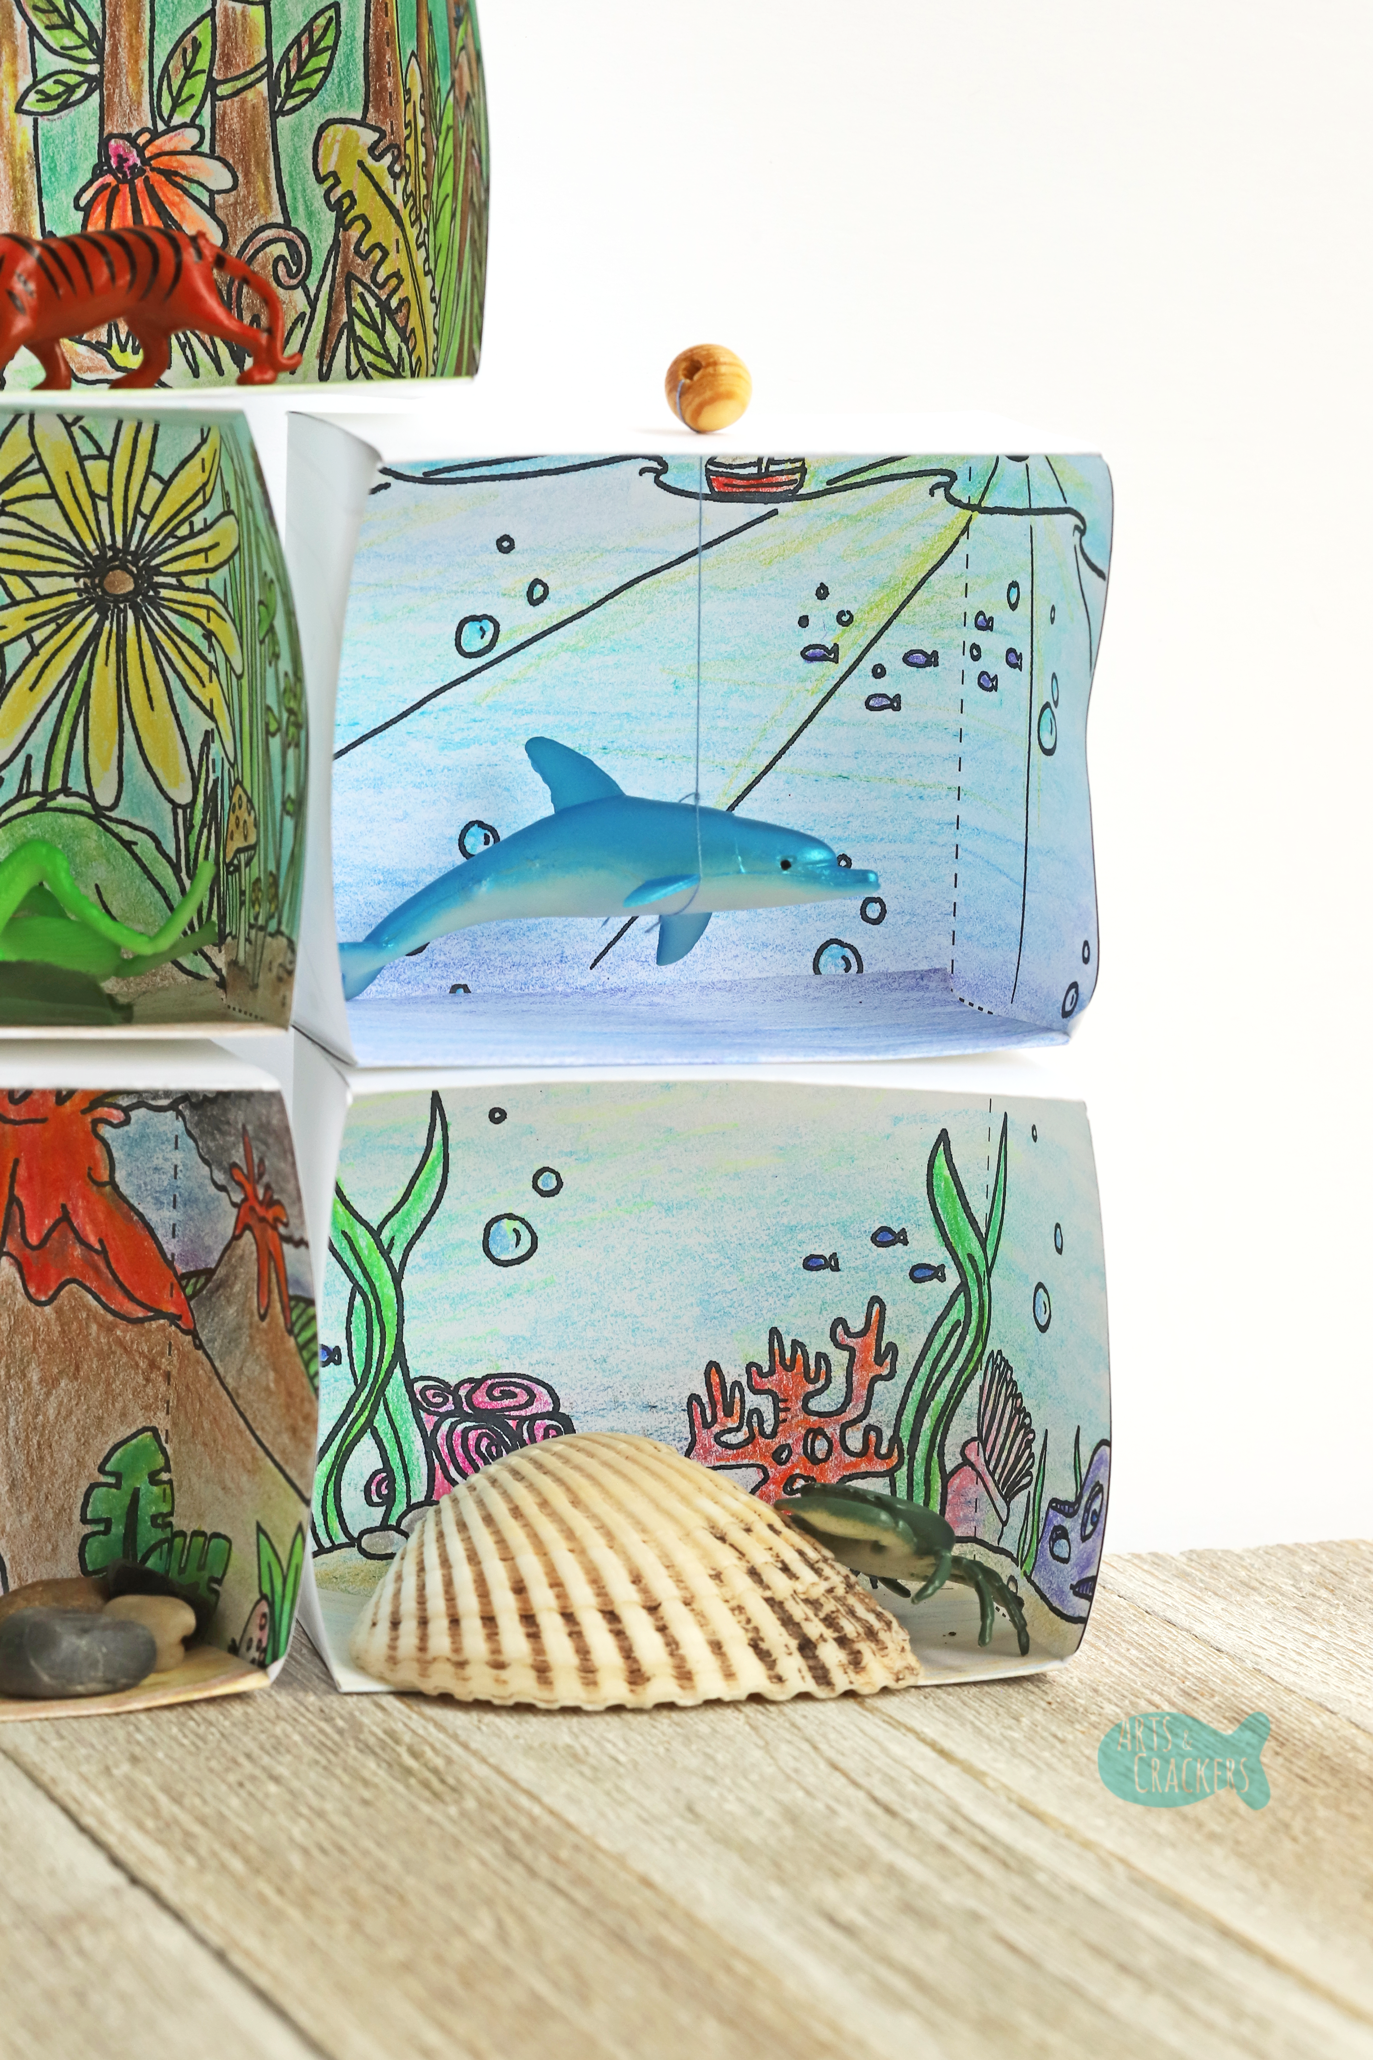
My boys realized that the water scenes work well together when you stack them! I loved their idea, so I wanted to share it here.
My boys did such a great job with theirs! I love E’s “Dessert Desert” —how creative!
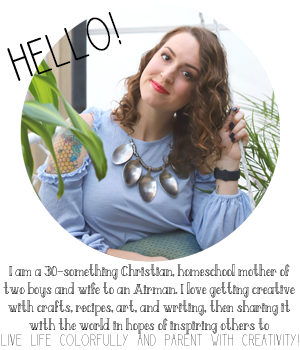
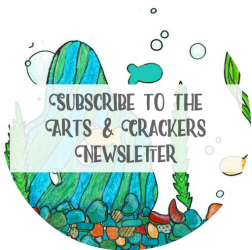
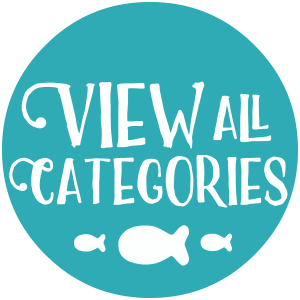
Here’s how our treat stand for trick-or-treaters turned out! I dressed like a zoologist last minute and we set up all of the habitats, some decorations, and our bean bag toss game from our Zoo Party. I also had bananas and apples for littles who were too young for the small toys (or bigs who really did not want the craft kit, though most of the big kids absolutely loved it!).
Love paper crafts? You’ll love our Bunny Seed Packet Envelopes!

Print Your 3D Paper Animal Habitat Diorama Here!

Check out our other Non-Candy Halloween Ideas and Coloring Pages!
Read also: Safari Playdate, Zoo Birthday Party At Home, Ocean-themed Birthday Party, DIY Glow-in-the-Dark Solar System Mobile, and Fauvism Art Lesson
Looking for more? View these categories!


What a creative idea for a non-candy treat! I absolutely love the concept of the 3D Animal Habitat Diorama and the educational angle you’ve brought into it. Such a fantastic way to engage kids and get them excited about learning! Do you plan to design more themes in the future? Would love to see more!
Thank you! They were a huge hit and can totally be used for projects year-round.
I did want to eventually do more so it would be even more complete, but I have not had time to revisit it this year. I do provide a blank one to accommodate this in the meantime, and it can be drawn on or have any habitat pictures, that are not already included, glued to it.
I don’t see a link to download. Is this free or do I have to pay for the pdf?
Hi Jannelle,
I am just seeing this (I guess my site stopped notifying me of new comments). There are several links to the item within the post, both text links that have specific wording for this download (“print your 3d paper diorama here”), a button with “shop my Gumroad store,” and a widget that has the printable’s Gumroad listing directly on my site (rather than being redirected)—but this may take a while to load. Click on one of these, then select the option that you want—the FREE blank one, the paid coloring page one, or the paid full color one. After that, input the price (you can pay the minimum that is listed for the option you choose, from $0 to $10, or you can pay more). Make sure you select the product you want before paying, though, or you’ll only end up with the free blank template.
Hope that helps.
I paid for the coloring templates but I only got the diorama template.
Hi Marie, I see that you manually input to pay $1 for it, selecting only the default free item. I tried to leave info on this in the listing, because this happens here and there (so no worries, you’re definitely not the first to have this happen with selecting a different item than you intended to), because the platform can be a bit confusing with it. However, the paid item is also $5, not $1, so you will need to email me and I can either give you a one-time $1 discount for the paid item or you can re-purchase the free one for the missing $4 and I’ll send the paid coloring one. I will also send you an email in case you don’t see this. Thanks!
Hi Alyssa I paid $5 for the coloring templates but only got the blank box.
Hi Silvia, I apologize for just seeing this. I have been battling spam commenting that makes it through the filters and looks legitimate, and this was buried in a collection of those.
I was able to find your order and changed the version type! It should be in your Gumroad library now.
How Gumroad has it formatted, several get confused and don’t realize you also need to select the product name from the drop-down list. If something like this happens again in the future, please feel free to reach out via email. I will likely be able to see and respond to it much more quickly.
Thanks for your support!
There is too many spammy looking links I have no idea which one to press to get the printable dioramas. Very confusing.
Hi Jen, there should not be any spammy looking links. If there are spammy looking ads, they will be labeled as ads and you can report them. (I have little-to-no control over them and already tightened up my settings as much as possible to avoid this. Unfortunately, I do have to run ads because most everything I offer is totally free; this helps keep the website afloat so I can continue to offer free products.)
If you are unsure on something, please email me screenshots and I’ll help the best I can as quickly as I can.
There are only three ways you should be able to get to these, and they should be clearly Arts & Crackers affiliated with clear instructions:
1) Click on my actual linked text within the post (it will be the same text as the rest of my post and will say something specific like “Print Your 3D Paper Animal Habitat Diorama Here!”).
2) Look for branded buttons (with my Arts & Crackers logo or colors) that say things like “Shop my Gumroad Store.”
3) Look for the Gumroad widget that pops up towards the bottom of the post, with the full information for the product and how to purchase it. If you have pop-ups blocked or slower internet, this one may not fully load, which is why I have the two other options above.
Anything that is not on brand is likely not me.
If all else fails, you can find it by going directly to my shop at gumroad.com/artscrackers.
Again, I am happy to help the best I can. Email me at alyssa @ artscrackers .com. Thank you!