

Disclaimer: This is in no way a sponsored post. I am sharing per the number of requests I
receive about this. Arts & Crackers is not responsible for injuries sustained while building
or using this project. Basic handyman, carpentry, and electrical knowledge required.
Please exercise caution when working with tools, electricity, and glass and make sure the
piece is sturdily mounted on the wall for safety.
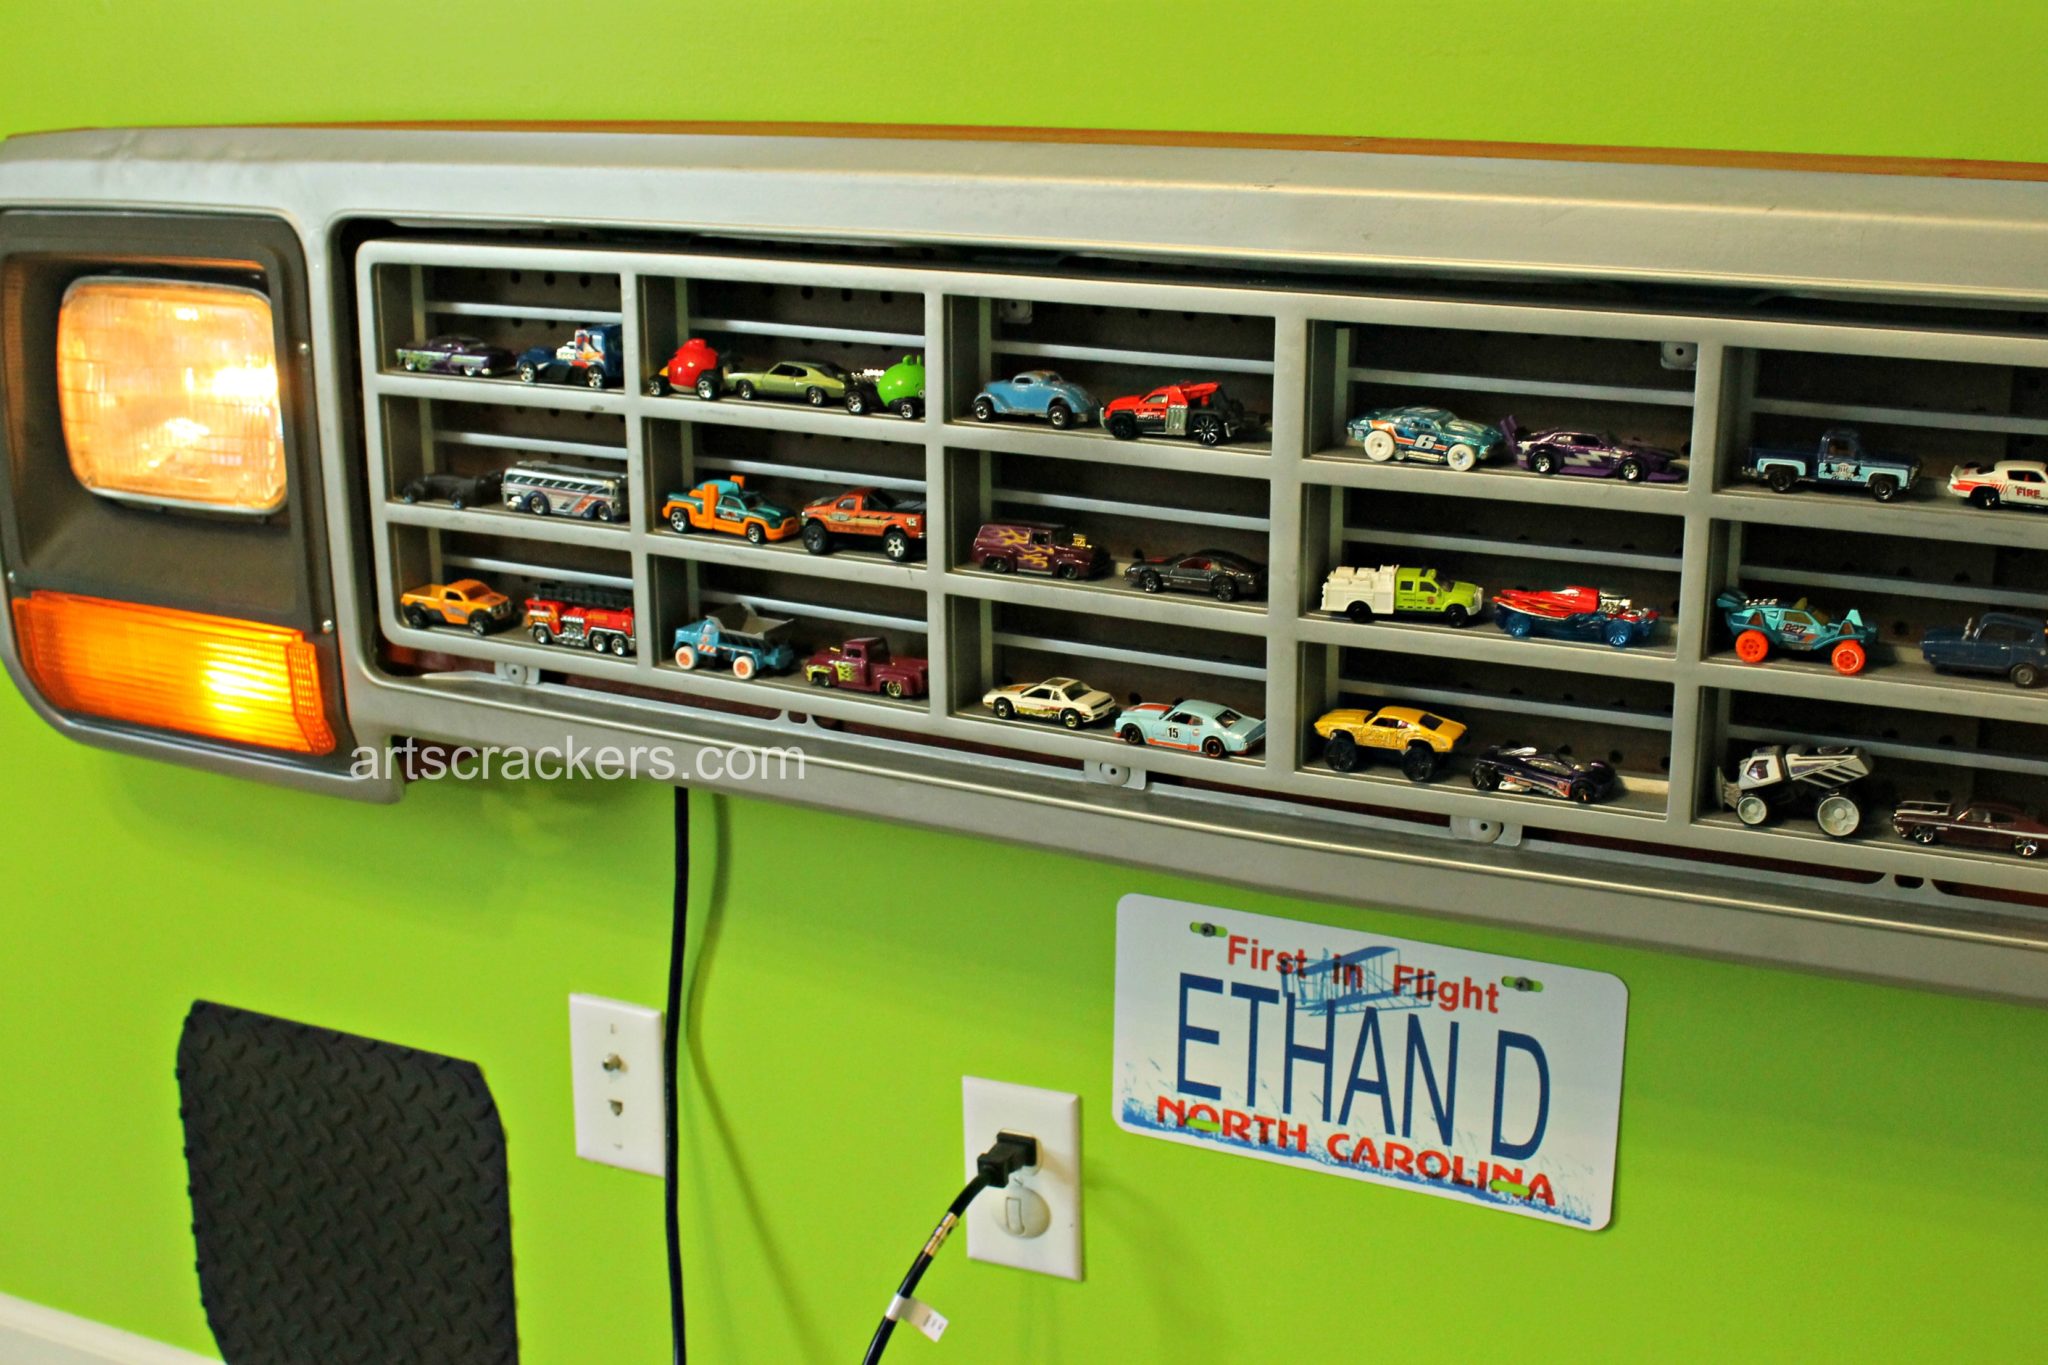
 At our last house, my husband made this awesome Truck Grille Organizer for our son’s room. We had purchased an ’81 Dodge Ram truck and it wasn’t doing so hot. We decided to sell it for parts, but I noticed that my son’s Hot Wheels cars would fit perfectly in the grille so I told my husband to keep it.
As pictured in Decorating My Toddler Son’s Bedroom
Initially I had planned for him to just put up the grille as-is, but he, being such an awesome daddy, decided he wanted to make the lights work as well. Below you will find the instructions he gave me and a few pictures he took during the process.
I apologize ahead of time for the lack of detail and clear step-by-step pictures. We did this project before I really started recording things.
For this DIY, you will need basic knowledge of carpentry and electrical work and possibly how to pull a part from a vehicle if you do not find a separate one to purchase. Project measurements and tools required may vary based on your grille choice, tool availability, and preference. Again, please take proper safety precautions when doing this project.
What You Need
- Truck grille with lights (or you can add lights), cleaned and dents removed (we used the grille of an ’81 Dodge Ram as it had small slots for the cars; if you want a used one, check a junk yard)
- 1 x 8 or 1 x 10 wooden boards
- Screws
- 2-3 shelf hangers (with 3 mounting holes on both ends, excess of shelf hanger cut off if too long)
- 6 75-lb anchors
- Thin wooden board for the back (we used pegboard but will replace with plywood)
- Headlamps that fit (we used the glass ones included, but recommend finding plastic ones)
- Blow torch (if using glass)
- Long bolt (if using glass)
- Vise grips (if using glass)
- Thick leather gloves (if using glass)
- Files/sanding paper
- Candelabra lights (basically small night lights)
- Two-wire pigtail plug (with no ground lug)
- Light switch (we used the chunky one) and wires
- 10 wing nut caps (2 bigger to fit more wires)
Directions
1. Make a wooden frame. Unfortunately, I cannot tell you exactly how as each piece will be unique, but here is where your general carpentry knowledge comes in. The frame was a basic box, except for the top and bottom pieces which had to fit the curved grille.
 2. To mount the top piece flush to the grille, my husband used a skilsaw angled at 45º from vertical and cut the wood to fit the tab where it curves downward and out. There was also a peak that needs to be custom fit as well.
3. Cut a box out of the side to attach the light switch where the kids can reach it.
4. For attaching the headlights, you will need to cut some thin boards to fit the back of the frame. My husband made slots for these so the pieces can easily be slid out of the way for mounting the grille to the wall and routing the lights and wires into position.
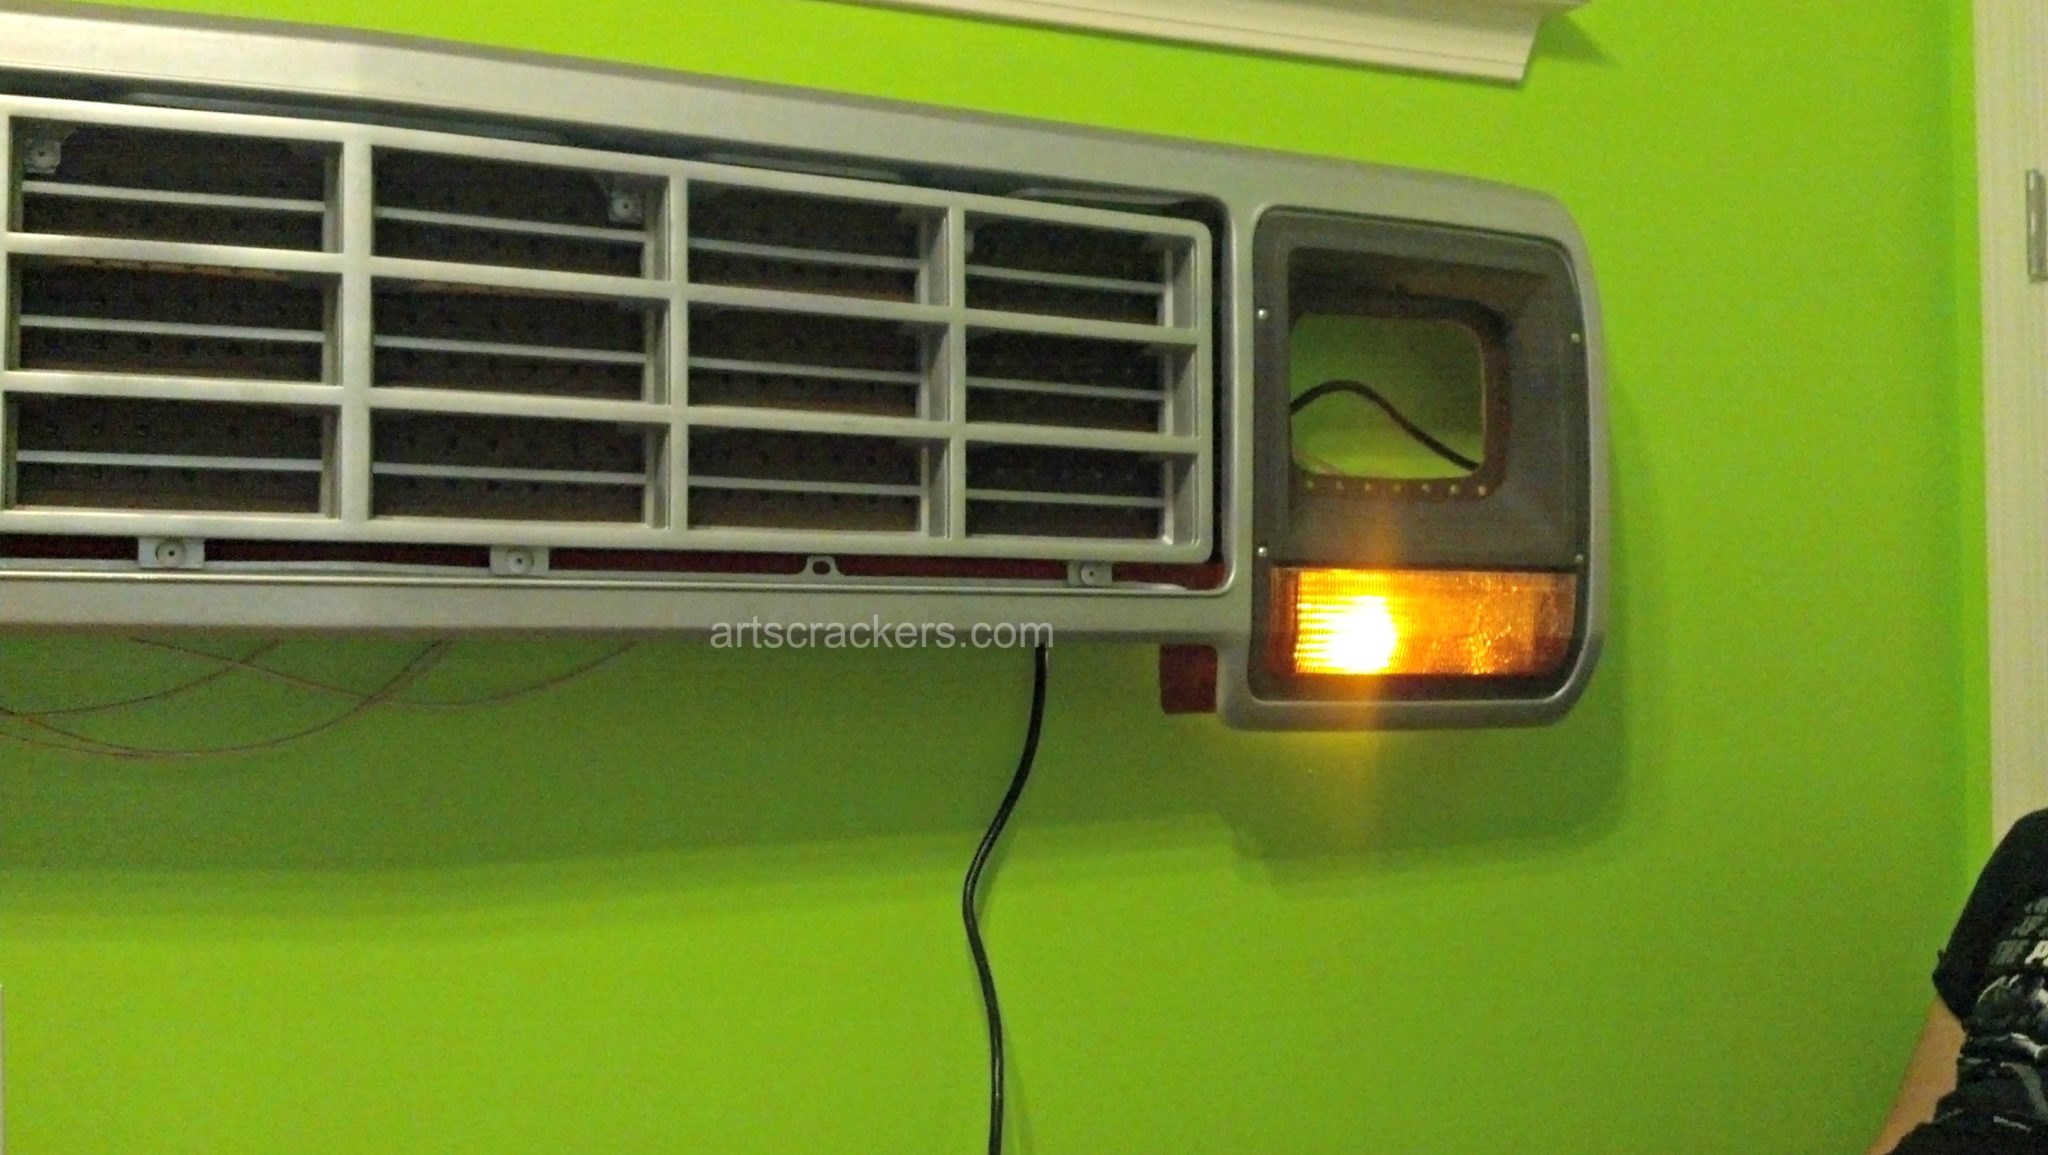
5. Cut a hole in the thin board to fit the headlights, according to the headlight bezel, so that when the boards are slid into position the headlights fit properly in the headlight trim pieces.
6. If you plan to have working lights, you can choose from plastic lights or the glass lights that come stock. We used glass, but would recommend finding plastic lights as it is easier and safer to prepare.
7. Choose how you want to create the electricity. You can either try to convert the AC power from the wall to DC using the old wiring harness from the truck, or go the route we did using candelabra lights. Again, use plastic lights if possible so you can just cut a hole to insert the lights.
8. If you have to go the glass headlight route, I recommend having a friend help or spot you. You will need to create a hole in the glass to insert the candelabra lights into. The first step here is to head the glass slowly. Make sure it is SLOWLY or the glass will shatter! Please wear your heavy duty leather gloves for added safety and I suggest long-sleeve clothing and safety glasses as well.
9. Once the glass is almost red, push the bolt and grips into the softened area and snap it out of the hard housing to create a hole. Let it cool. You can use files to open the hole up wider if needed or sand it down.
10. Candelabra lights are small night lights with two pieces of metal hooked on it for you to squeeze together and snap into the holes. Wire these with a two-wire plug (has no ground wire.) The black wire goes on one side and the white on the other.
11. Make sure everything is hooked up parallel so that you do not end up with one bright light and several dim ones. This means one “power wire” from each light connects from each light to the white wire side of the switch. Route one wire from each light to the ground side of the switch and they will be the same brightness.
12. Since the frame will be rather heavy, you will need a good mounting system attached. My husband used a shelf hanger, cut to fit, and made sure it had three mounting holes both for the part touching the frame and the part touching the wall.
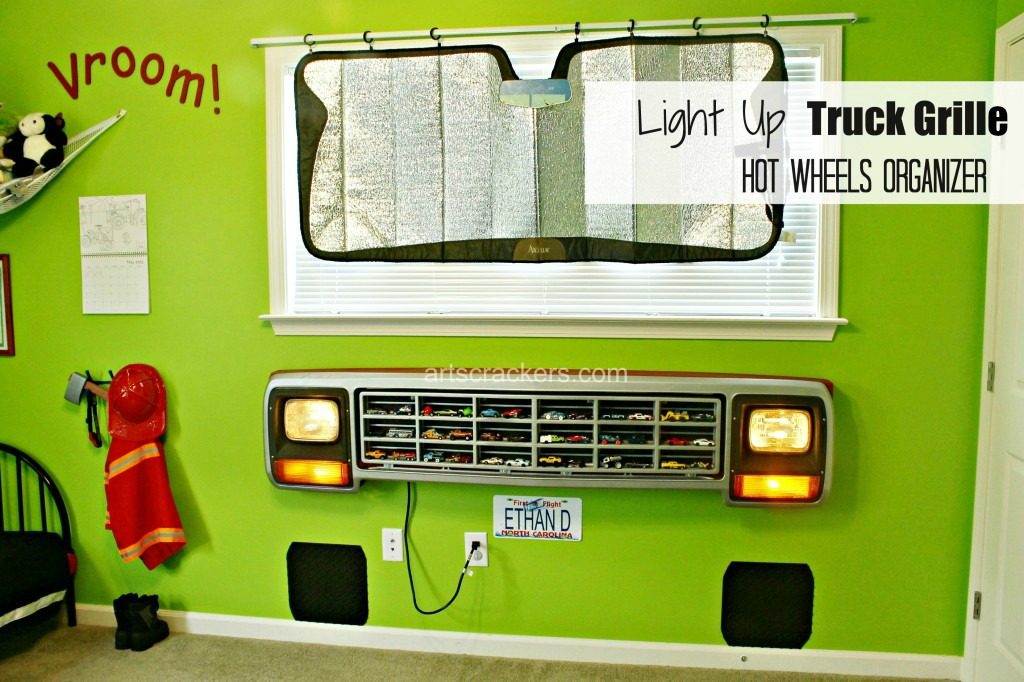
 13. Mount the grille to the wall. Make sure it is near an outlet and that you level out the grille when you hang it. Start with the frame then add in the lights.
 Again, I apologize this post cannot be in more detail, but hopefully this helps those who have the basic knowledge required and have wanted to work on this project and need a place to start!
 Know someone who could use this? Hit the “share” buttons below! Be sure to follow Arts & Crackers on social media (buttons at the top right of the page.)
You May Also Like
- Decorating My Toddler Son’s Bedroom
- Decorating Tips–LEGO Wall
- DIY At Home Oil Change Tutorial
- Car Wash Hacks and Involving Your Kids
- Build a Fort in 5 Simple Steps
- DIY Framed Burlap Wall Hanging
If your child LOVES cars, he or she may also love this Cars Themed Birthday Party!
-Who would love to have this? What room will it decorate?


I think that is pretty AWESOME and very creative! I love it , and pinned!
Thanks so much, Kim!
How cool! I love the window shade hanging in the window!
Thank you, Clarissa! Yes, we bought it for our car and it was too big. The bedroom window was shaped like a car window so it works as a great little shade.
Such a creative idea – I love it!
Thanks Sarah!
I love the how crafty you are! you have good ideas!
Thank you so much, Dana!
Very neat idea! So creative!
Thank you, Kristin!
Brilliant! I consider myself a creative person but never in 1,000 years would have imagined to repurpose this into a functional work of art. I could see this being used In a man cave too!
Thanks so much, Ana! Yes, actually I’ve had someone reach out to me for the instructions for this so he could make one for his garage. So much fun!
This is AMAZING! Your husband is so talented!
He is!! I’m so spoiled 😉
I absolutely ADORE this!
I do too! I have a great husband.
This is soooo incredibly awesome!! Nice work!!
Thank you, Nell!
This is the cutest idea ever! I don’t know how I missed this before!
Pingback: 20 Genius DIY Toy Organizer Ideas - Innovative and Pretty Toy Storage
Pingback: Hot Wheels Display Ideas to DIY – Moms and Crafters
Pingback: 20+ Genius DIY Toy Storage Ideas For Boy Toys
Pingback: Hot Wheels Display Ideas to DIY * Moms and Crafters - Knotty Threadz
Pingback: Wall Decor Ideas For Your Home - Scrappy Geek
Pingback: 21 Clever Toy Car storage ideas — Offbeatbros
Pingback: 31 clever Hot Wheels Storage Ideas to tidy your playroom - Learn Along with Me
Hello! Love this – do you ever make these for sale purposes?
Hi Randy, unfortunately we do not at this time. Someday hopefully we can add that option, but we have been too busy lately for setting up a handmade business.