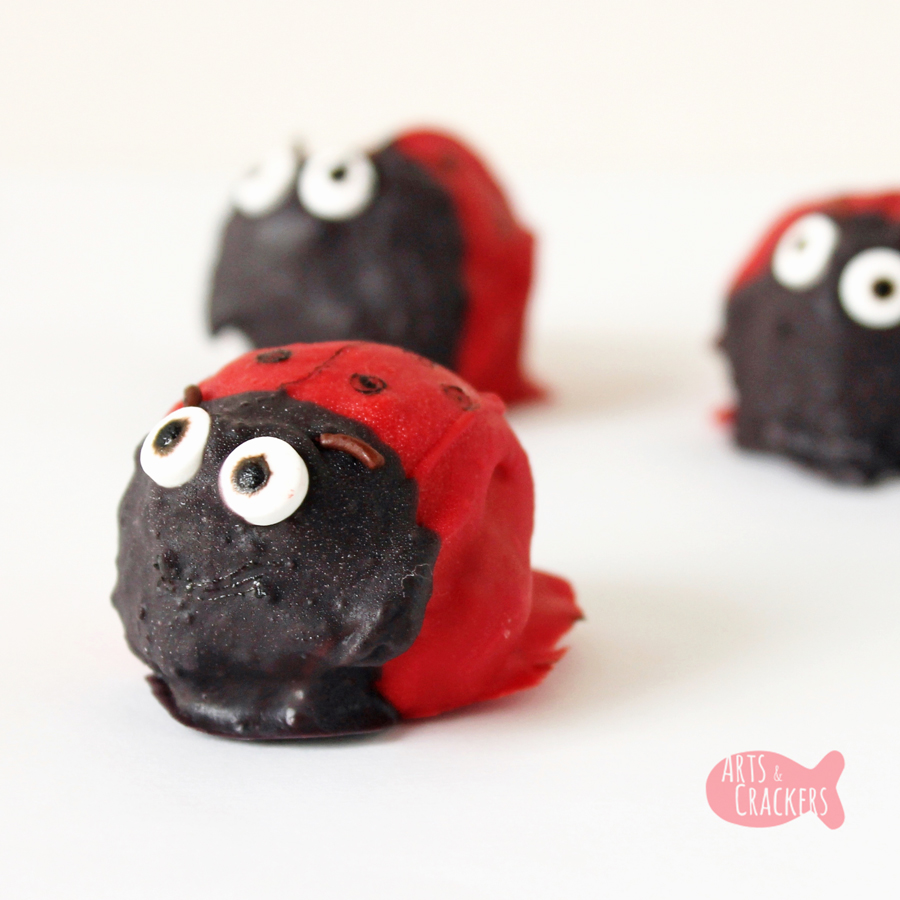
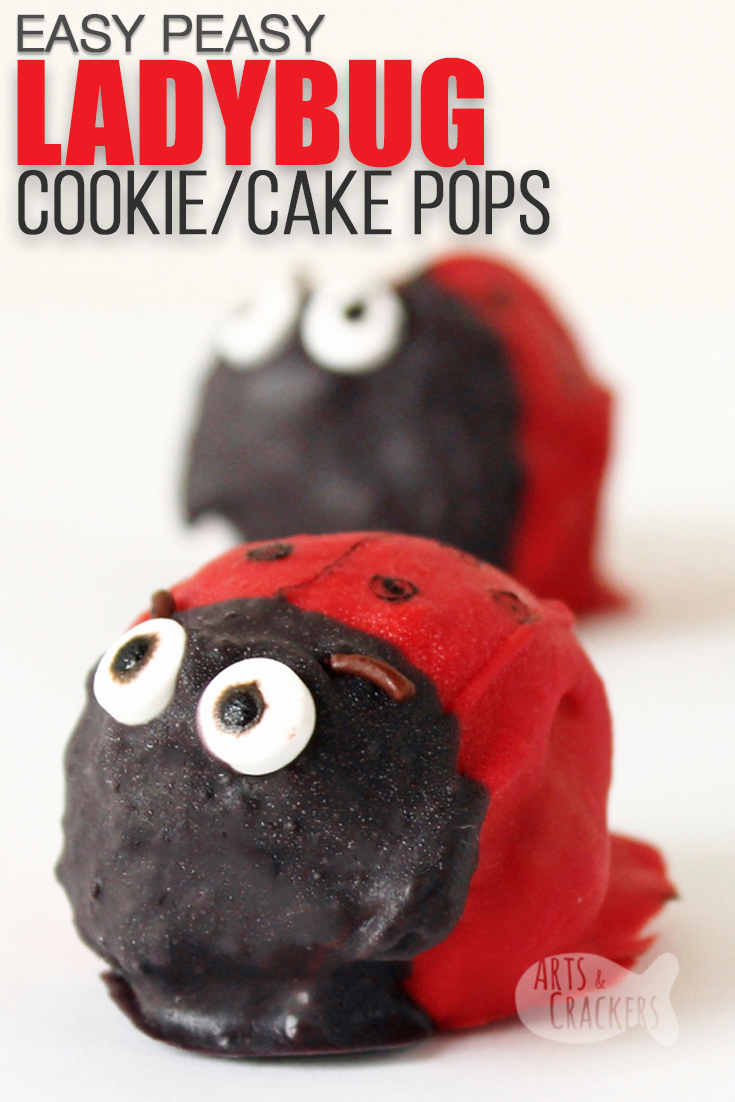
When it comes to making treats for the kids, we are all about all the cute things. For spring, we love to make these Cute Ladybug Cake Pops (or Easy Ladybug Cookie Bites, depending on your choice of filling).

This post contains affiliate links. By purchasing through these links, you help support the family behind Arts & Crackers at no added cost to you! Thank you!
In the past, we have made Love Bug Cookie Balls, but we wanted to make something that isn’t just for Valentine’s Day. These Cute Ladybug Cake Pops are fun all spring long. Bring them to parties, make them with the kids just because, use them as cake toppers, or add cake pop sticks so they look like they are flying around!
Cute Ladybug Cake Pops | Easy Ladybug Cookie Bites
Make these cute Ladybug Dirt Cups with some of your leftover melting candies!

As I mentioned above, you can make this cute ladybug treat with cake or cookies. I usually use cookies, because it is faster and easier, but sometimes I use cake instead (so I can easily make them gluten-free). You can find basic recipes online (like this cake pops recipe or this no-bake cookie balls recipe).
For These Cute Ladybug Cake Pops, You’ll Need:
- Cake or cookie balls (essentially this is just cake + frosting or ground OREO cookies + cream cheese)
- Red Candy Melts
- Black Candy Melts
- Black chocolate jimmies (sprinkles) — try to find the longest ones
- Candy eyes
- Edible ink marker
- Black sugar pearls (optional)
- White or pink jimmies sprinkles (optional)
You’ll Also Need These Supplies:
- Parchment paper/baking mat
- Baking pan
- Microwave-safe bowl or melting pot
- Fork or candy dipping spoon
- Cake pop sticks (optional)
Directions
Prepare your cake pops or cookie balls. Place them onto a parchment paper-covered baking pan and put them in the freezer or refrigerator, according to recipe instructions. This should be long enough that they will hold their shape for the next steps, but not so long that they completely freeze.
*Note: If you are adding cake pop sticks, you can attach those first (dip them into melted chocolate, insert them into the cake pops, then freeze/refrigerate them), or you can do this later.

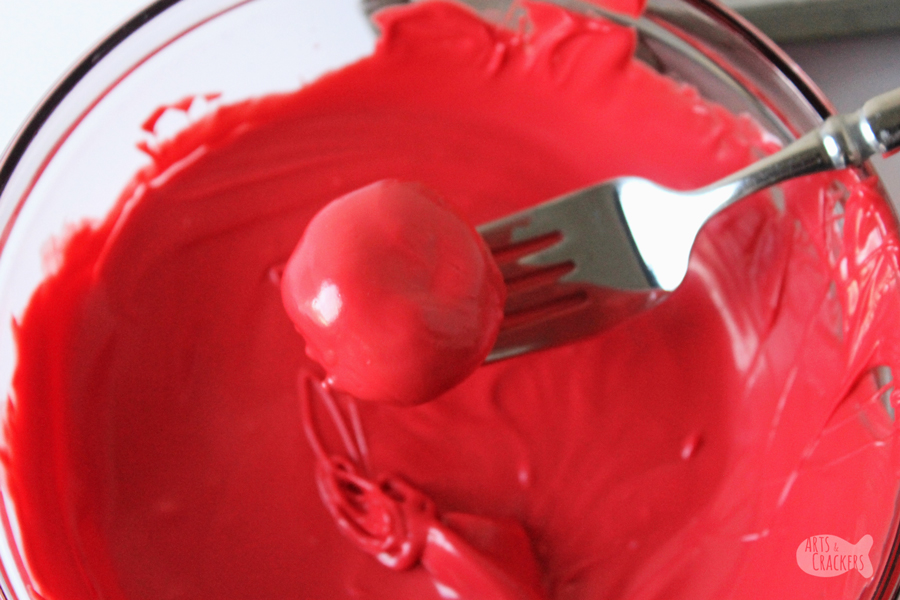
Melt the candy melts according to the package instructions. Use the instructions on thinning the melted candy if needed, so your chocolate does not end up too thick.
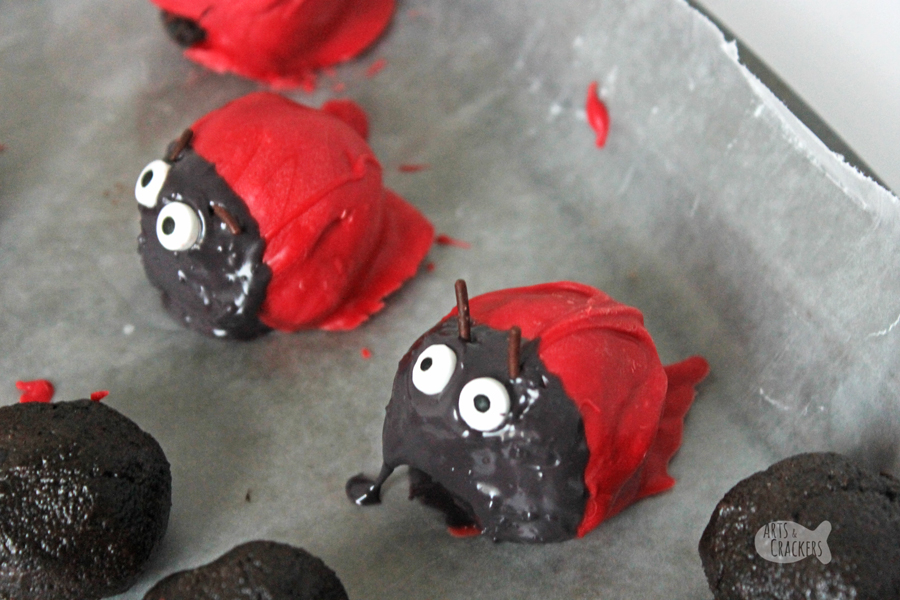
One by one, place the cake balls into the melted candy coating and turn them until coated. (Leave a small section at the bottom uncoated if you plan to add the cake pop stick at the end.)
Lift them out using a fork or candy dipping spoon, let the excess drip off, and carefully place them back onto the covered baking sheet.
If you are using black sugar pearls instead of the edible marker, add them at this point. Decide which side of the ladybug is going to be the body and sprinkle them on there, leaving the head area clear.
Place the cake balls back into the refrigerator or freezer until the candy coating hardens. If your house is not too warm, and you have the time, you may want to leave them to harden at room temperature. While I prefer refrigerated cake pops, I find that the candy coating has a tendency to sweat (sometimes even become melty) once it returns to room temperature after being refrigerated, so consider this when deciding what to do.
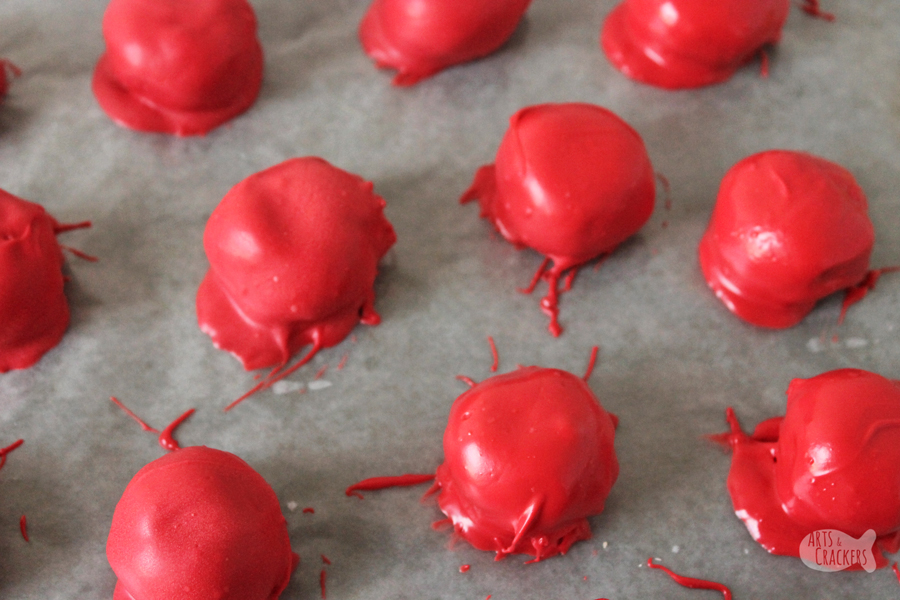
When the red candy coating has hardened, prepare the black candy melts.
One at a time, dip just the front bit of the cake pop into the black candy melt to give the little ladybug treat a head. You can hold them in your fingers for this, rather than using any special tools.
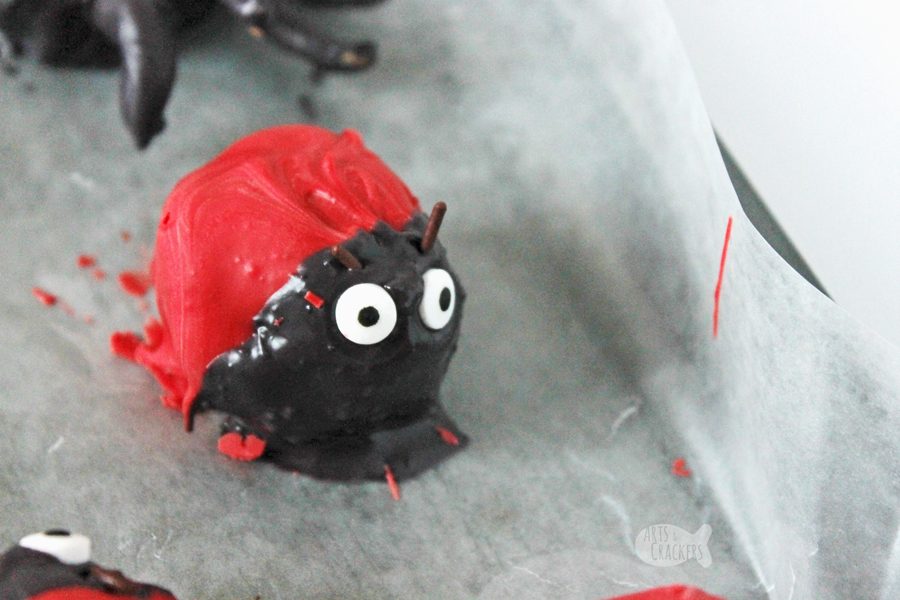
Before the candy coating hardens, add the candy eyes and sprinkle antennae. You can also add a pink or white sprinkle for a smile, if desired.
How cute are our Sugar Cookie Flower Pots with Ice Cream and Edible Flowers?!

Place them back onto the pan and, again, let the candy coating harden.
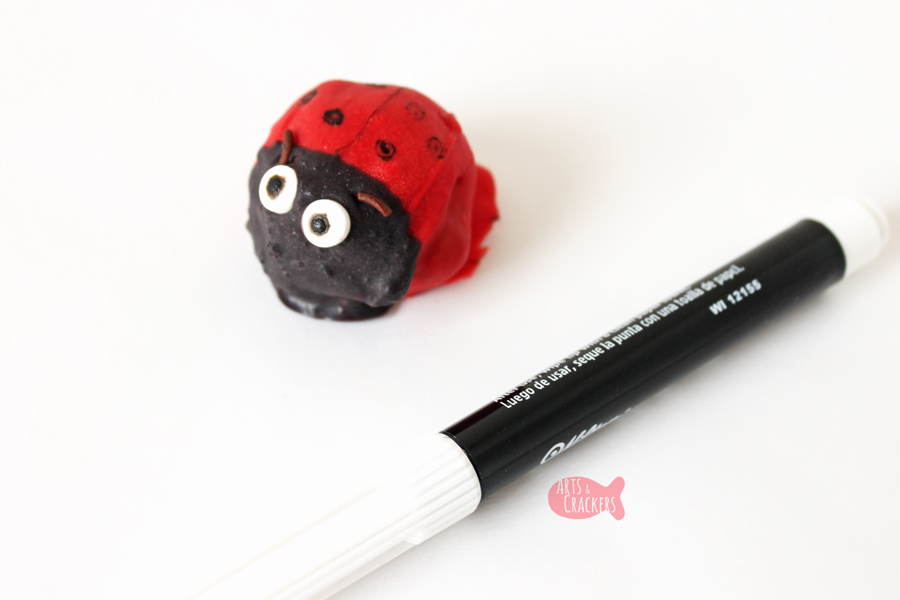
Once hardened, use the edible ink marker to add spots and a smile (if you decided against adding the extra candies).
If you decide to put sticks in them at the end, do it now. Dip the sticks into some melted chocolate, then insert them into the bottom where you didn’t add candy coating. Refrigerate or freeze and let the chocolate harden so the stick won’t fall out.

Serve your Cute Ladybug Cake Pops on green cake plates with leaf napkins! Place them on top of a cake to decorate it. Serve them with our Ladybug Dirt Cups.
Read also: Paper Bunny Snack Time Plates and DIY Flower Pot String Cheese Wrappers
Looking for more? View these categories!