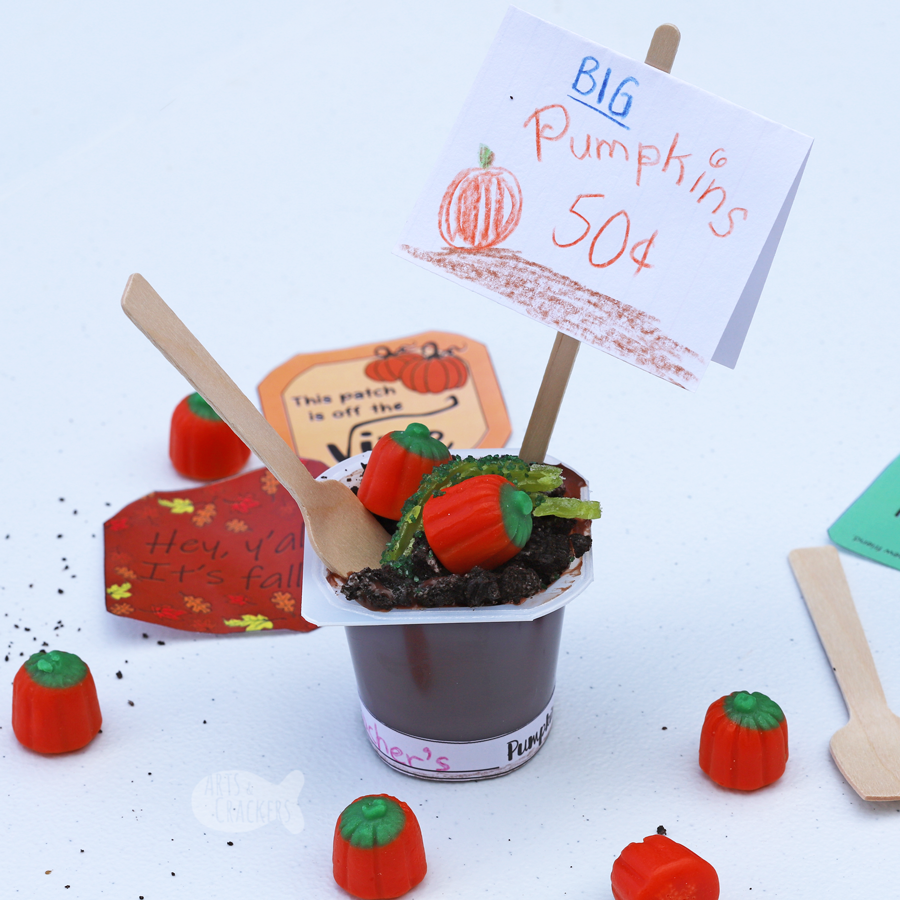
We would all probably agree that the last couple of years have really changed how we do things; I do not want kids to miss out on our favorite fall treat—Pumpkin Patch Dirt Cups—so we came up with a completely classroom-friendly version of our popular Original Pumpkin Patch Pudding Cups! This option cuts back on the spread of germs, but brings all the joy of the original!


This post contains affiliate links; by purchasing through these links, you help support the family behind Arts & Crackers at no added cost to you! Thank you!
One issue that many have been sharing when coming up with snacks to send with to school, whether it is a room parent or the teacher, is that homemade snacks are no longer allowed at many schools. Anything brought in must be sealed or individually-wrapped. Our classroom-friendly Pumpkin Patch Dirt Cup Kits are just the solution!
Most of the items we used for our Pumpkin Patch Dirt Cup Kits are individually-wrapped so the children can open and build their snacks all on their own. A couple of items (like the Mellowcreme Pumpkins) do not come in small packages, so I will share some sanitary, germ-free ways to deal with this in the instructions below.
New Classroom-Friendly Pumpkin Patch Dirt Cup Kits

Supplies Needed:
- Individual chocolate pudding cups (1 per student/child/adult)
- Individual OREO sandwich cookie packs — 2-cookie pack or individual minis pack; you might even like this variety pack (1 per cup)
- Individual Green Sour Punch Twists (1 per cup)
- Mellowcreme pumpkins (2 per cup)
- Green sugar sprinkles (small shake per cup)
- Small condiment cups or disposable cups (1 per student/child/adult)
- Wooden stir stick (1 per cup)
- Blank 3×5 index card (1 per cup)
- Printable decorative lid labels (1 per cup)
- Printable name labels (1 per cup)
- Double-sided and/or transparent tape
- Spoon (1 per cup) — I love these wooden spoons because they are environmentally-friendly and look like shovels!
- Coloring tools
- Scissors
- Tongs
- Mallet/hammer/rolling pin
- Napkins (it might get a little messy, depending on the ages of those participating.)
*Note that many of these items are optional; do what works for you. Some enjoy making these without the signs, while that is a big part of the activity for others. Some like to add extra decorations (we add sprinkles), while some like to keep it plain and just include the pumpkins and the “dirt.” Just have fun with it!

Some alternative suggestions for your Pudding Cup Pumpkin Patches:
- Use tongs to serve Mellowcreme Pumpkins straight from the brand-new package—no touching involved.
- Pre-cut the name labels if this is not part of your activity, as it may save much time and paper mess.
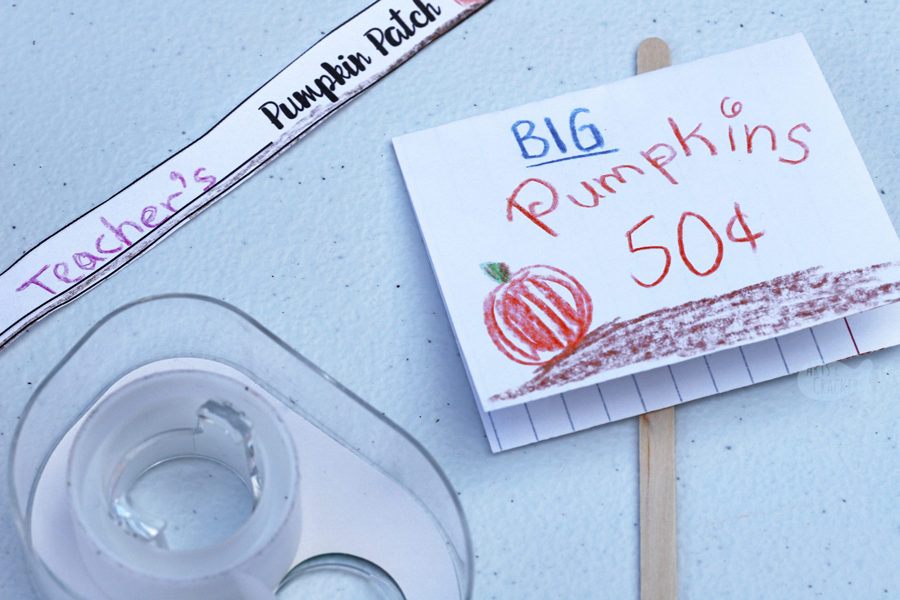
- Make the pumpkin patch signs together the day before, then surprise them with the Pumpkin Patch Dirt Cups already ready to assemble and enjoy.
- Don’t want to make custom pumpkin patch signs? Instead of taping the pudding cup label to the top, attach it to the stir stick and use that as your sign!
- Pre-crush the Oreos to save on time and mess, or let the kids do it themselves.
- Cut out the sugar sprinkles and/or the sour candies for reduced sugar.
- Offer lactose-free, vegan, or sugar-free pudding cups to those who need an alternative and still want to participate (and skip the cookie crumbs if needed or offer a gluten-free or low-sugar cookie alternative)
- For severe allergies, you may need to find an alternative to the Mellowcreme Pumpkins due to where they are manufactured or you may need an alternative because of dietary needs; consider these sour pumpkin gummies (which are also vegan), Halloween Juju candies (which are gluten-free and kosher), Peeps pumpkins (which are gluten-free but may contain milk), sugar-free orange lollipops or drops, or use paper pumpkin toppers.
- Unfortunately, artificial dyes are very difficult to avoid when making these classroom-safe and individually-wrapped. If you find alternatives that will work, I’d love to hear them!
- Don’t want a bunch of waste? Clean and reuse, craft with, or organize with the condiment cups when you’re finished!

How to Make Our Pumpkin Patch Pudding Cup Classroom Kits:
- Decide if you will prepare all of the supplies ahead of time or if your children/students will crush their own cookies, cut their own labels, and fold their own index cards.

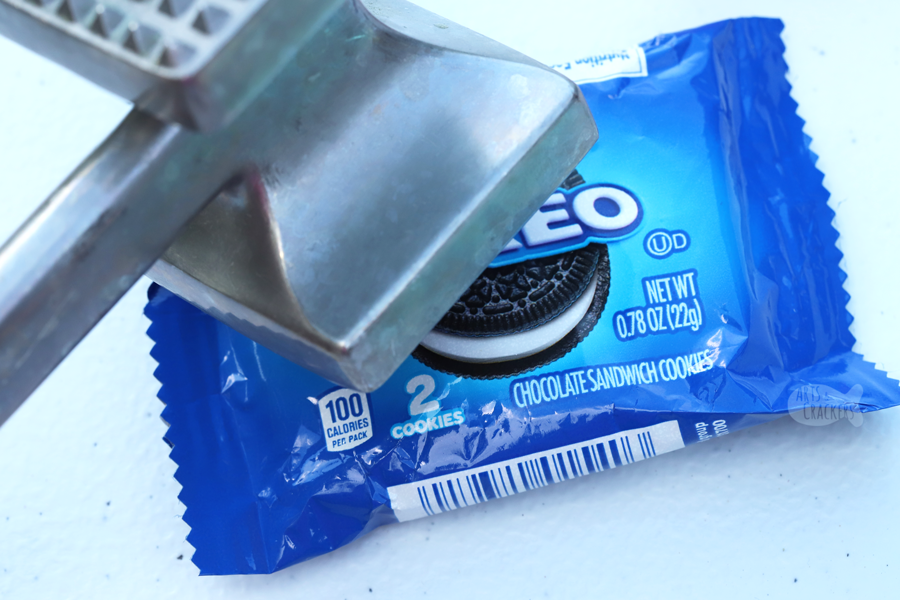
2. Prepare the kits: each full kit will include one pudding cup with a decorative lid label taped to the top, one package of Oreos (I carefully pre-crushed them in the package using the flat side of a meat mallet), one Green Apple Sour Punch Twist, one little cup, one stir stick, one index card (pre-folded or not), one name label, and one spoon.
3. If your students will be preparing their own supplies, do that first before opening up the pudding cups. Let them carefully crush the cookies, fold the index cards, decorate and assemble their pumpkin patch signs, and cut and color and tape on their name labels.

4. Walk around and fill the little cups with the decorative toppings—shake in some green sugar sprinkles and use tongs to place in the candy pumpkins.

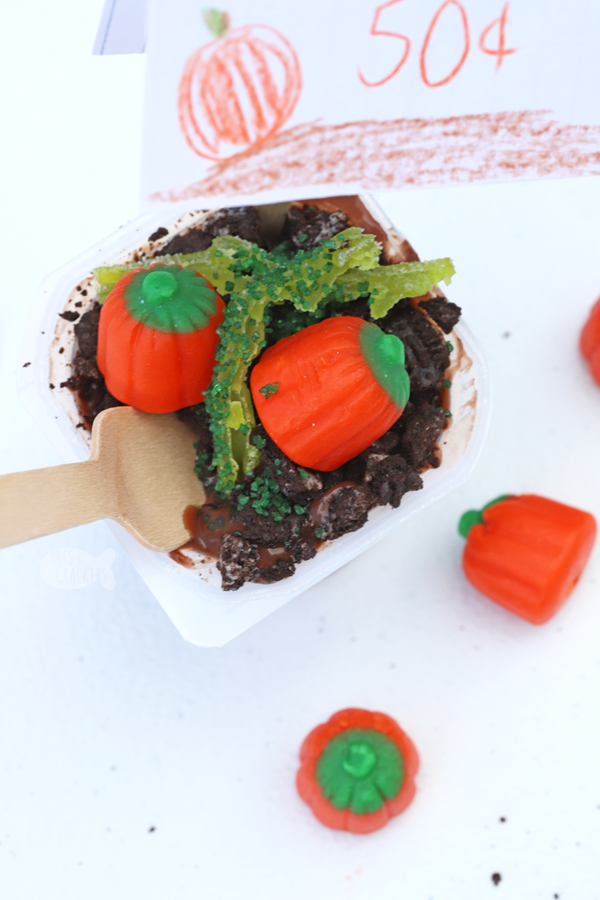
5. Once everything is prepared, open and build your Pumpkin Patch Dirt cups! Rip apart the sour straws, mix all of the ingredients together, omit ingredients, put them all in backwards…whatever you want! Just have fun!

6. Finally, eat your Pumpkin Patch Pudding Cups and savor every bite.

Do not forget to involve the kids in clean-up time!
Did you or your family or your students enjoy this pumpkin patch dirt cake activity? Have any feedback? Share it below! If you can, share pictures of your finished activity with me via email, on Facebook or Instagram, or on Pinterest!
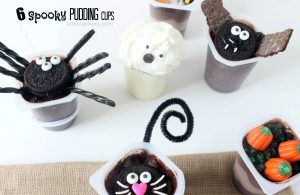
You might also like our other fall pudding cup ideas!
Print Your Free Pumpkin Patch Dirt Cup Labels!
Check out our other pudding treat ideas!
Read also: Easy DIY Yarn Pumpkins Craft for Fall | Yarn Skein Craft Pumpkin Decor, Spider Web and Bug Halloween Activity | DIY Cup-and-Ball Game, and Easy Fan Turkey Paper Craft | Thanksgiving for Kids
Looking for more? View these categories!