

It’s crazy how time flies. My E just turned 6 and he lost not one, but two teeth in a matter of days! We opt out of telling him the Tooth Fairy is real, but we still like to make it fun, so we set up this Tooth Exchange and even included our fairy character for a fun Tooth Fairy idea or Tooth Fairy alternative.


The Tooth Exchange all started with a mailbox. A mini mailbox. We had purchased some a while back to use during deployments and they were so much fun for “Air Mail” and we’ve also used them for teaching math and reading, so I decided to order another just for this.
My idea for the Tooth Exchange was to offer a way to exchange the tooth for a prize (aka money) without having to sneak it under their pillow, which I simply don’t exactly feel like doing. This has also presented an opportunity to teach life skills about sending and receiving mail, so it is a great Tooth Fairy alternative or you can even add a Tooth Fairy and offer a more modern and convenient Tooth Fairy service.
Tooth Fairy Tooth Exchange
What You Need
- Printable Fairies and string to hang them (I used fishing line)
- Mini mailbox
- Metallic paint pens
- White paint pen
- Paper
- Mini envelopes
- Stickers (we use smiley stickers and solid/glitter star stickers)
- Small, square, brown paper maché box (make sure it fits in the box you choose)
- Twine
- Writing utensils
- Crayons and a stick lighter (optional)
- Tooth Fairy / Tooth Exchange prize
- Your child’s tooth/teeth
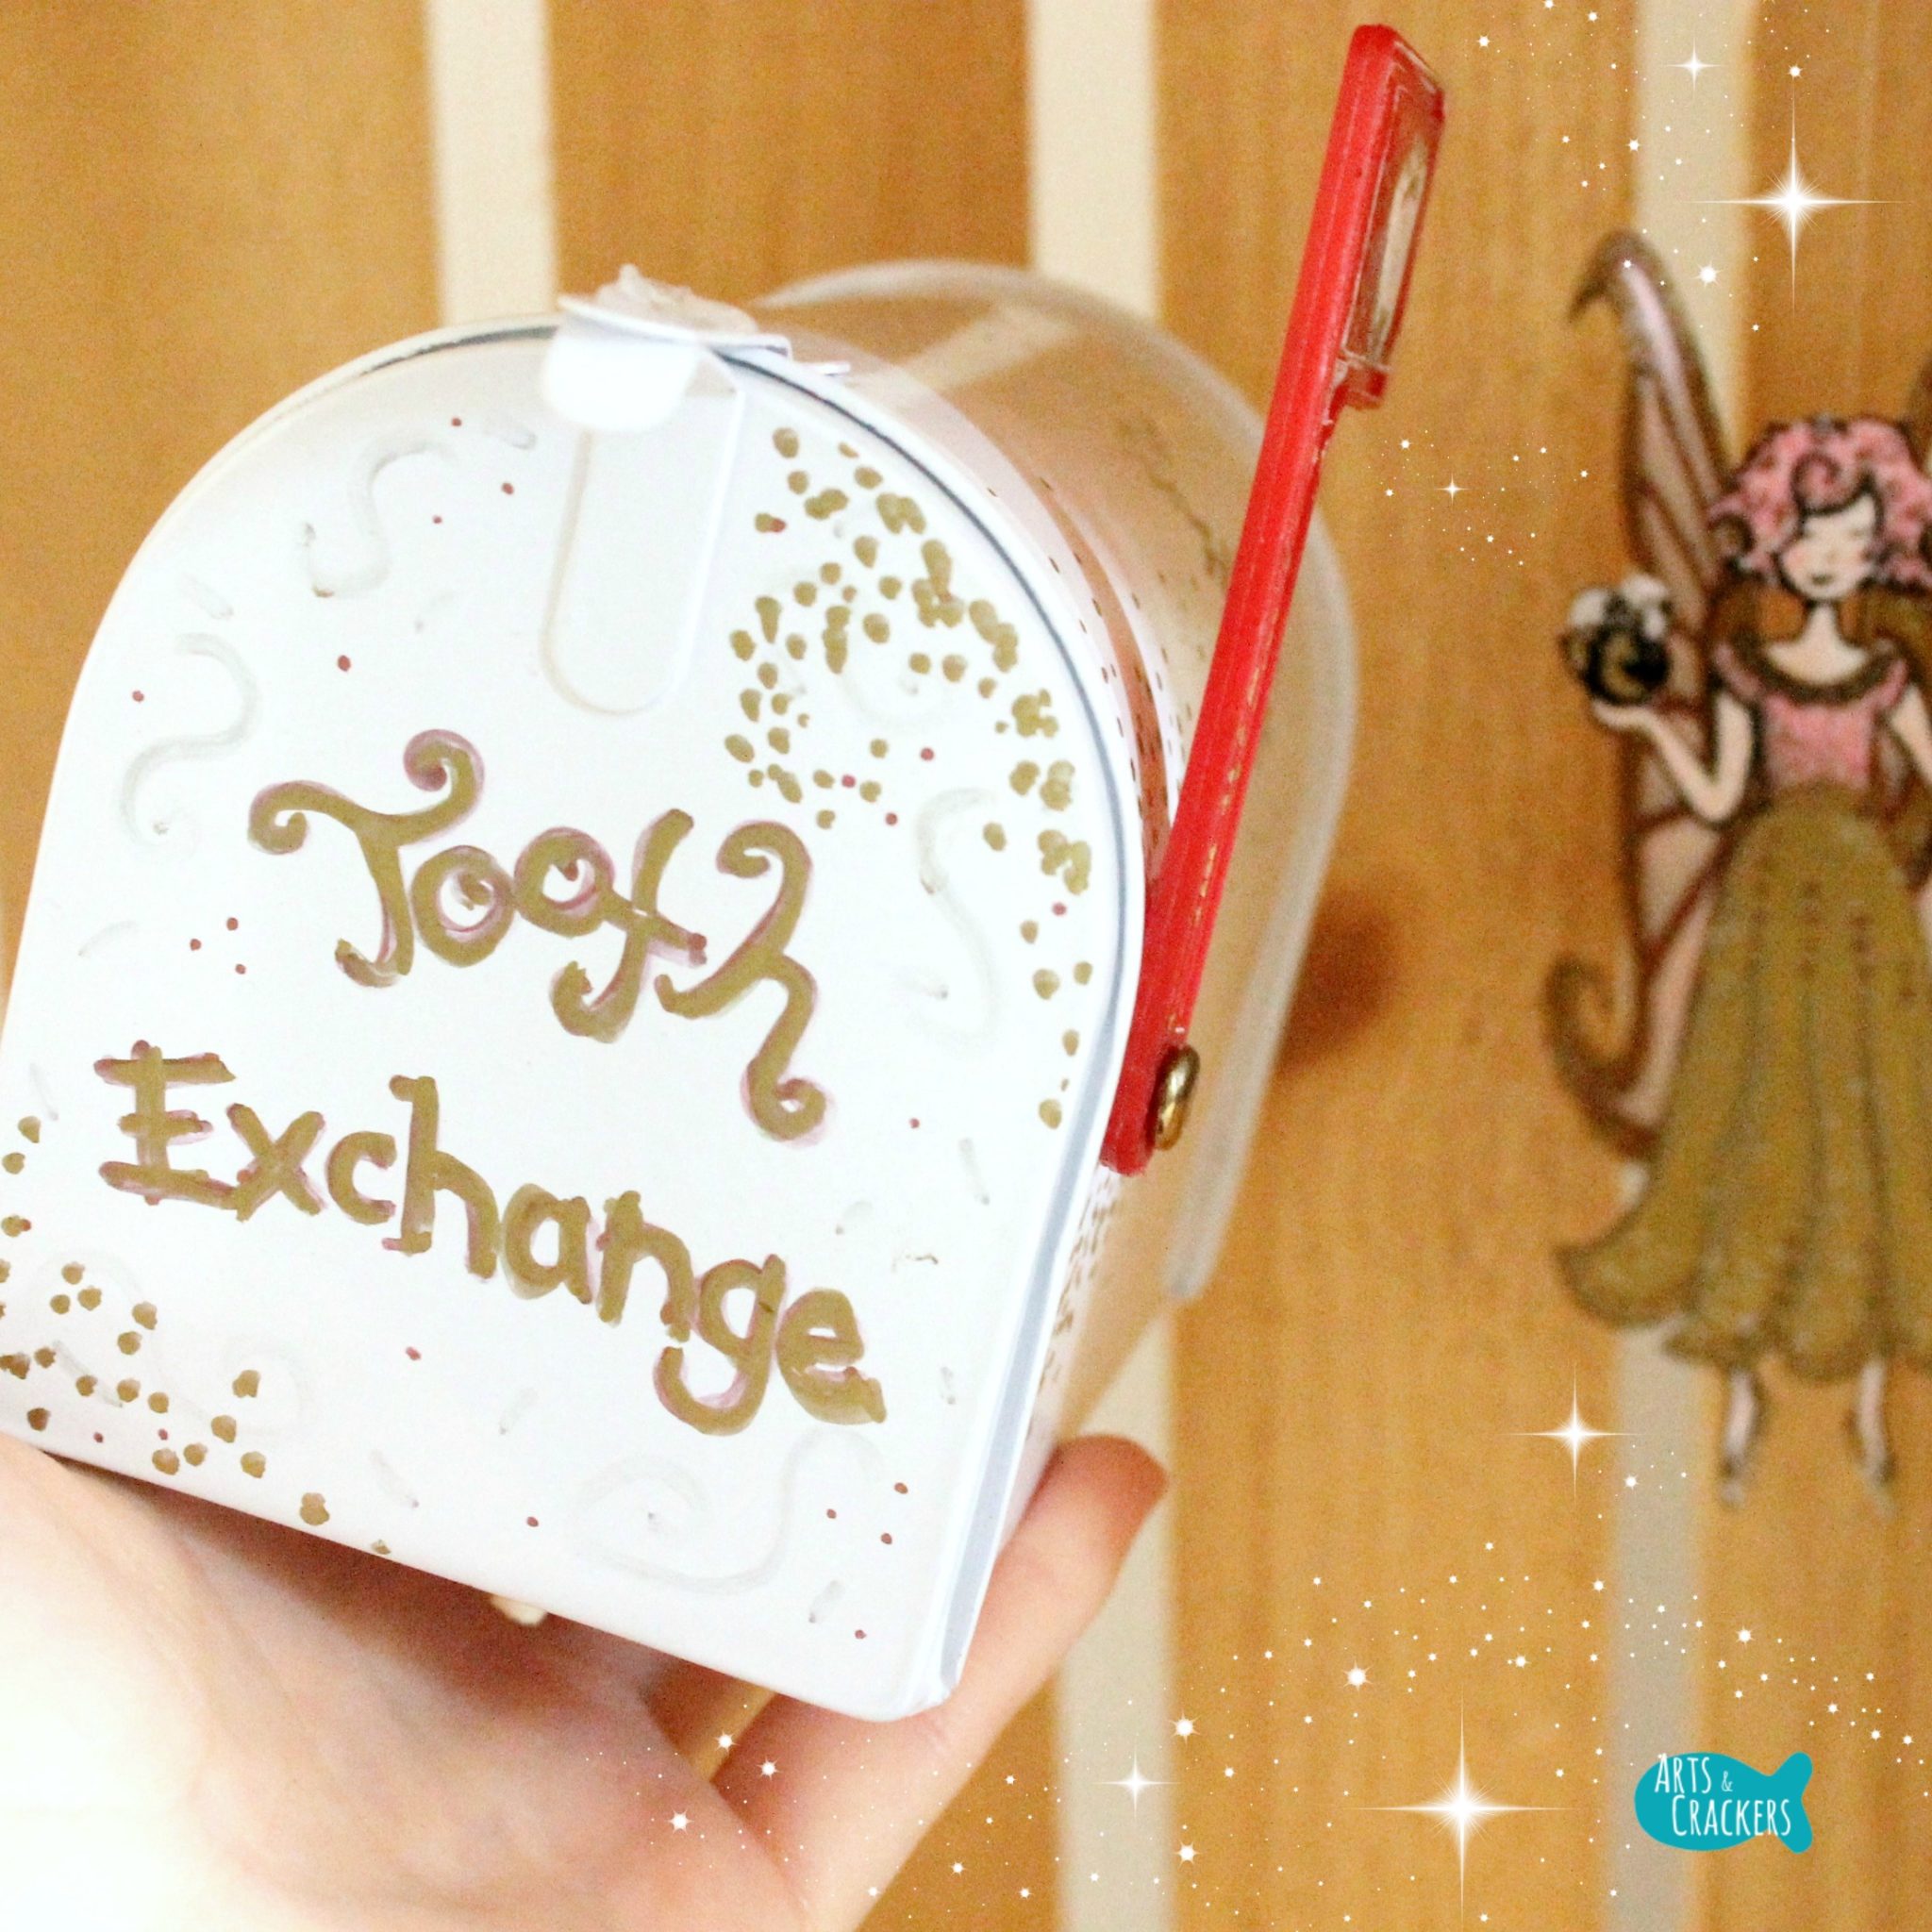
While we do not believe in the Tooth Fairy in this house, my boys love the idea of fairies, so we still use them as fun ‘characters’ to make things more interesting, like our Fairy Mobile with our Fairy Garden or our Fairy Puppets. We decided it was only right to add a fairy hanging over the mailbox.
For the Tooth Fairy, I used one of my printable Color, Cut, and Assemble fairies and colored it in using a combination of colored pencils and various metallic paint pens and finished it off with some small white dots of white paint from a paint pen to make it look glittery. You can also brush glitter or iridescent nail polish over it to give a subtle glittery look. Get the assembly instructions here.

You can get my printable fairies on Gumroad.

The best part is the sheet comes with four fairies and five pair of wings so your child can choose from these–this also works if you have multiple children so they can each choose their own personal fairy. My son chose my Honey Bee Fairy. We were going to cut off the bee and flower, but he insisted they stay.

I used the same paint pens to draw designs on the mailbox. I simply wrote “Tooth Exchange” on the front, added strategically-placed gold and copper dots to give it a sparkly look, and I drew a tooth on the flag…my tooth doesn’t look great, but my son doesn’t care, so if you don’t have mad art skills, no worries! You can even have your child decorate the mailbox all on his/her own!

Each time E loses a tooth, he gets a mini envelope, a small piece of paper, and a couple stickers.
On the paper he writes “I lost my [cardinal number of lost tooth] tooth.” I also have him include the full date and his name so I can keep track of it.
On the outside of the envelope, I have him write down his name in the upper left-hand corner and near the middle/right side I have him write “TTE” or “Tooth Exchange.” We then place the folded paper and the tooth inside and seal it with a smiley sticker.
The envelope is finished off with a star sticker in the upper right-hand corner. He sticks the envelope in his mailbox then puts the flag up and we discuss how we fill out and send letters in the mail.

The next day I will have the flag down and a surprise from the “Tooth Fairy” or Tooth Exchange will be awaiting him.
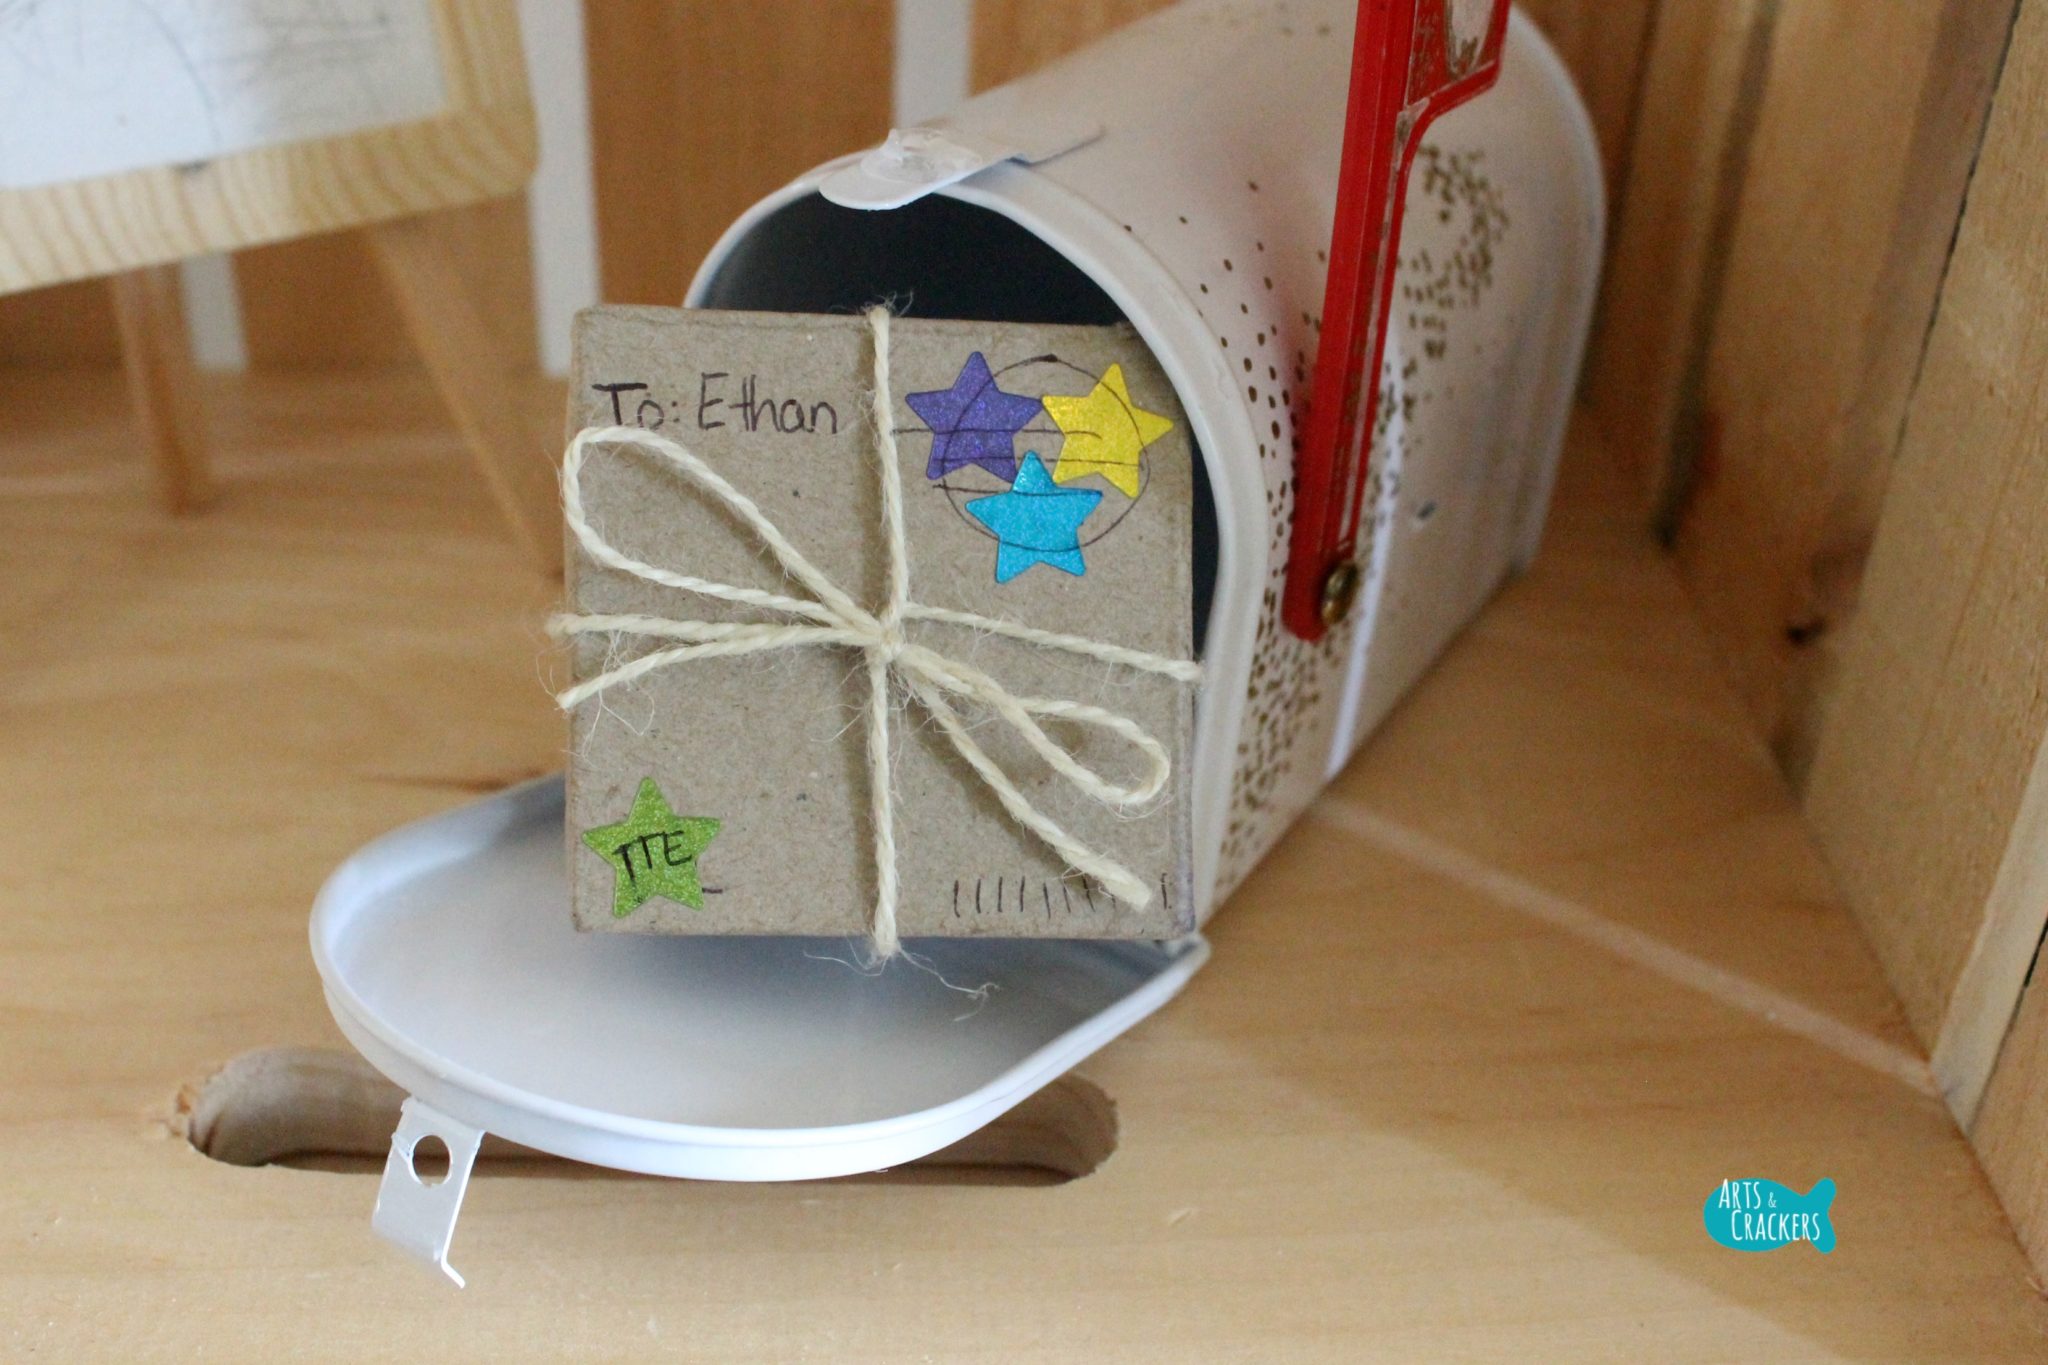
For our very first lost tooth, we began with a “starter kit” that would serve a double-purpose of being a coin bank for the money the collects, especially if he chooses to save it up rather than spend it right away.
This kit includes a small brown box that fits inside the mailbox, a note and the money inside, then I write the shipping information on the top and include stickers (which I “stamp” to show it’s been sent) and I tie it with a piece of twine like a brown paper package.

The note inside, written in fun glitter gel pen ink, tells him congratulations and how much money he gets for this tooth. It lets him know that he can either spend this money right away on something small or save up for something bigger. He chose to save up.

Now that we have done this with two teeth, I have started having him count the money to sharpen his addition skills. For instance, I gave him $1 for each tooth, so I ask him, “If you had $1 from the first tooth and you add another $1, how many dollars do you have now?”. This has also been a great opportunity to teach money recognition. Each amount I give him is made with different coins or bills. The first was an easy 4 quarters. I had him identify the coin, how much it was worth, and we talked about how 4 quarters equals $1. The next time we did 10 dimes and discussed how 10 dimes equals $1 or 10 x 10 equals 100 cents ($1). Once we get enough coins in there, I will start sharing ways to exchange those coins for paper money like $1, $5, and eventually higher bills.
The second letter from the “Tooth Fairy” was in an envelope like he sends, but I use sparkly star stickers as stamps and mark it as if it’s been through the post office. The note inside was much like the first one. I even sealed the envelope by melting crayon wax onto it and letting it dry.

Personally, I do not love the idea of saving lost teeth, but it seems pretty important to my son, so I am able to easily file the sealed envelopes away. You can use a recipe box for this and save it in your closet. If your child is like mine and loves things like this, it would make a great keepsake gift some day, all those teeth and memories, unopened in their envelopes.
Buy and print these fairies and wings HERE.
Read also: Fairy Puppets Tutorial and Documenting Memories | Journaling Your Moments
Has your child lost his/her first tooth? How old were they? Do you have any fun “Tooth Fairy” traditions? Do you love to color? Share with me in the comments!
Don’t be a stranger. Let’s be modern-day pen pals; subscribe to my newsletter!


Pingback: Things to Make and Sell at Home - Moms and Crafters
Pingback: The BEST Fairy Crafts | There's Just One Mommy
Pingback: Unconventional Stocking Stuffer Ideas by Category