


The bugs, especially mosquitoes, are terrible this time of year. I love spending time outdoors, having picnics, relaxing on the patio…but I am not a fan of insects ;flying into my food or around my head or getting bug bites. Since flies can carry diseases and mosquito bites can spread viruses, I needed to find a way to keep the bugs at bay. I decided to make a Blueberry Basil Lemonade Citronella Candle to go with my patio makeover (coming soon!)
Have you heard about the virus from mosquitoes that has recently spread to the USA? It’s called Chikungunya and it’s in our area (click here to learn more about the outbreak of the Chikungunya virus)! We definitely don’t want to be getting any bug bites so these candles are a great way to ward off those pesky blood-sucking mosquitoes. You probably knew that citronella is a great bug repellent, but did you know that they also do not like basil (see here)? For this reason I decided to use some basil leaves in my candles for an added tinge of basil scent (plus I am not a fan of citronella by itself.) Typical mosquito deterrents contain a chemical called DEET which can be very harmful, so homemade natural citronella candles using essential oils are a great DEET-free bug repellent option!
Citronella candles are meant to create a decent amount of smoke so do not be concerned if your candle is producing a lot of it. This smoke actually helps to keep the mosquitoes (and other bugs such as flies) away.
This project requires caution as it involves hot, melted wax. Follow the directions carefully. Clean-up may be a pain but it is worth it. You may find it helpful to purchase spoons and a double-boiler or glass mixing bowl special for this craft.
What You Need
- Double boiler or heat-safe mixing bowl with a pot of boiling water underneath
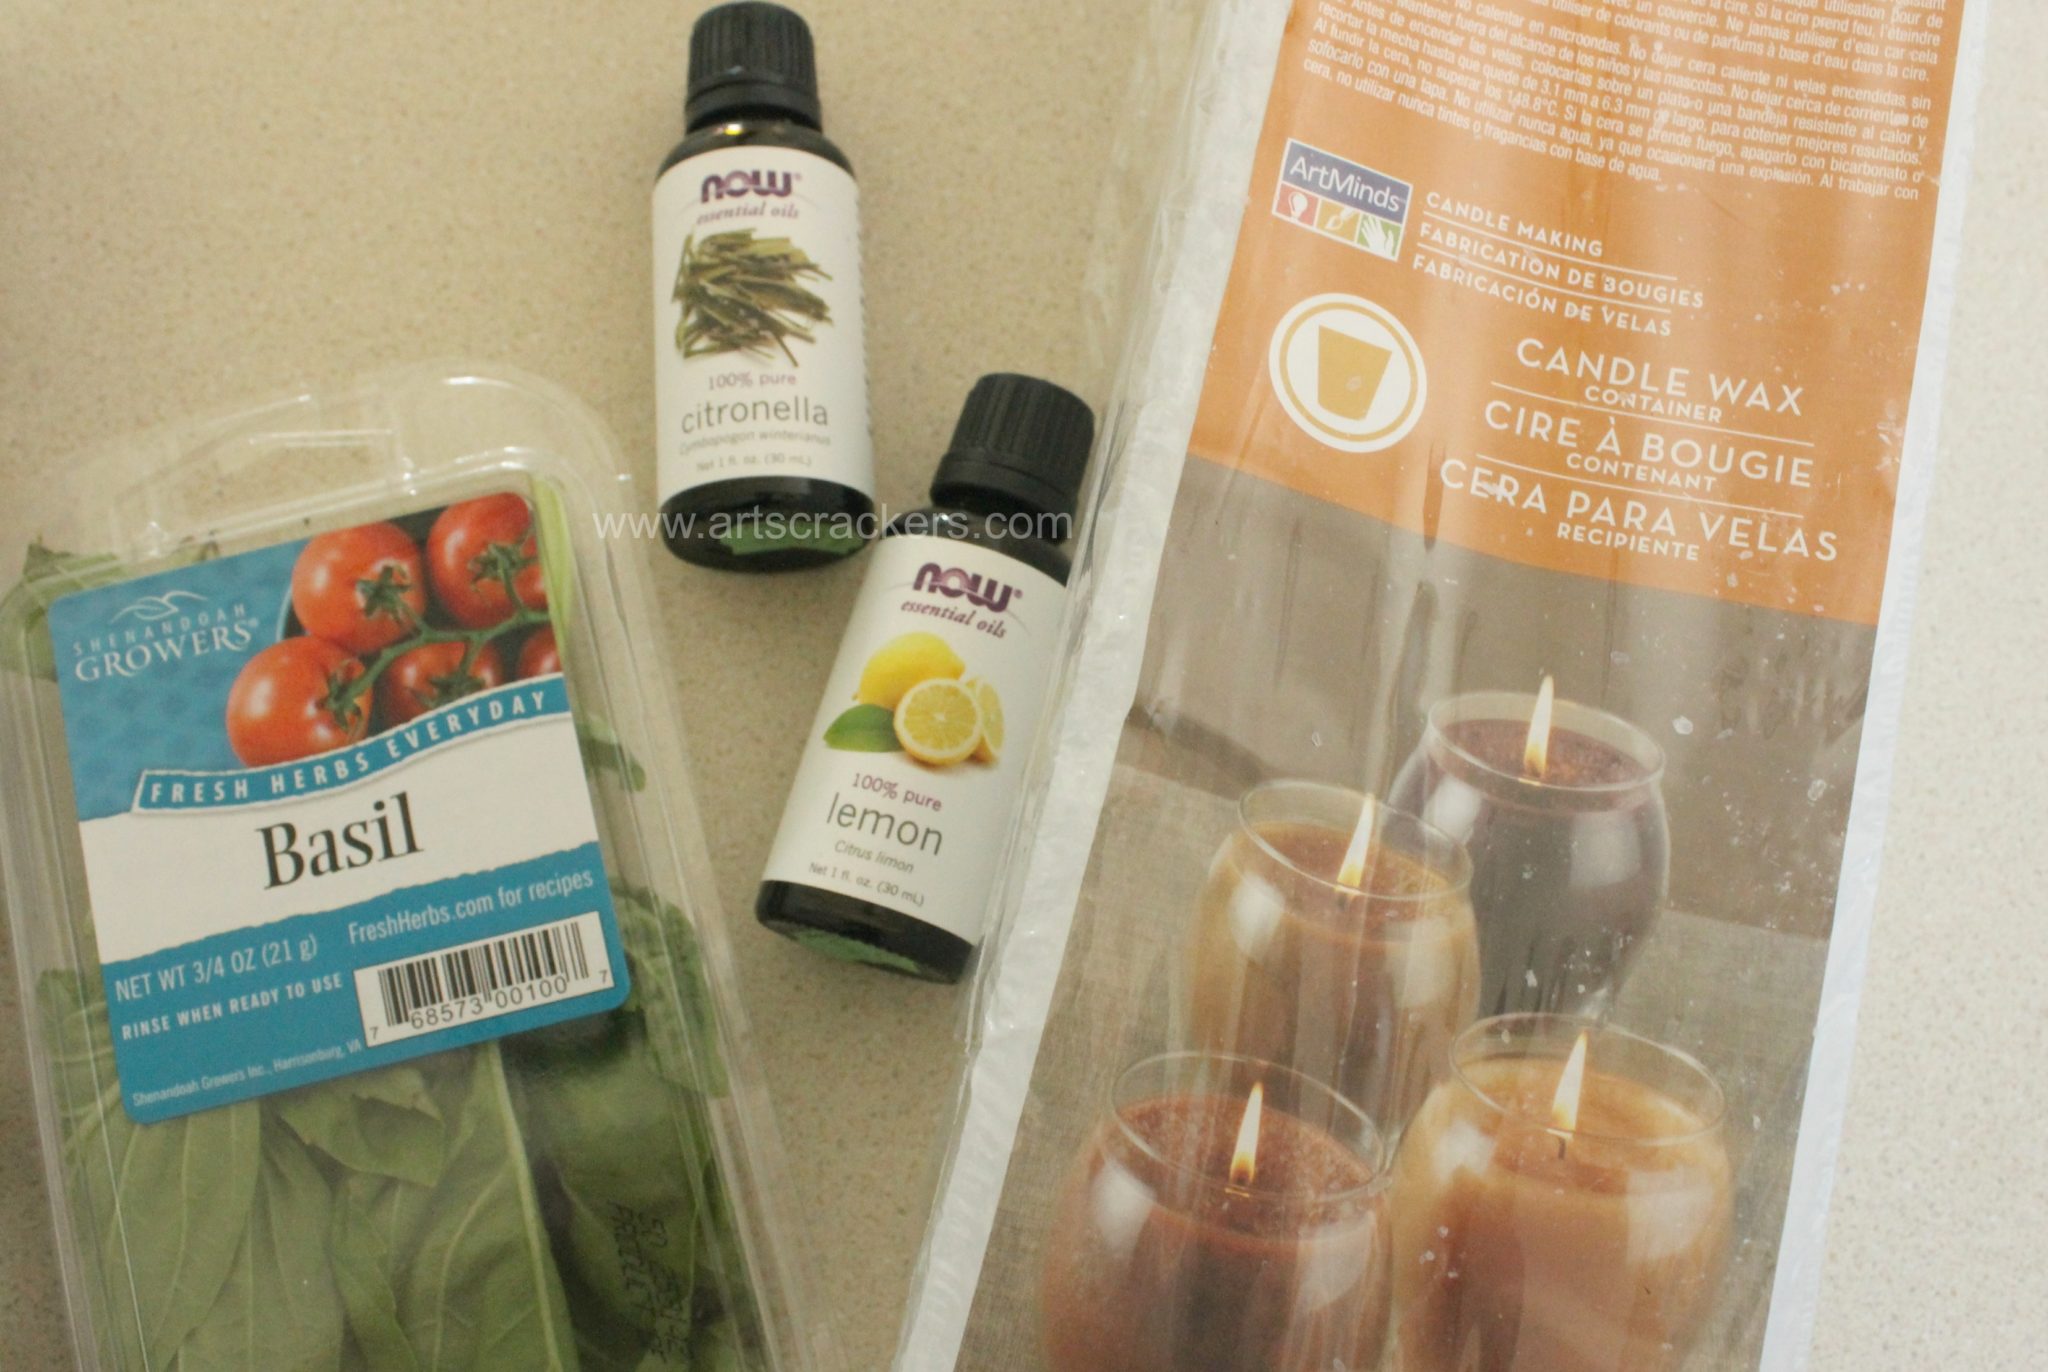
- Candle wax (buy on Amazon.com, affiliate link) –You can use any kind, just mind specific directions on the packaging; some waxes need specific wicks and containers
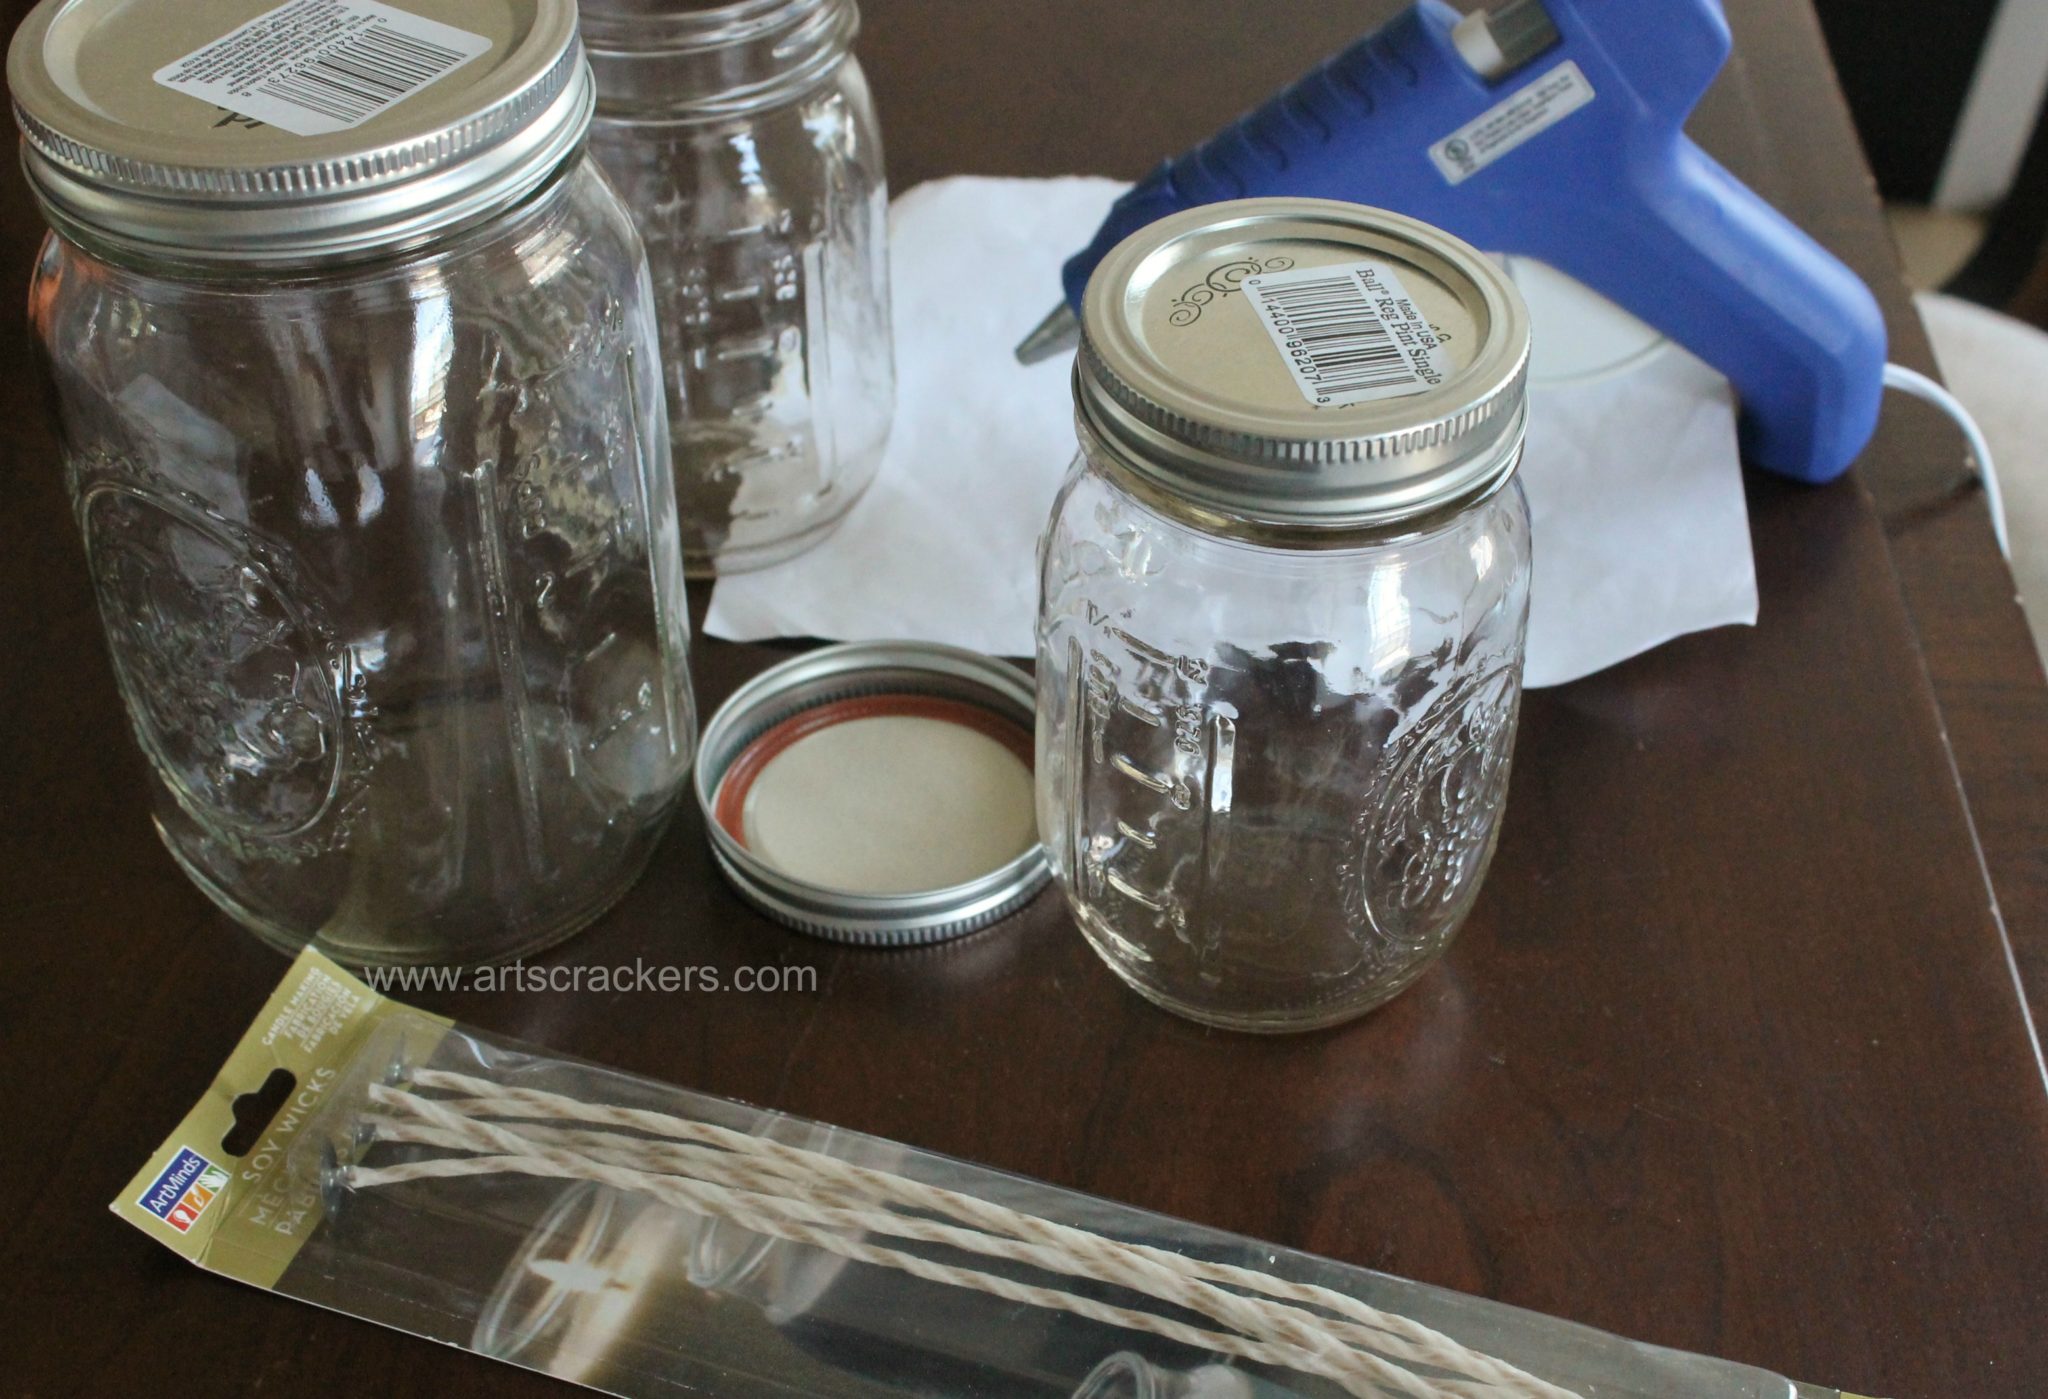
- Mason jars
 (buy on Amazon.com, affiliate link)
 - Candle wicks (buy on Amazon.com, affiliate link)
- Hot glue, tape, or wick stickers
- Old crayons, paper removed, for color
- Citronella essential oil (buy on Amazon.com, affiliate link)
- Lemon essential oil (buy on Amazon.com, affiliate link)
- Basil leaves or essential oil
- Pencils or chopsticks
- Container with a spout

 /h3>
/h3>
What to Do
**Preread all directions before beginning
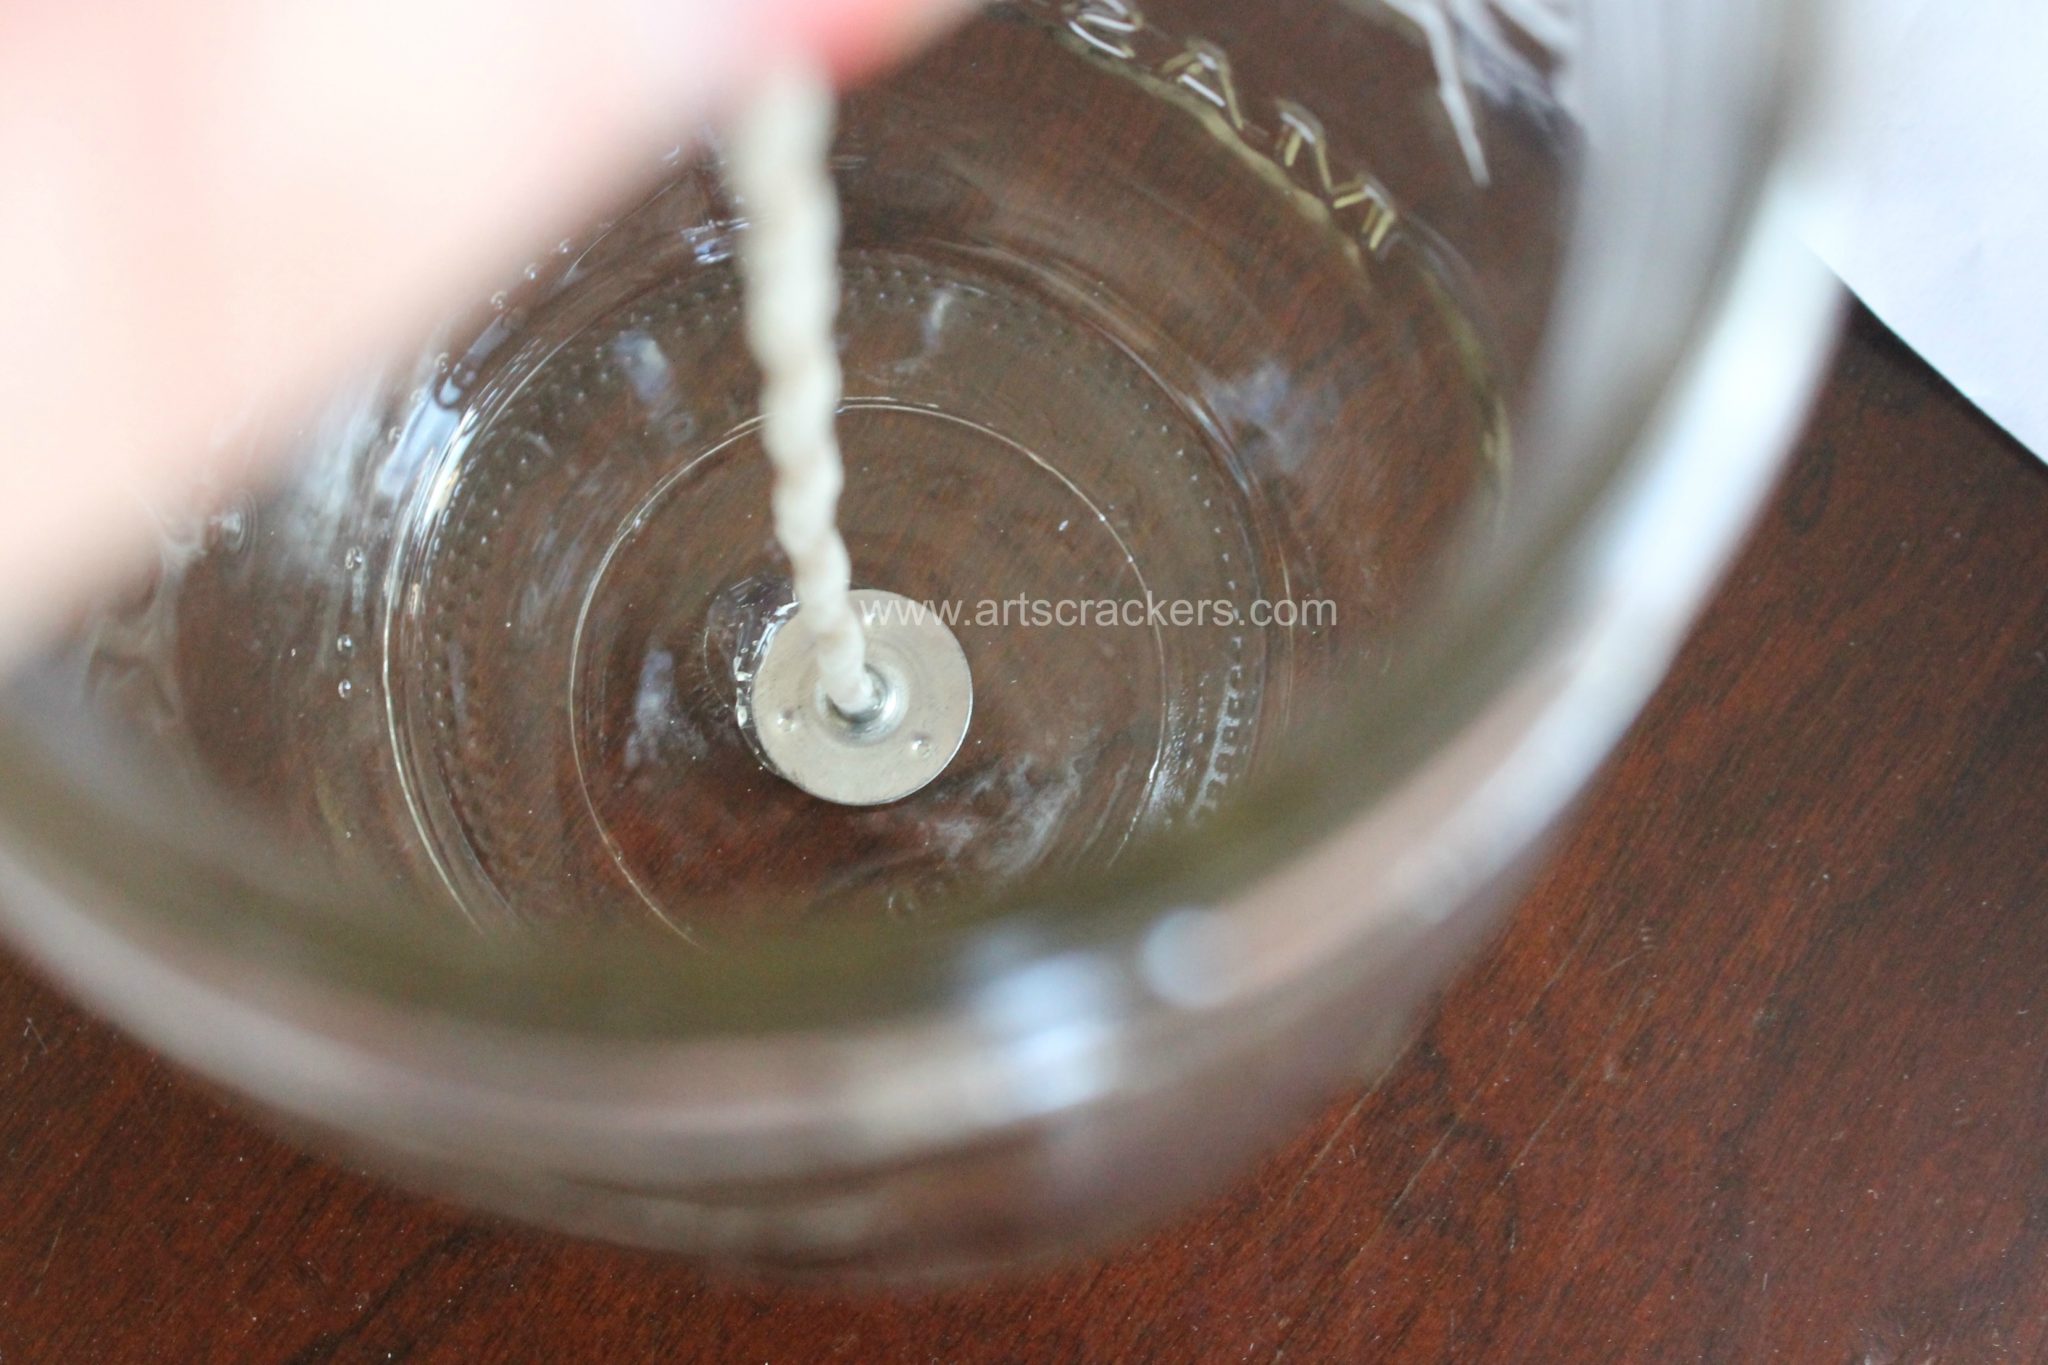
1. Glue, tape, or stick the wicks to the bottom of the jars. Make sure they are centered and attached securely.
2. Chop up the amount of wax you would like to use for your candles. Add a small amount of that wax to a double boiler or a heat-safe mixing bowl atop a pot of water. This will be your first color for your candles.

3. Heat the wax, stirring occasionally. At the point where the wax is almost melted, but there are still a few lumps, add a few basil leaves to add a slight aroma. **Do not leave the hot wax unattended on the stove!

4. Once the wax is melted and clear, remove the basil leaves using a fork and discard. Add in a few drops of citronella essential oil and lemon essential oil (about 3 drops each per cup of wax.) Stir to combine.
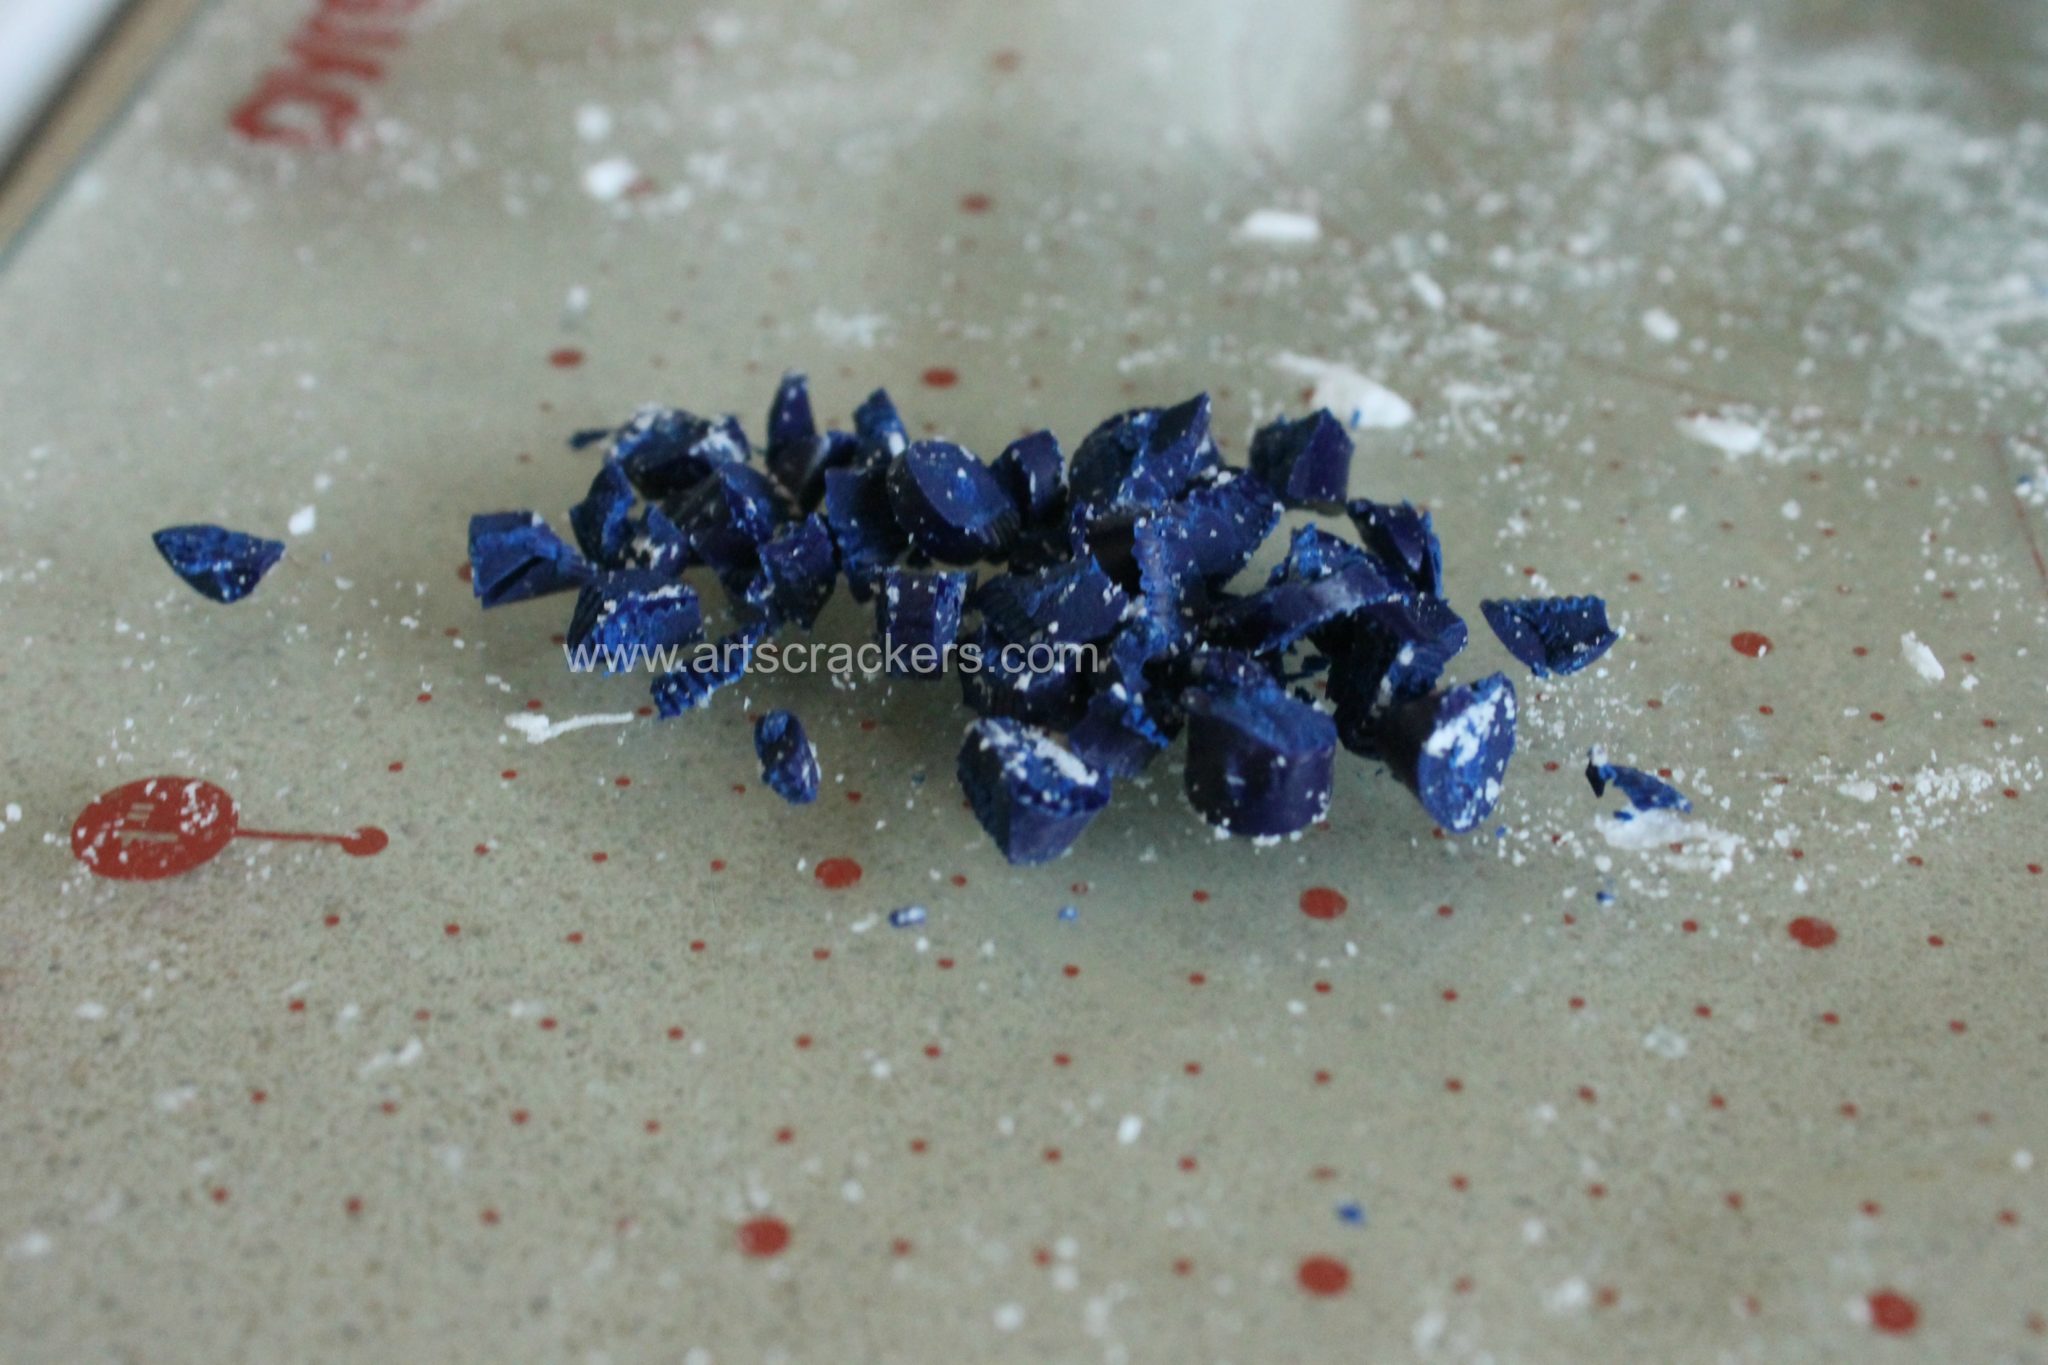
5. Add in some chopped up old crayons; I used blue for the “blueberry” part but you can use any color–to give a more natural blueberry color, add some purple. Stir until the crayon pieces are completely melted.

6. Remove the colored wax from the heat, cool briefly then remove the film from the top, and carefully pour a small amount into bottom of your mason jars. I made it look splattered rather than a clean layer for a fun design.

7. As that colored wax hardens in the jars, use another mixing bowl (or clean the previously-used one) and begin to melt more wax for another color layer. Set a handful of larger ice-like chunks aside if desired to make a fun design in your candles (see step 12.)
8. While the new wax melts and once the colored wax is hardened, strategically stack the reserved chunks of wax around the inside of the mason jars to look like ice. You do not need to fill into the center, but make sure they are touching the glass so you can see them once the new wax is added and make sure you have some that you can pour the hot wax on top of.
9. Again, once the wax is almost melted with just a few lumps, add a few basil leaves. Stir occasionally.
10. When the wax is melted and clear, remove the basil leaves with a fork. Add a few drops of citronella essential oil and a few drops of lemon essential oil (about 3 drops per cup of wax–I used a little more lemon scent than citronella) and stir to combine.
11. Add some crayon bits to the wax; I used yellow to look like lemonade. Stir until melted and combined.
12. Let the wax cool briefly. Remove the film that just formed then pour the wax into the the mason jars. Make sure you pour onto one of the plain wax chunks or your blue wax will make the yellow turn green. If you opt not to add the “ice chunks,” tilt the jar a little on its side and pour so the wax touches the wax first. Pour slowly to avoid bubbles.

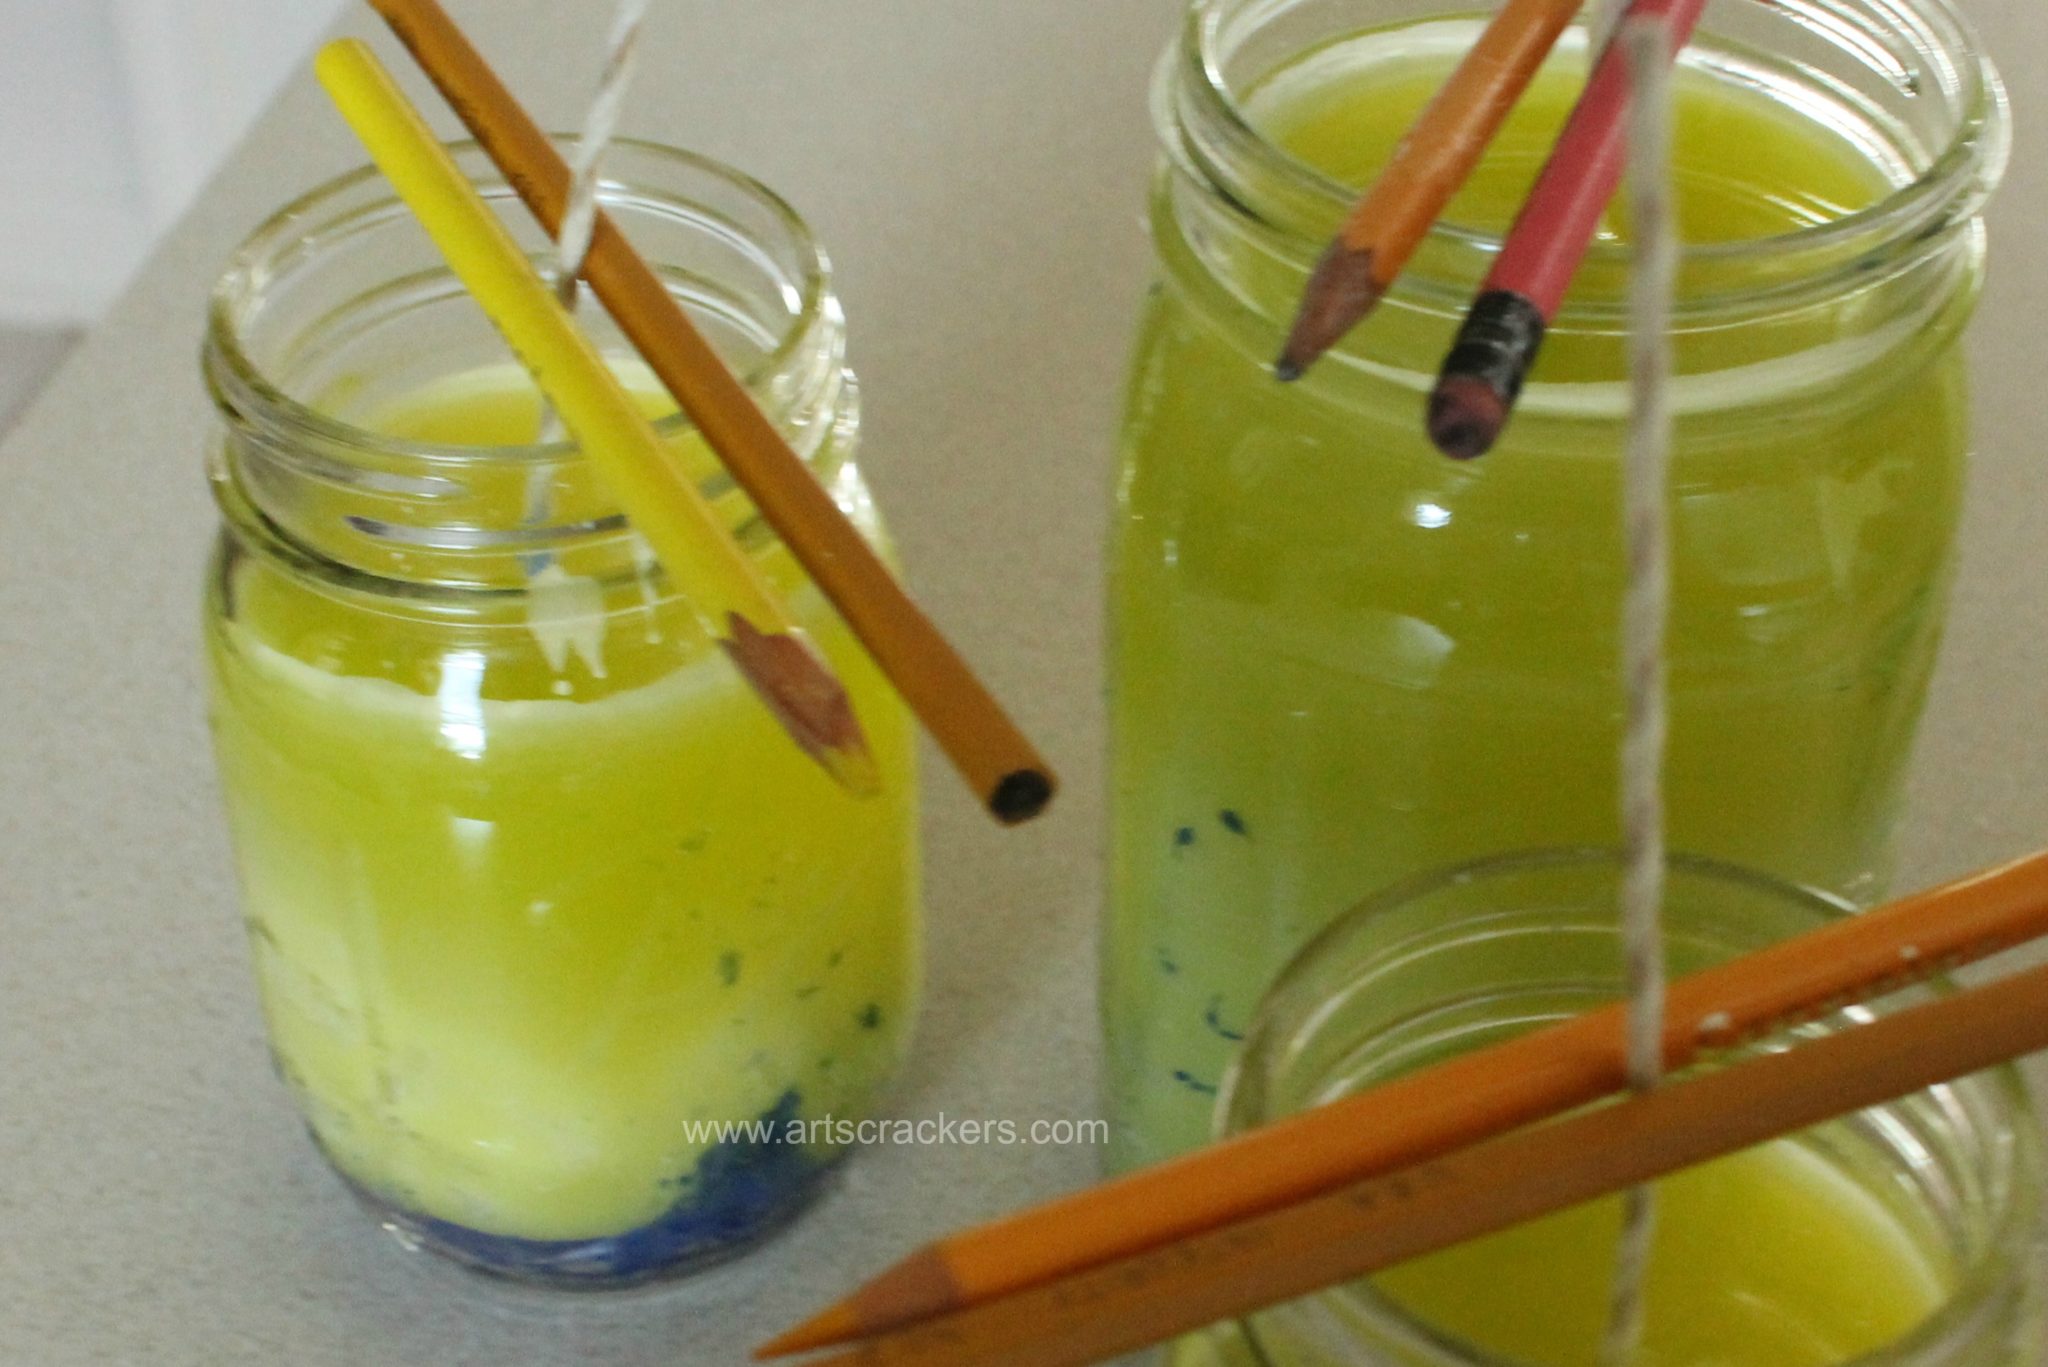
13. While the wax is still hot and melted, use some pencils or chopsticks or something else straight to hold the wick up straight and in the center of the jar. This is a very key step for the candle to burn properly.
14. Once the candles are cooled completely, trim the wicks to 1/2-inch.

15. Save the lids! Each time you are finished burning your candles and the wax and wick are cooled, put the cap back on the mason jar to protect them!
Tip: You can use other scents than citronella and basil to ward off bugs; mosquitoes also do not like clove, lemongrass, rosemary, tea tree, cajeput, eucalyptus, cedar, lavender, or mints which all come in essential oils! Learn more here.
We’re getting All Decked Out! Be sure to check back in for DIY projects and the reveal of my patio makeover!

Know someone who could use this? Hit the “share” buttons below! Be sure to follow Arts & Crackers on social media (buttons at the top right of the page.)
-What colors will you choose for your candle? Share your pictures on my Facebook wall!


Nice job. I will definitely share this.
Thank you!
These look so cool. I wish I had time to make them!
They do take a little time (moreso the clean up) but they are worth it!
This is so neat! I had no idea it was so easy to make candles (although I bet that pot the candle was melted in is no fun to clean up after). Citronella is perfect for keeping bugs away, too! I wonder how it would go if I tried to color the candle with fruit juice… hmm…
It was really easy to make but yes, clean up was a bit of a pain haha. Worth it though. I actually did try coloring some with blueberry juice (melted frozen blueberries) and it just clumped and would not blend in. I think it has to be more concentrated or the water works against the wax.
THis is pretty cool. I want to give this a try I might try smaller jars so I can play around with the bottom colors. This is pretty easy, I forgot how easy making candles are.
It is easy! Come back and share how it went and feel free to share photos of your completed candles on my Facebook page!
What a cute idea! We are actually growing basil in our backyard, I had no idea bugs didn’t like it!
That’s awesome! I need to start growing some basil too–it is a very useful plant.
This looks so cool. I live in the deep south and near the coast. So we have huge mosquitoes and sand gnats….horrid creatures. This would be a great project for my wife and I to do this weekend. Thanks for sharing.
I hear ya. Bugs here are terrible! If you all tried this, I’d love to know how it went for you!
how cool is that? really like the thought of doing it myself instead of buying them. thanks
I loved making them myself because I could customize! I am not a fan of store-bought citronella candles, both the scent and the chemicals, so these work great for us.
I bet these smell amazing. Definitely pinning them. Stopping by from the Friday linkup
They do! I am not a fan of regular citronella candles, so I am loving these.
Thanks for linking up last week to Friday Favorites! Hope to see you this week too! Surprisingly I have most of these ingredients and will definitely be trying these soon! Awesome post!
Great! Let me know how it goes for you!
I haven’t heard of that virus yet but thankfully we don’t have tons of mosquitoes. I love doing these in jars though- lasts for so long!
That’s great you don’t have tons of mosquitoes! We are on vacation right now and I didn’t bring my candles with (made spray though) and in the 10 minutes I was outside and forgot to spray on repellent I got 5 bites. They sure like me so this helps back home where the virus has spread to!
These came out so nice, and I never thought of using crayons for coloring! Making your own you can save money and make enough candles to keep the flying critter bugs & Chikungunya at bay!
Pingback: DIY Candle Making Tutorials – Candle Making