

When you launch a coloring book, you must have a party with themed snacks, right? I invited over some friends and cooked up a sweet treat–Artist Palette Sugar Cookies!
(Check for an updated ingredient list that shows alternatives for ** artificial-dye-free paint palette cookie and *** gluten-free paint palette cookie options and even a vegan paint palette cookie option.)
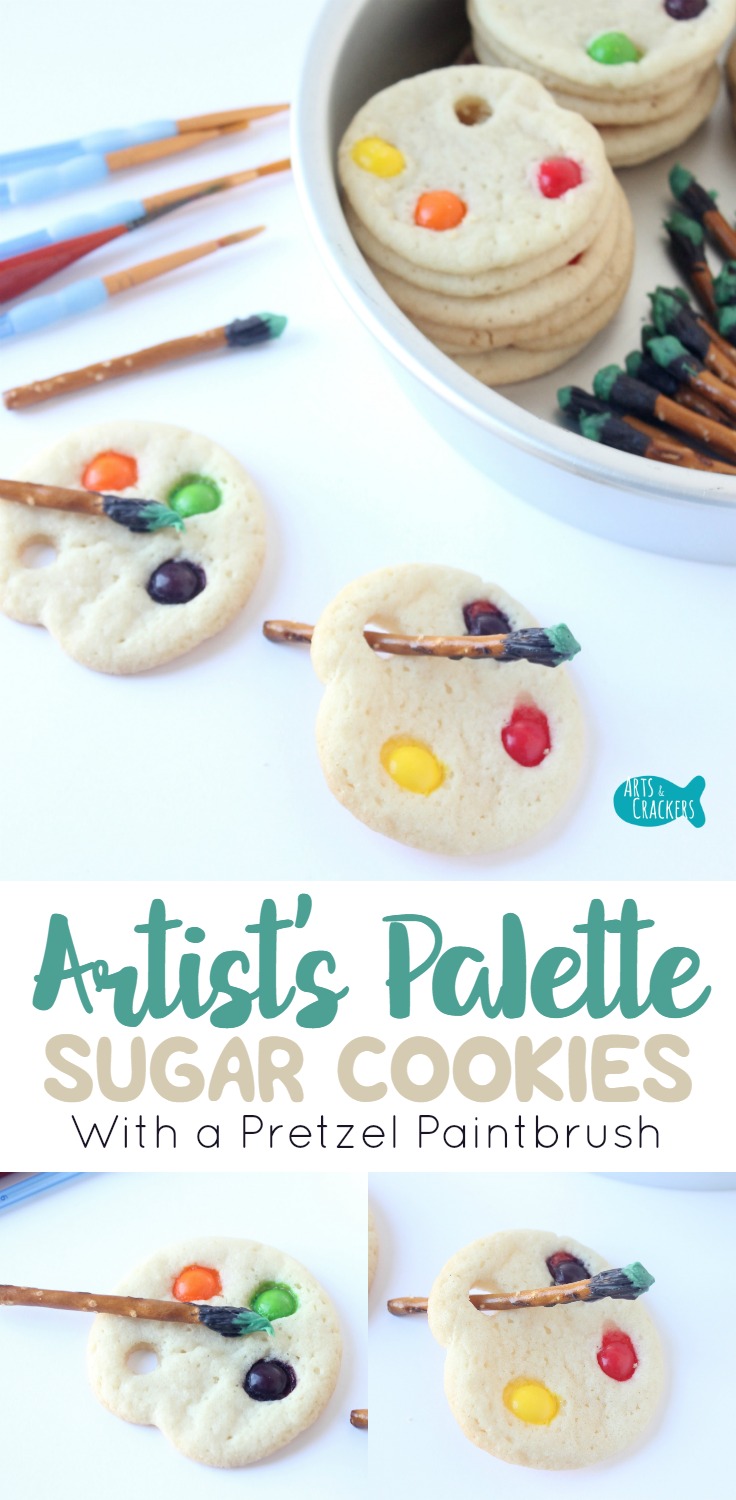

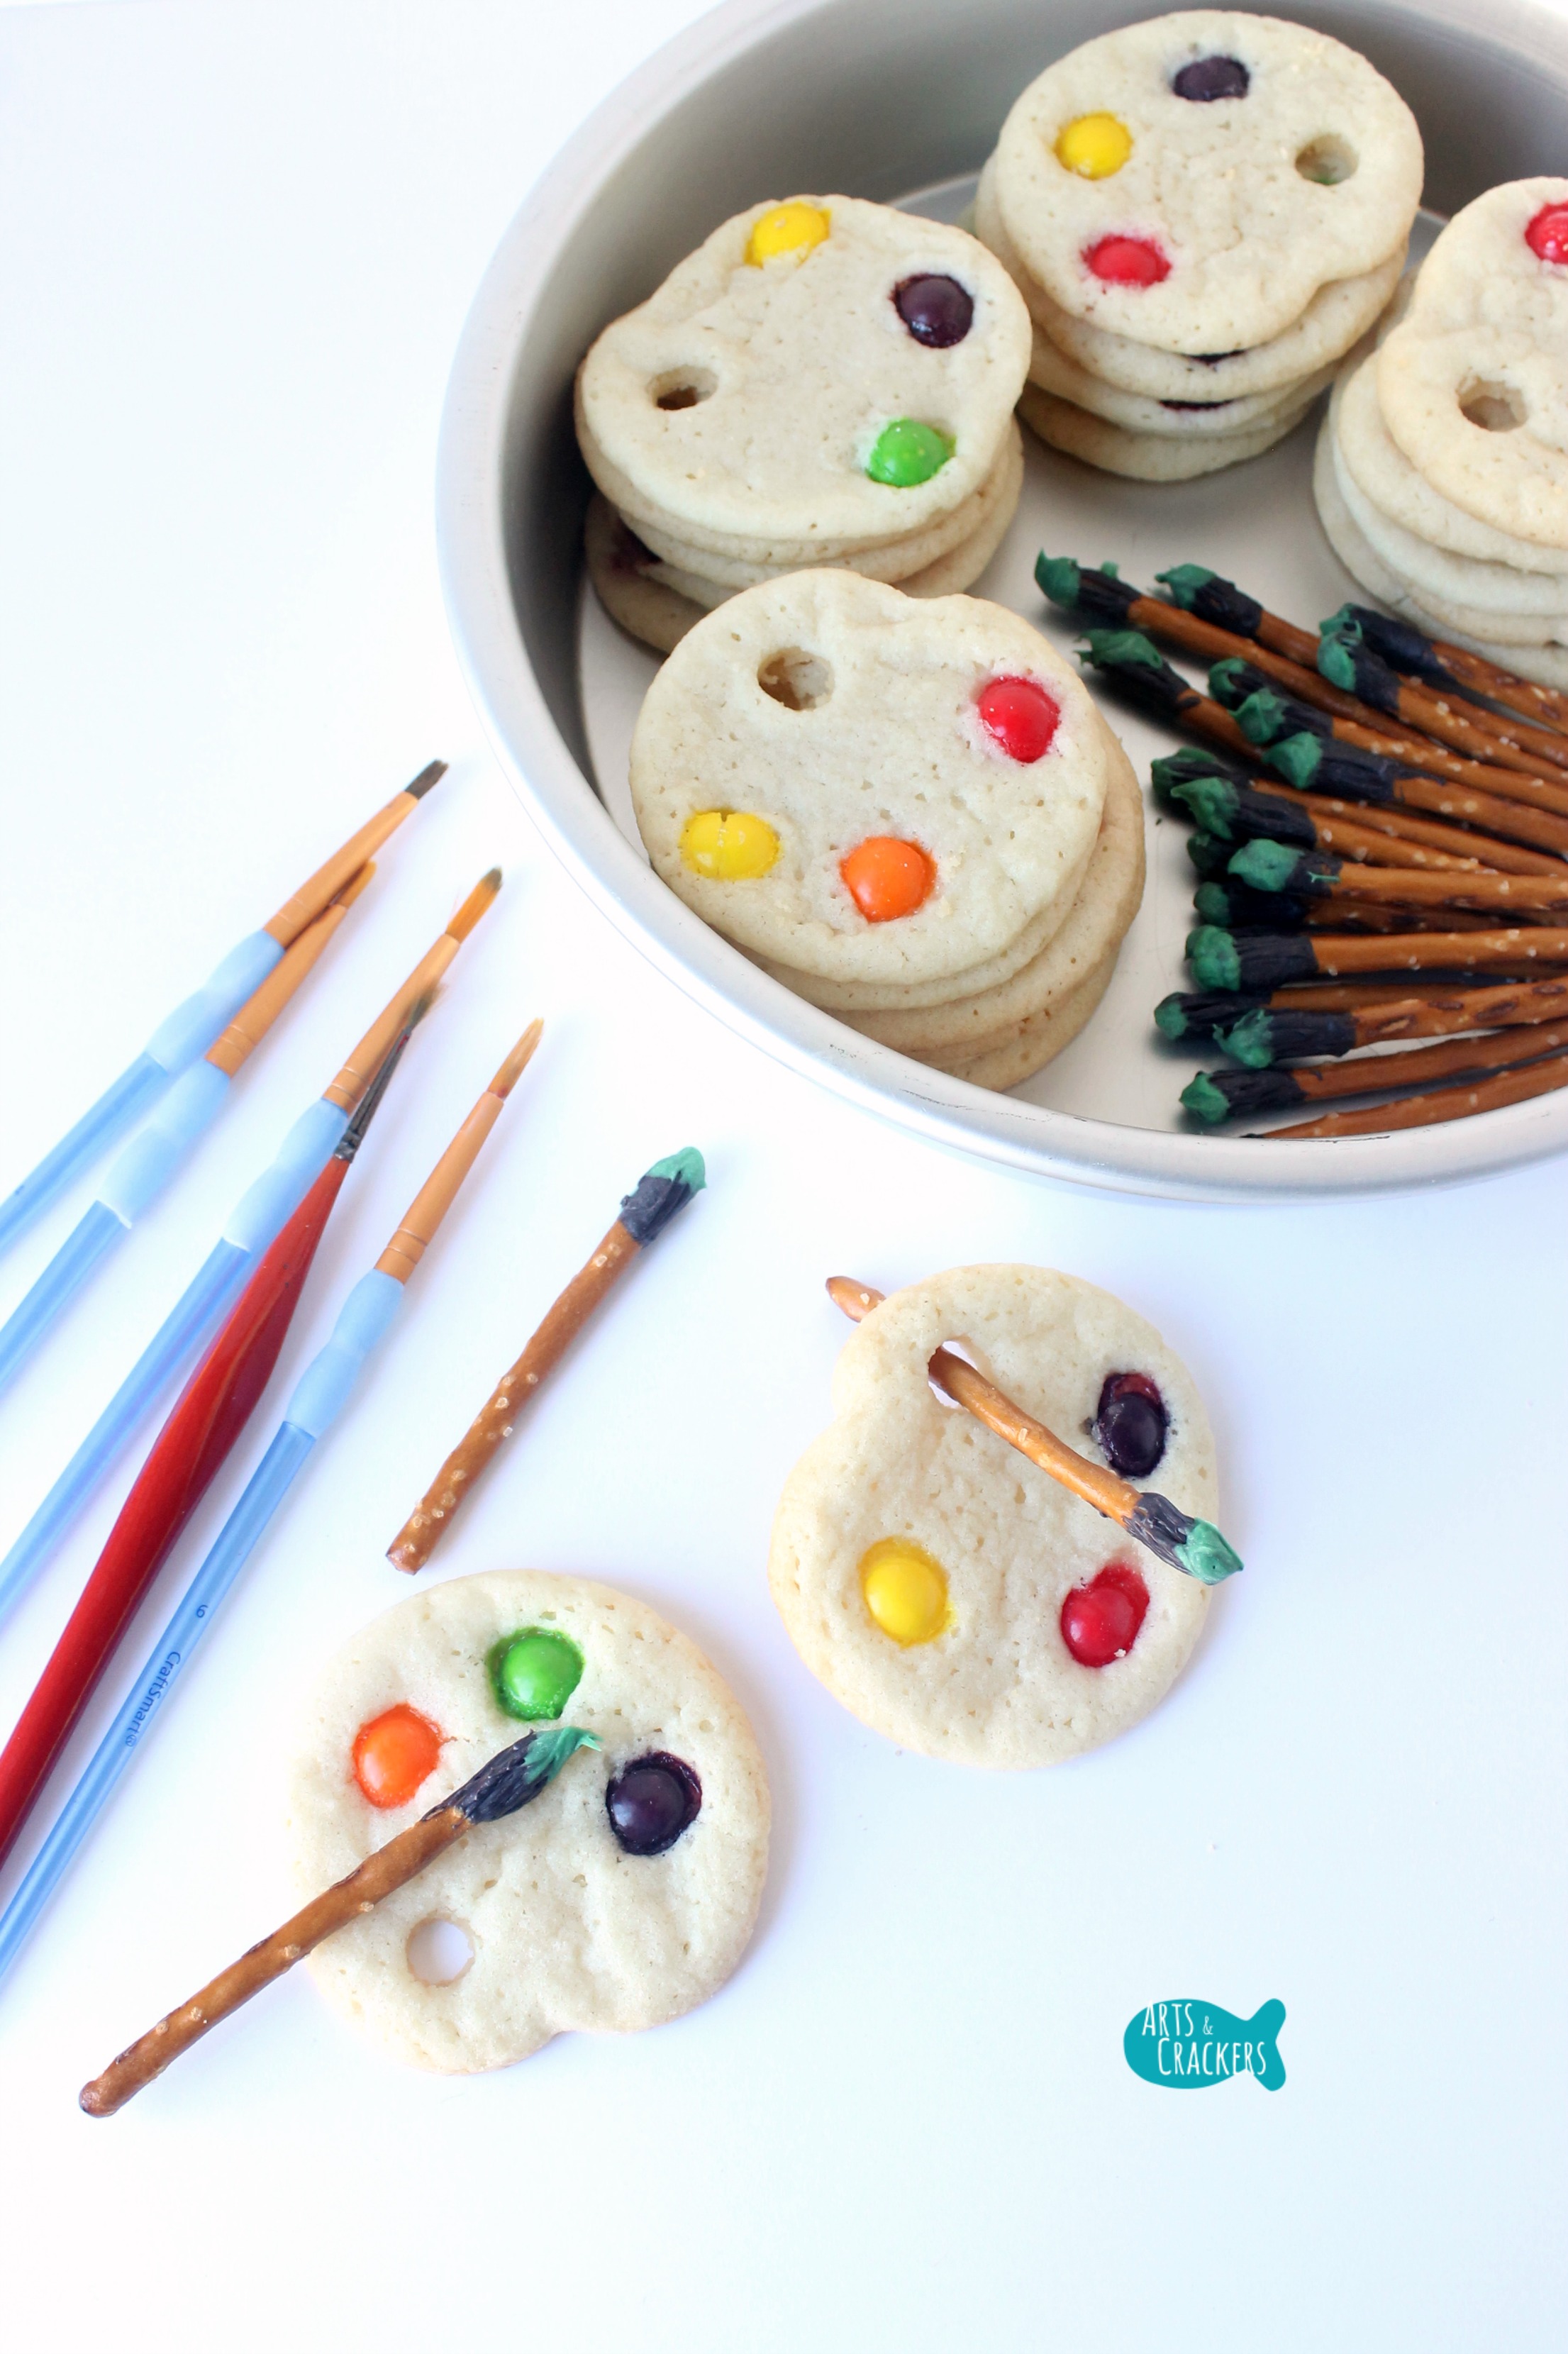
You can’t have a painter’s palette without a paintbrush, so I’ve included one of those as well–pretzel paintbrushes. My guests enjoyed pretending to dip the brush into the paint before eating it.
Psst…please follow the instructions…the full instructions…or you may have a “Pinterest fail” on your hands. These are easy to make, but you can have a big mess if you don’t pay attention to the tips and directions below. I hope you love them!
Artist Palette Sugar Cookies

These Painter’s Palette Sugar Cookies are quick and simple to make –get the kids involved with some of it! These fun shaped sugar cookies are a huge hit for school treats, art classes, and parties.
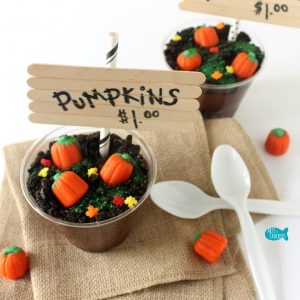
Have your seen our other edible crafts like our popular Pumpkin Patch Dirt Cups? Check them out and look in the post for our new classroom-friendly version!
Supplies List:
- Refrigerated Sugar Cookies (use a brand you trust) ***
- Skittles **(We used leftover Halloween candy the first time then bought a large bag for the second time we made them; you can use candy-coated chocolates like M&Ms, but they may crack and show brown through)
- Pretzel Sticks ***
- Black Candy Melts **
- Colored Candy Melts **
- Small Round Cookie Cutter (I used the small one from this gingerbread man set…you can also use a paper straw) *Update: at this time, I am seeing that the gingerbread man set is no longer available. The hole, I believe, was around 1/4-inch in diameter; you could try these fondant cutters or even using some round decorator tips.
* NOTE: you may want to roll out sugar cookies and use a paint palette cookie cutter if that is easier for you. For me, shaping them per my instructions below was easier.
** ARTIFICIAL-DYE-FREE ALTERNATIVES:
- Unreal Chocolate Gems or Yum Earth Giggles fruit candies (both also vegan!) instead of Skittles
- Dark chocolate instead of black Candy Melts
- Homemade or dye-free frosting colored with natural food coloring instead of colored Candy Melts (this is a great vegan alternative too—Pillsbury vanilla frosting should be vegan)
- Your favorite cookie and pretzel brands
*** GLUTEN-FREE ALTERNATIVES:
- Sweet Loren’s refrigerated sugar cookie dough (also vegan!) or King Arthur gluten free sugar cookie mix
- Gluten free pretzel sticks like Glutino or Quinn (also vegan!)
Directions
1. Place the cookie dough pieces on a pan according to the package instructions or slightly further apart. You may want to line the pan just in case the melted Skittles leak through.
2. Shape the dough. Do not press down on it too much–if it is too thin, the candies will melt through and make a sticky mess on the pan. Using your finger, add a dent to one side of the dough. This needs to be pretty deep or it will not stay when the cookie flattens. The dent should also be a little off-center, just like an artist palette.
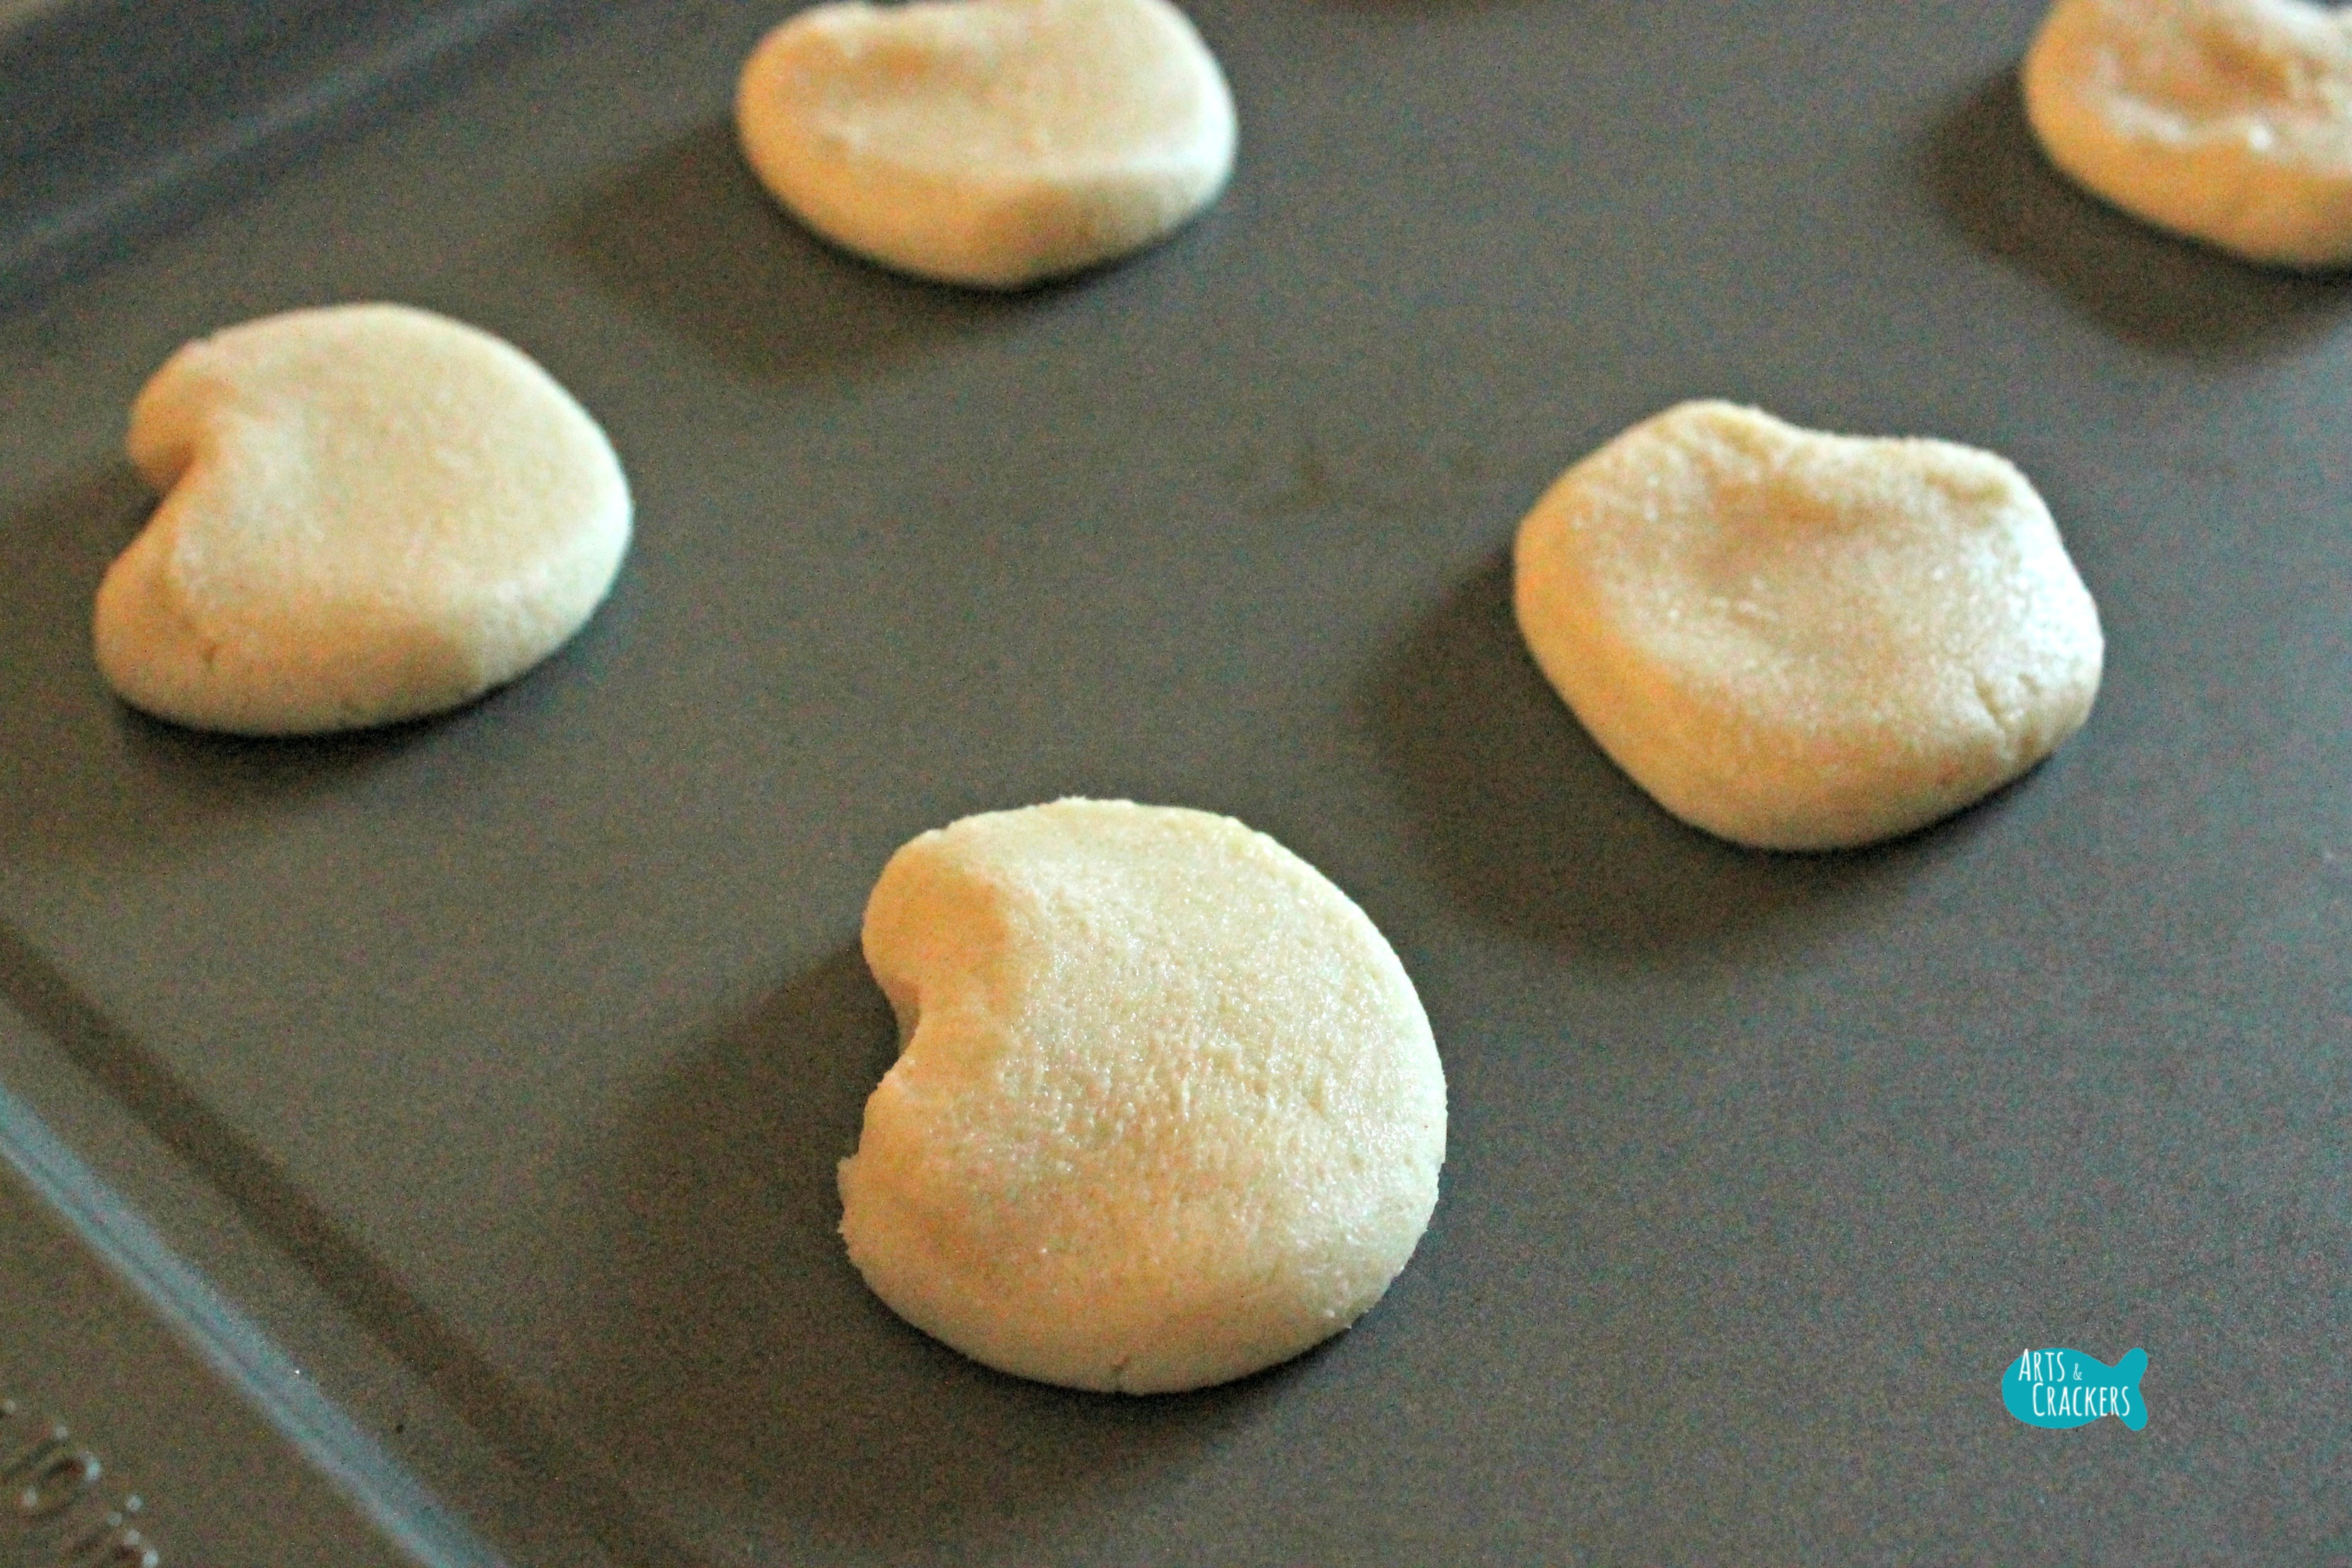
3. Place 3-4 Skittles on top of the cookie dough across from the dent. These should be very close together–they will spread apart as the dough flattens during cooking. Press down on them very gently just so they stay in place; do not press the candies into the dough or they will melt right through to the pan.

4. Bake the cookies according to the package instructions. Depending on your oven, you may want to check on these a little early so they don’t over-cook.
5. Once the cookies have finished baking, you will want to immediately poke out the thumb holes at the small end of the curve using the small cookie cutter. Use the side of a paper straw to make the curve in the palette more pronounced.
Warning: this will get HOT. Since it is thin metal and will touch the pan, it transfers the heat quickly. You may want to wear heat-resistant gloves. You could also try using a paper straw to poke the hole (I have not tried this to see how well this works.). Remember, work fast. Once the cookies cool, you will not have smooth thumb holes.
**Update: I tried a paper straw for the holes; it works okay if needed, but the holes were not as large or clean.
6. Before the cookies are cooled, use a flat metal spatula to carefully remove the cookies from the pan and onto a cooling rack.
7. While the cookies cool, prepare the paintbrushes. Start by melting some black (or brown) Candy Melts by package instructions.

8. Dip one end of each pretzel stick into the melted chocolate. Gently spin it and pull out, shaping it into a brush-looking tip. Place the pretzel brush onto a plate covered with wax paper and let the chocolate harden. Repeat with as many more pretzel sticks as you need.
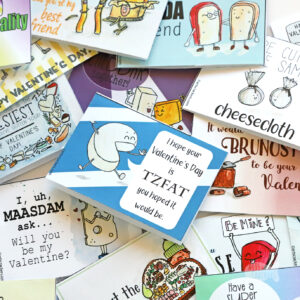
Love art? Check out our artsy watercolor and coloring page Valentines!

9. Once the first chocolate layer is hardened, gently scrape a brush texture into the chocolate while you melt another Candy Melt color (of your choice) by package instructions; dip the tips of the pretzel paintbrushes into the colored chocolate just a bit as if you were painting. Place them back onto the wax-paper-covered plate until they are cooled.
***I recommend using various colors that are available on the palettes; when I was making these for my coloring book release party, I did not have all of the supplies, so we made do with green.
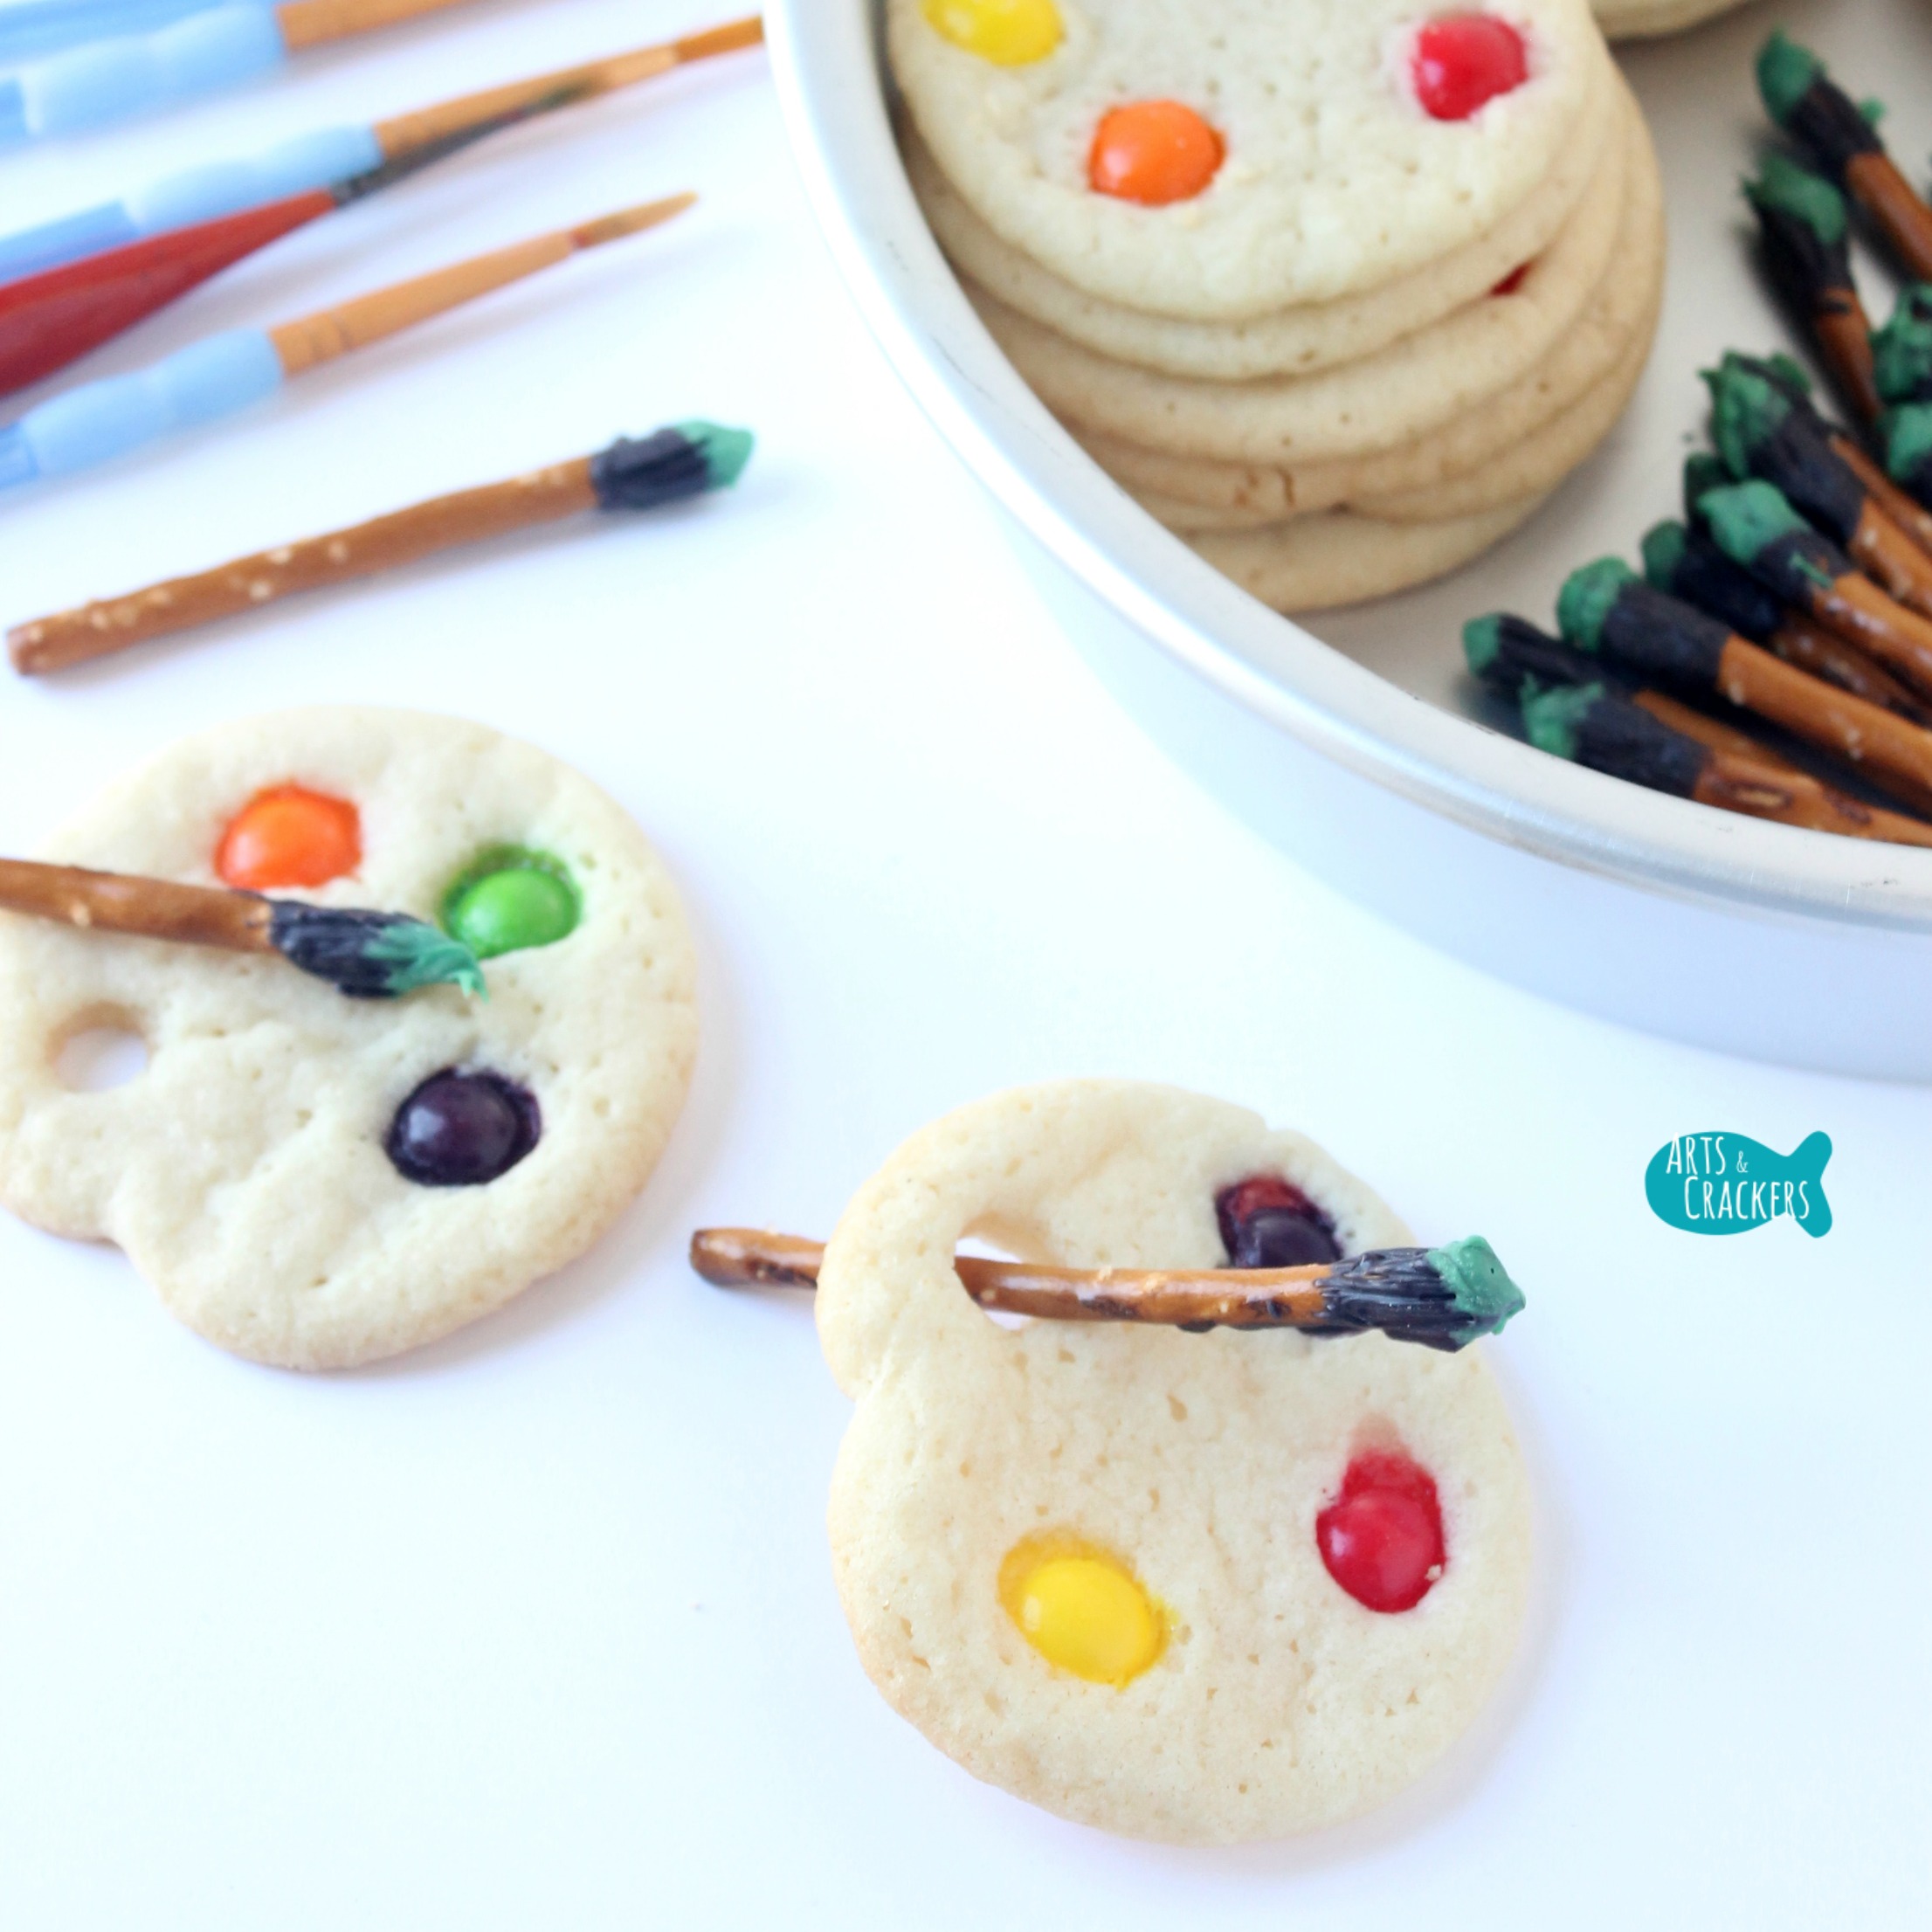

Serve the Artist Palette Sugar Cookies alongside the pretzel paintbrushes. The cookies have a fun, fruity flavor and surprising and fun chewy texture. You can try using candy-coated chocolate candies, but the color will show brown through from the chocolate once it melts, so keep that in mind.

Here are some pictures from our party! I also served fish-shaped cheddar crackers to go with my Arts & Crackers logo and some vertically-cut grapes because they are bright, fun, and healthy!
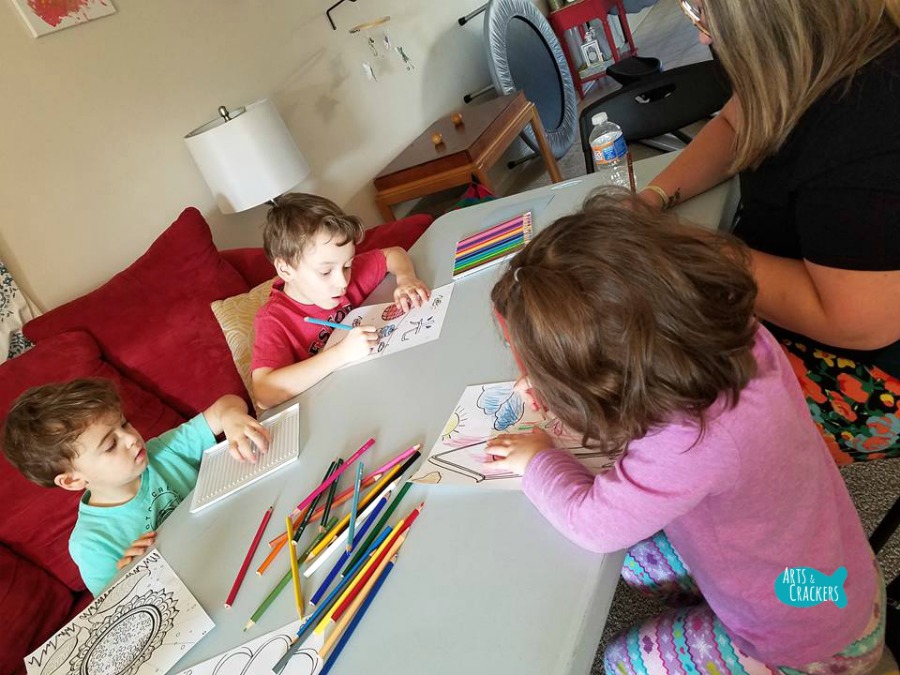
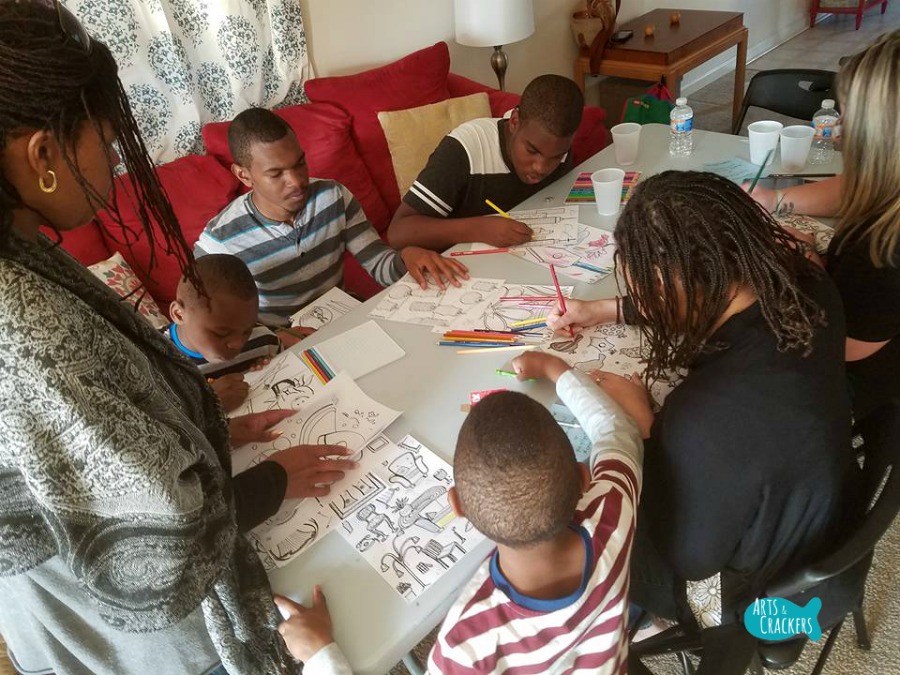
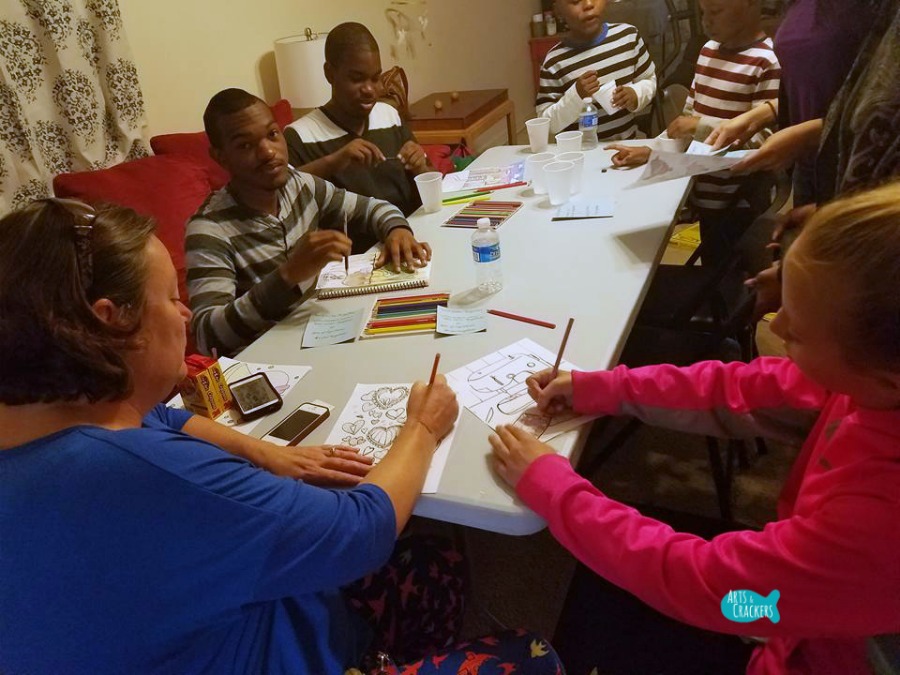
For my guests to color, I purchased a large pack of Staedtler colored pencils then I provided them with pages to color from my book. they were also able to see and touch my printed books.
If you are interested in learning more about my first printed coloring book, visit artscrackers.com/lets-color-together/. You can also find a link to download a free sample from the book. Be sure to check the free sample page for an exclusive discount on the print-at-home version!

Purchase my book, Let’s Color Together, on Amazon, Gumroad, or in the Arts & Crackers store online.
Watch this video for a quick sneak peek into the book!
Where will you serve your Artist Palette Cookies? Share with me in the comments!
Read also: Coffee, Canvases, (and Cupcakes!) Party and Toddler Outdoor Canvas Painting Project
Looking for more? View these categories!


Your cookie is sooooo cute and clever.
Can you use the mini chocolate M&Ms instead of Skittles? Really cute idea! Love them. Creative. x
Hi Ann, thank you! You could definitely try! The mini M&Ms you’d probably need several as the cookie spreads them out as it flattens–regular M&Ms would work better. The main issues with M&Ms though would be the fact that they are filled with chocolate. When the M&Ms melt, they will likely show at least some of the chocolate through and the minis especially could end up melting together and making a little bit of a mess. I used Skittles so the colors would stay bright and in tact and it gives a fun, fruity chewiness to the cookies and the colors are a lot brighter. You could try several different things though…chop up colored Candy Melts and put little pieces of those on, baking the cookies first then adding a layer of icing and sticking the M&Ms on top…if you try something else, come back and let me know what you tried and how it worked! I’d love to know. Enjoy!
When you want to add a more decorative M&M without it melting all over or color bleeding, just press in as soon as they come out of the oven, writing side down of course =)
That’s a great idea, Brooke! I’ll have to try it. It won’t look quite as close to paint as the melted Skittles, but that’s a great option for those who can’t have/prefer not to have Skittles on it!
In other baking projects using pretzels, I know they can get soggy after a few hours. Shouldn’t the whole pretzel stick be dipped in like white chocolate. Then black for the brush?
They do not get soggy! If you put them on frosting they might, but they are not in contact with anything that stays wet or perspires.
So funny, when I saw this I was thinking you could really “paint” with the Skittles since I think the coloring on the candy shell comes off when wet. You could make a little watercolor painting!
That would be fun to try, Katherine! Like those science experiments where the color melts off. Fun!
I love the sugar cookie as an artist’s palette idea! I haven’t started getting into fun craft and food ideas with my 7 month old yet lol. But I’ll be sure to stock up on ideas from your site!
Thank you, Tenille! Aw, 7 months is a fun age. I have so many ideas on here for all ages! Soon they will be organized a little better. What types of posts do you enjoy the most?
it would be easy to make the holes for the m&m’s with the end of a straw. grab a couple of them, cut em in half, and as they fill up with cookie, grab another.
Hi Eileen! Thanks for the suggestion. I do actually recommend that as an alternative if necessary, and it shouldn’t get full enough to have to cut anything off, which is great. I would not recommend a regular straw, as the pan and cookies are extremely hot and could melt the plastic. The other issue that I discovered this morning when I actually tested the straw alternative I gave is that the hole is not quite as clean, but it still worked okay if that is the only option. I also would not recommend baking with M&Ms because your paint colors will be brown. See the ingredient list and instructions as well as the previous comments for some of my suggestions. 🙂
I just love this idea! I have a budding artist at home, and I think he’ll really enjoy these treats!
Thank you, Sara! 🙂 They are very easy to make and my kids enjoyed helping too (just be sure to follow the directions completely or they may turn out a little messy).
These are a great idea. I think I would substitute m&m’s in place of the skittles, though.
Hi There,
What a great idea! Love the cookie palettes! Do you have a recipe for the sugar cookies? Where they store bought? Do you have a brand you recommend? Thanks so much!
Hi Tejal,
Thank you! If you have a sugar cookie recipe that doesn’t spread too much, you could try that. I just used the store bought kind to save me time (plus they were already in roundish shapes so I didn’t have to do much to them)–I believe I used Nestle ones.
Pingback: At-Home Summer Camp: Creative DIY Art Summer Camp
We plan to use these as snacks for Girl Scouts who are earning their painting badge.
That is so fun!! Let me know how it goes. I hope you enjoy them 🙂 And congratulations to the girls earning their badges!
Pingback: 24 Crazy Colorful Art Birthday Party Ideas That Are So Simple!
Pingback: How to Host a Tween Art Party - Happy Hooligans
Pingback: At-Home Summer Camp: Creative DIY Art Summer Camp
Pingback: 10 July Holidays Your Kids Will Love…and Fun Ways to Celebrate! | Hulafrog Post Drafting Site
Pingback: Tween Art Party Ideas – Happy Hooligans – Cupids Health
How did you make the thumb hole? I could see what you used in the video. LOVE LOVE LOVE this idea. can’t wait to make them.
Hi Pam,
It should say in the post and should link to the product I used. Just to make sure, I went back into the post and even followed the links. It turns out the cookie cutter set I specifically used is not currently available, so I did some research and added a couple of other things you could use: paper straws (also mentioned in the post, but not as recommended as they are a bit too small), decorator tips, or fondant cutters. Specific items are linked in the supply list for easy reference so you can find something that works. I believe the original holes I made were around 1/4-inch in diameter.
I hope that helps, and I am so glad to hear you love this and plan to make it! Feel free to share your finished product with me on my social media (or tag my page and make it public) or email it. I would love to hear how it goes!
Pingback: Book Club: The Silent Patient – thehyperfixationlist
Pingback: National Sugar Cookie Day (July 9) - Weird Holidays
Pingback: Tween Art Party Ideas - Happy Hooligans - doityourself